22 June 2026
Mastering Hyperlapse Editing on Mobile: A Comprehensive Guide
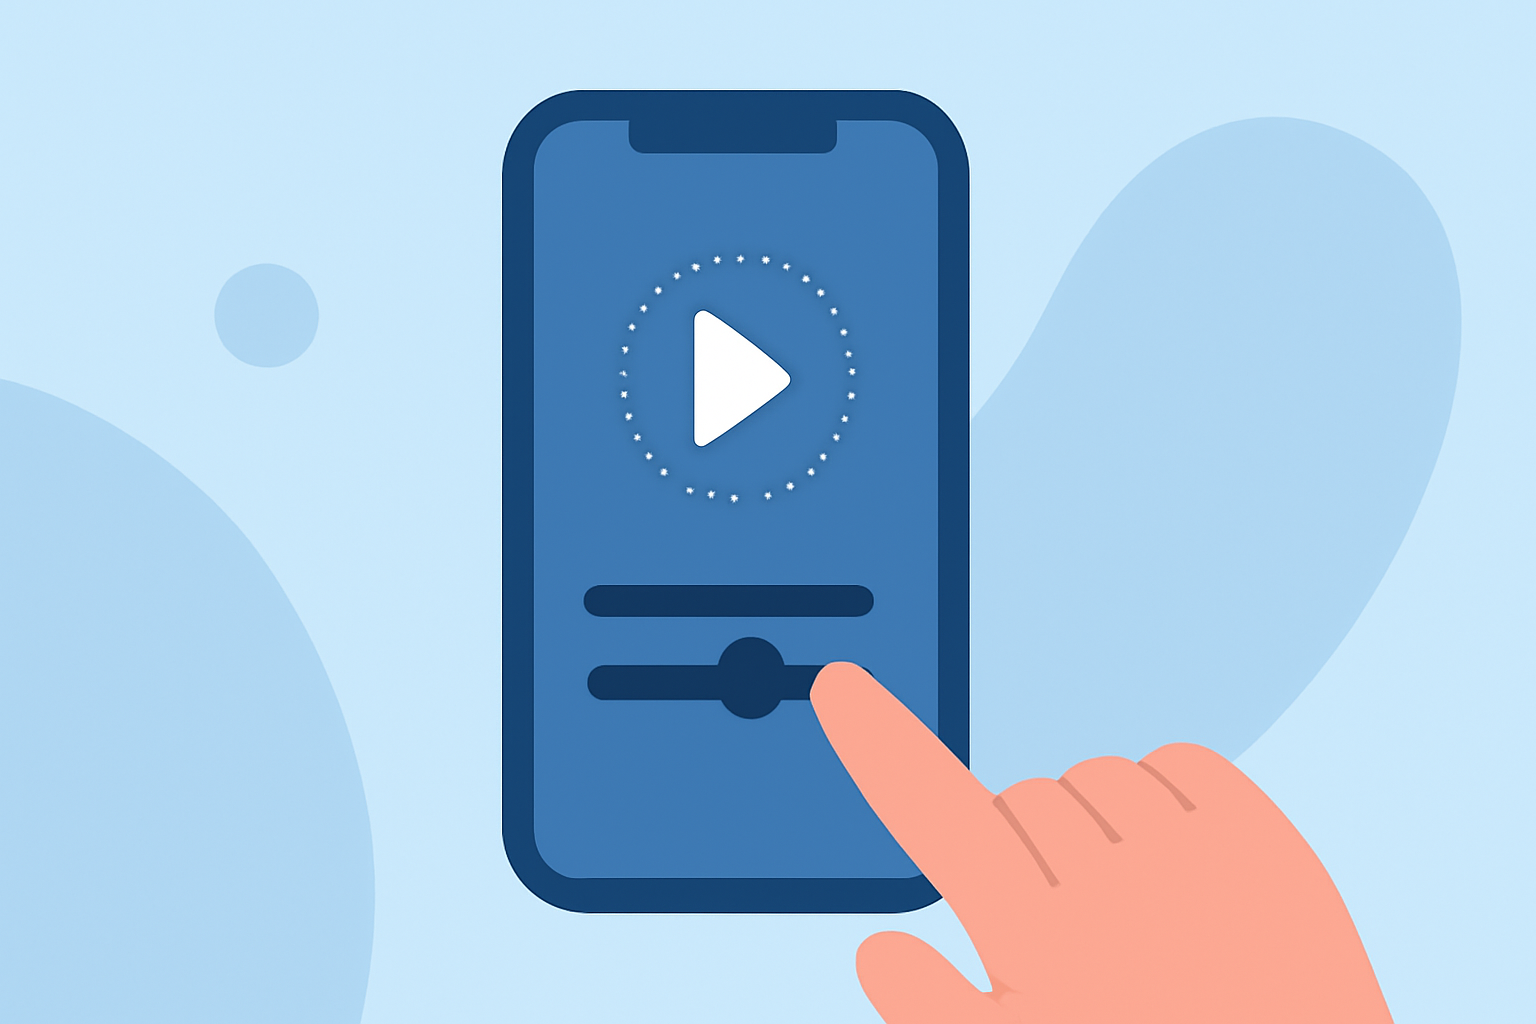
Hyperlapse videos offer a captivating way to showcase time-lapse footage with dynamic motion, providing a cinematic effect that engages viewers. Creating and editing hyperlapse videos on your mobile device has become increasingly accessible, thanks to built-in features and dedicated applications. This guide will walk you through the process, from recording to editing, and introduce Planes Live as a powerful tool to enhance your hyperlapse projects.
What Is a Hyperlapse Video?
A hyperlapse is an advanced form of time-lapse photography that involves capturing a series of images at set intervals while moving the camera over considerable distances. This technique results in a video that appears to compress time and space, creating a dynamic and engaging visual experience. Unlike traditional time-lapse, hyperlapse incorporates camera movement, adding depth and perspective to the footage.
How to Record a Hyperlapse Video on Your Mobile Device
Using Built-in Camera Features:
Many modern smartphones come equipped with a hyperlapse or time-lapse mode, allowing you to create these videos directly from your device. Here's how to use this feature:
- Access the Camera App: Open your device's camera application.
- Select Hyperlapse Mode: Swipe through the camera modes to find 'Hyperlapse' or 'Time-lapse.'
- Set the Desired Speed: Some devices allow you to adjust the speed of the hyperlapse; choose the one that best fits your project.
- Start Recording: Tap the record button and move your camera steadily along the desired path.
- Stop Recording: Once you've captured the desired segment, tap the stop button.
For instance, on Samsung devices, you can access the Hyperlapse mode by selecting it from the camera's mode options. This feature records at various frame rates, automatically adjusting to your recording, and allows you to create your own time-lapse videos. (samsung.com)
Using Dedicated Applications:
If your device lacks a built-in hyperlapse feature, several third-party applications can assist in creating these videos. One such application is Planes Live, which offers advanced features for recording and editing hyperlapse videos.
Editing Your Hyperlapse Video on Mobile
After recording your hyperlapse footage, editing is crucial to enhance its visual appeal. Here's how you can edit your hyperlapse videos:
- Import the Video: Open your chosen video editing application and import the hyperlapse footage.
- Trim and Arrange Clips: Cut unnecessary sections and arrange the clips in the desired sequence.
- Adjust Speed and Effects: Modify the playback speed, apply filters, and add transitions to smooth out the footage.
- Stabilize the Video: Use stabilization tools to reduce any shakiness and ensure smooth motion.
- Export the Final Video: Once satisfied with the edits, export the video in your preferred resolution and format.
Planes Live provides a user-friendly interface with a range of editing tools tailored for hyperlapse videos, making it an excellent choice for both beginners and experienced editors.
Tips for Creating Stunning Hyperlapse Videos
- Plan Your Path: Decide on the route or area you want to cover to ensure a coherent narrative.
- Maintain Steady Movement: Use a tripod or gimbal to keep the camera steady and reduce unwanted shakes.
- Consider Lighting: Shoot during times with consistent lighting to avoid abrupt changes in exposure.
- Experiment with Angles: Vary your shooting angles to add interest and depth to your footage.
Conclusion
Creating and editing hyperlapse videos on your mobile device is an accessible and rewarding endeavor. By utilizing built-in features or dedicated applications like Planes Live, you can produce professional-quality videos that captivate your audience. Remember to plan your shots carefully, maintain steady movement, and utilize editing tools to enhance your footage. Happy filming!
Highlights:
- Instagram's New 'Hyperlapse' App Lets You Make Super-Smooth Timelapse Video, Published on Tuesday, August 26