22 June 2026
Mastering In-Flight Selfie Video Edits: A Step-by-Step Guide
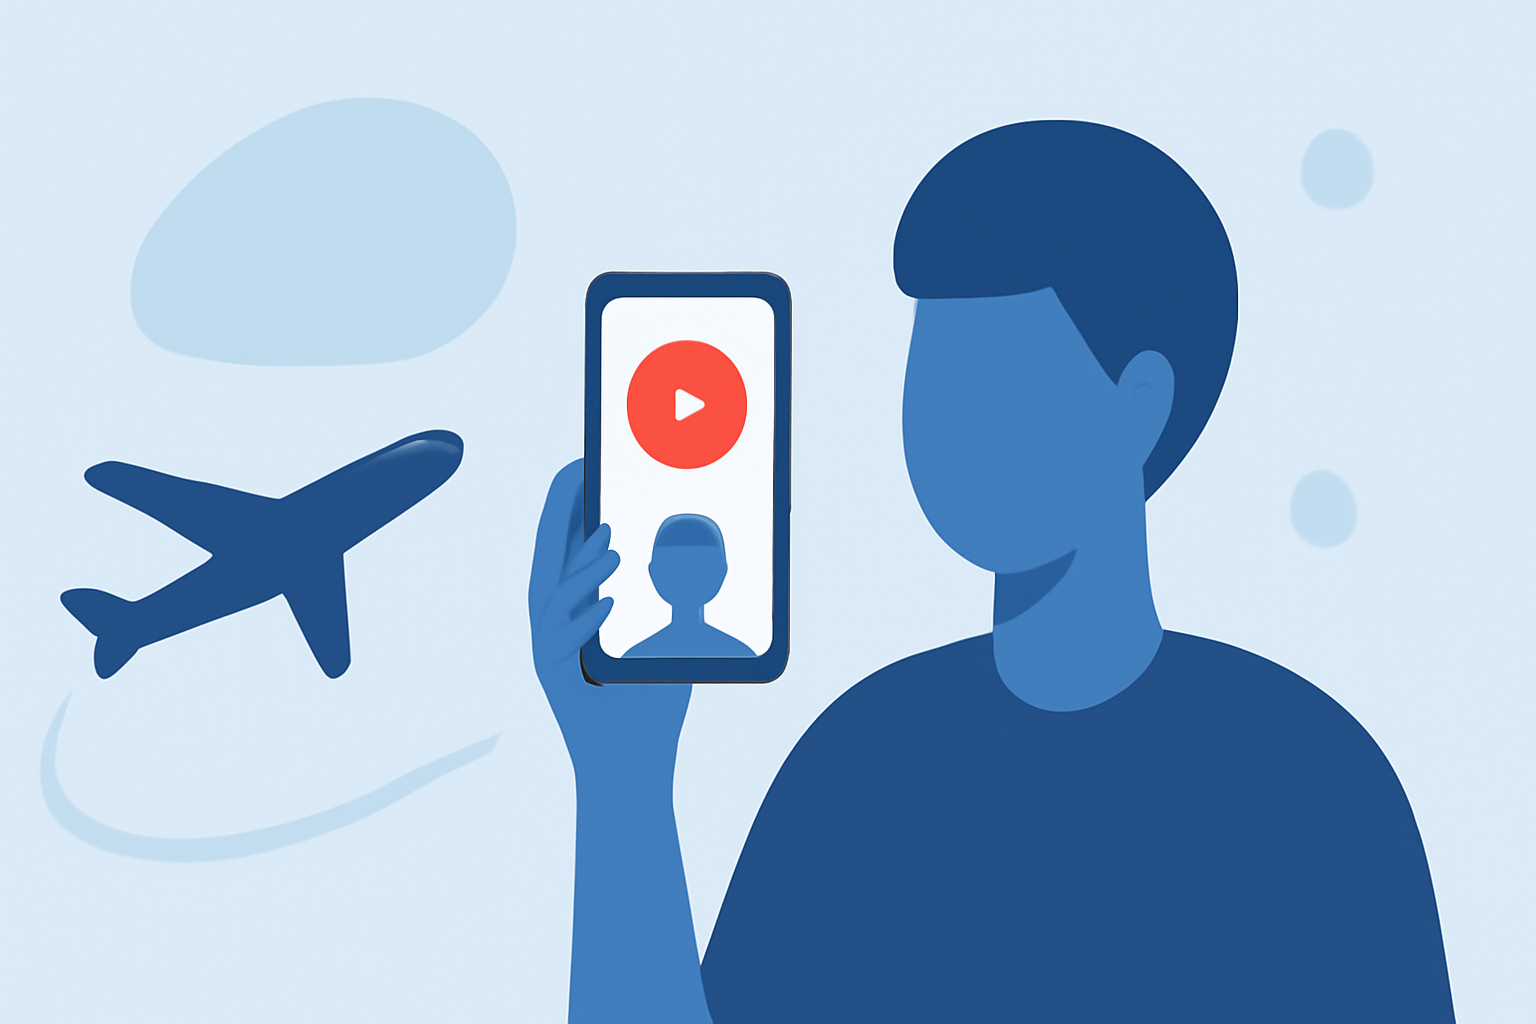
Capturing in-flight selfies offers a unique perspective, but editing them to perfection can be challenging. This guide provides a step-by-step approach to enhance your in-flight selfie videos, ensuring they stand out. For a seamless editing experience, consider using Planes Live, a tool designed to simplify the editing process.
1. Import Your Footage
Begin by transferring your in-flight selfie videos to your editing device. Organize them into folders by date or location to streamline the editing process. Using proxy files can also facilitate smoother editing. (retouchinglabs.com)
2. Stabilize and Trim Clips
In-flight videos often suffer from shakiness. Utilize stabilization tools to smooth out the footage. Trim any unnecessary sections to maintain viewer engagement. Aim for a visual rhythm, with each shot lasting between 3 to 5 seconds. (retouchinglabs.com)
3. Adjust Exposure and Color
Ensure consistent lighting and color balance throughout your video. Apply color correction techniques to enhance the visual appeal. Utilizing LUTs (Look-Up Tables) can provide cinematic effects and maintain color consistency across clips. (retouchinglabs.com)
4. Add Text and Graphics
Incorporate text overlays to provide context or highlight key moments. Choose fonts and colors that complement the video’s aesthetic. Ensure text is legible and appears at appropriate times to enhance the narrative. (zosmm.com)
5. Incorporate Music and Sound Effects
Select background music that aligns with the mood of your video. Ensure the audio levels are balanced, and consider adding sound effects to emphasize specific actions or transitions. Syncing audio to key moments can significantly enhance viewer engagement. (retouchinglabs.com)
6. Apply Transitions and Effects
Use transitions to create smooth flows between clips. Effects can add visual interest, but should be used sparingly to avoid overwhelming the viewer. Experiment with different options to find what best suits your video’s style. (sonary.com)
7. Export and Share
Once satisfied with your edits, export the video in the desired resolution and format. Ensure the settings are optimized for the platform where you intend to share the video. High-quality exports are essential for maintaining the visual integrity of your work. (retouchinglabs.com)
For a more streamlined editing experience, consider using Planes Live. This tool offers intuitive features tailored for in-flight video editing, allowing you to focus more on creativity and less on technicalities.
By following these steps and utilizing the right tools, you can transform your in-flight selfie videos into captivating content that resonates with your audience.