22 June 2026
Mastering Landing Footage Edits: A Comprehensive Guide
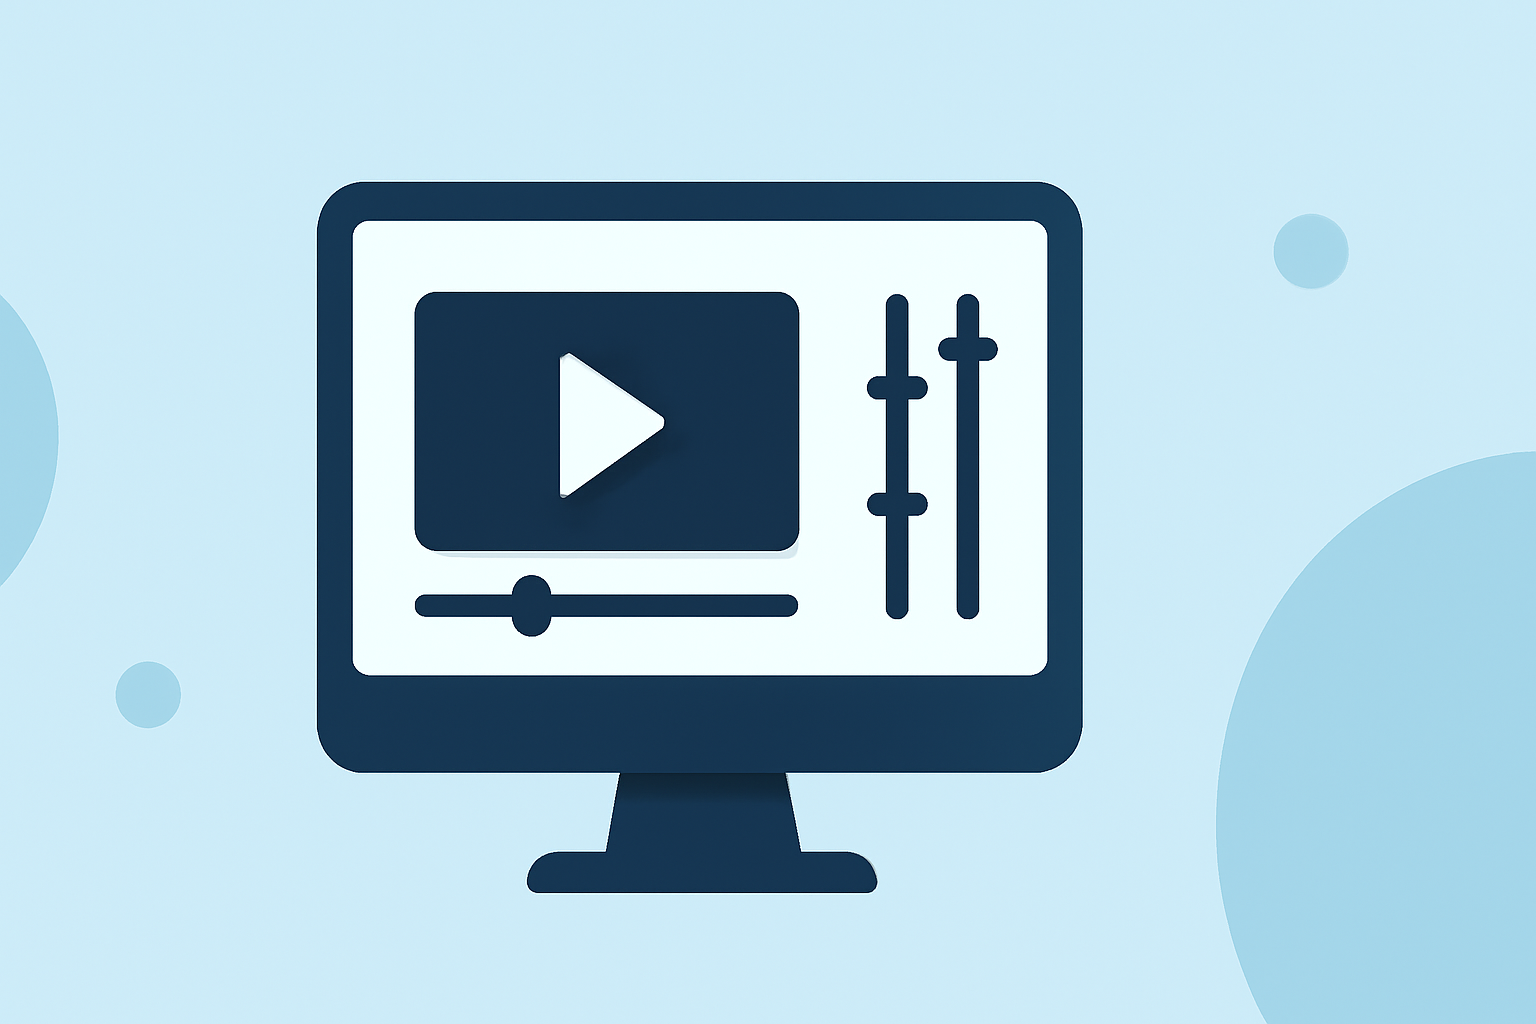
Editing landing footage can transform raw clips into captivating visuals that engage your audience. Whether you're working with drone shots, action sequences, or cinematic landings, mastering the editing process is essential. This guide provides a comprehensive approach to editing landing footage, covering stabilization, color correction, and more.
1. Organize Your Footage
Before diving into editing, it's crucial to organize your clips. Create folders to categorize footage based on scenes or locations. This practice streamlines the editing process and ensures you can quickly locate the necessary clips. (joinotto.com)
2. Import and Review Clips
Import your organized footage into your chosen video editing software. Review each clip to select the best shots, focusing on those with clear visuals and stable frames. This step sets the foundation for a polished final product. (joinotto.com)
3. Stabilize Shaky Footage
Shaky footage can detract from the viewing experience. Utilize stabilization tools within your editing software to smooth out these imperfections. For instance, Adobe Premiere Pro offers the Warp Stabilizer effect, which analyzes and corrects camera shake. Apply the effect, allow the software to analyze the footage, and adjust settings like 'Smoothness' to achieve the desired stability. (miracamp.com)
4. Enhance Color and Exposure
Color correction and grading are vital for achieving a cinematic look. Adjust exposure levels to ensure proper lighting, and use color wheels to balance shadows, midtones, and highlights. Applying Look-Up Tables (LUTs) can also provide a consistent color grade across your footage. (joinotto.com)
5. Add Transitions and Effects
Transitions can smooth the flow between clips. Use effects like cross dissolves or fades to enhance the narrative. However, it's essential to use these effects sparingly to maintain the video's professional quality. (kapwing.com)
6. Incorporate Sound and Music
Sound design plays a critical role in video production. Adding appropriate sound effects and background music can significantly enhance the impact of your landing footage. Ensure that the audio complements the visuals and maintains the desired mood. (joinotto.com)
7. Export Your Final Edit
Once satisfied with your edits, export the final video. Choose settings that match your intended platform, such as YouTube or Instagram, to ensure optimal playback quality. Common export settings include H.264 format, 1080p resolution, and a frame rate matching your source footage. (redsharknews.com)
8. Utilize AI-Powered Editing Tools
Incorporating AI-powered editing tools can streamline the editing process. These tools can assist with tasks like color correction, stabilization, and even generating transitions, allowing you to focus more on the creative aspects of your project. (joinotto.com)
By following these steps, you can effectively edit landing footage to create engaging and professional videos. Remember, practice and experimentation are key to mastering the art of video editing.
For a more streamlined and efficient editing experience, consider exploring Planes Live. This platform offers a range of features designed to enhance your editing workflow, making it a valuable tool for both beginners and seasoned editors.
By integrating Planes Live into your editing process, you can achieve high-quality results with greater ease and efficiency.
Incorporating these techniques and tools will elevate your landing footage, resulting in videos that captivate and engage your audience.
Remember, the key to successful video editing lies in practice and continuous learning. Experiment with different techniques, stay updated with the latest tools, and always strive to enhance your skills.
By following this guide and utilizing the recommended tools, you'll be well-equipped to create impressive landing footage edits that stand out.
Happy editing!