22 June 2026
Mastering Pro-Level B-Roll Editing from Scratch
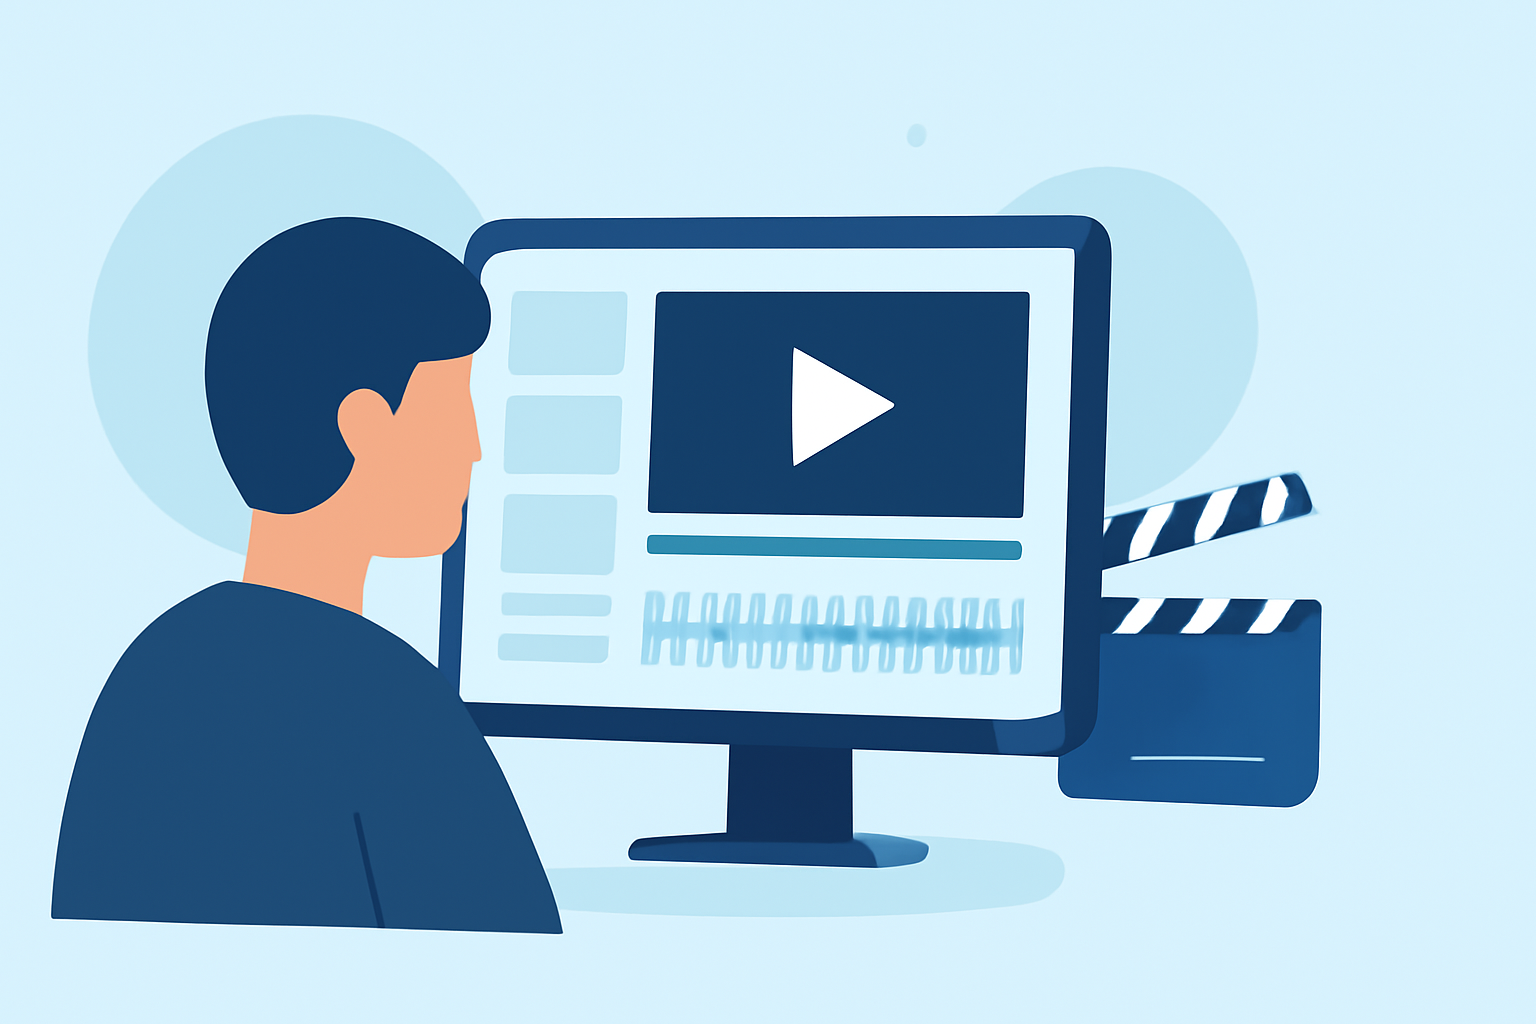
Creating and editing professional-quality B-roll footage from scratch is a crucial skill for any videographer or content creator aiming to produce engaging and polished videos. B-roll, the supplemental footage that supports the main narrative, adds depth, context, and visual interest to your projects. This guide will walk you through the essential steps to master B-roll creation and editing, ensuring your videos captivate and inform your audience.
What Is B-Roll and Why Is It Essential?
B-roll refers to supplementary footage intercut with the main shot (A-roll) to provide additional context, cover edits, and enhance storytelling. It serves multiple purposes:
- Visual Interest: Breaks the monotony of talking heads or static shots.
- Contextualization: Provides background information or illustrates points made in the A-roll.
- Smooth Transitions: Helps in transitioning between scenes or topics seamlessly.
How to Plan and Capture Effective B-Roll
Planning and capturing effective B-roll involves strategic thinking and attention to detail:
- Identify Gaps in Your A-Roll: Review your main footage to pinpoint areas where B-roll can enhance understanding or engagement.
- Storyboard Your Shots: Sketch or list the types of B-roll shots needed, considering angles, movements, and subjects.
- Capture High-Quality Footage: Use a tripod for stability, ensure proper lighting, and maintain high resolution to match your A-roll quality.
- Maintain Consistency: Keep the visual style, color grading, and lighting consistent with your A-roll to ensure a cohesive final product.
How to Edit B-Roll Seamlessly into Your Video
Integrating B-roll into your video requires thoughtful editing to maintain narrative flow and viewer engagement:
- Organize Your Footage: Label and categorize your B-roll clips based on content and relevance to streamline the editing process.
- Use the Timeline Effectively: Place B-roll clips on a separate track above your A-roll in the timeline to overlay them without disrupting the main audio.
- Employ J and L Cuts: Start the B-roll audio before the A-roll ends (J cut) or continue it after the A-roll ends (L cut) to create a smooth auditory transition.
- Apply Transitions Sparingly: Use simple cuts or dissolves to maintain a natural flow; overusing transitions can distract from the content.
- Adjust Speed and Timing: Modify the speed of B-roll clips to match the pacing of your A-roll, ensuring a harmonious rhythm throughout the video.
How to Enhance Your B-Roll with Advanced Techniques
Elevate your B-roll by incorporating advanced editing techniques:
- Color Grading: Adjust colors to match the mood and tone of your A-roll, creating a unified visual experience.
- Sound Design: Add ambient sounds or music to B-roll to enrich the auditory experience and reinforce the narrative.
- Motion Graphics: Integrate text overlays or animations to highlight key points or add visual flair.
How to Generate Custom B-Roll Using AI Tools
Incorporating AI tools can streamline the creation of custom B-roll:
Platforms like Runway offer AI-powered features that allow you to generate B-roll footage directly within your editing software. By inputting descriptive prompts, you can produce tailored clips that fit seamlessly into your project, saving time and expanding creative possibilities. For instance, you can generate specific scenes or environments that may be challenging to capture manually. This approach is particularly useful for filling gaps in your footage or experimenting with different visual styles. (creativeainews.com)
How to Maintain a Cohesive Visual Style
Ensuring your B-roll complements your A-roll is vital for a professional-looking video:
- Match Frame Rates and Resolutions: Ensure all footage is captured and edited at the same frame rate and resolution to prevent inconsistencies.
- Consistent Lighting and Color Grading: Apply similar lighting setups and color correction to all clips to maintain visual harmony.
- Unified Audio Levels: Balance audio levels across all clips to provide a seamless listening experience.
How to Export and Deliver Your Final Video
Once your B-roll is integrated and your video is edited:
- Review the Entire Project: Watch the video from start to finish to ensure smooth transitions and cohesive storytelling.
- Export Settings: Choose appropriate export settings based on your delivery platform, such as resolution, frame rate, and file format.
- Quality Check: Perform a final quality check to ensure there are no technical issues like audio clipping or visual artifacts.
By following these steps, you can effectively create and edit professional-quality B-roll footage from scratch, enhancing the overall quality and engagement of your video projects.