22 June 2026
Mastering Window Seat Clip Editing: A Beginner's Guide
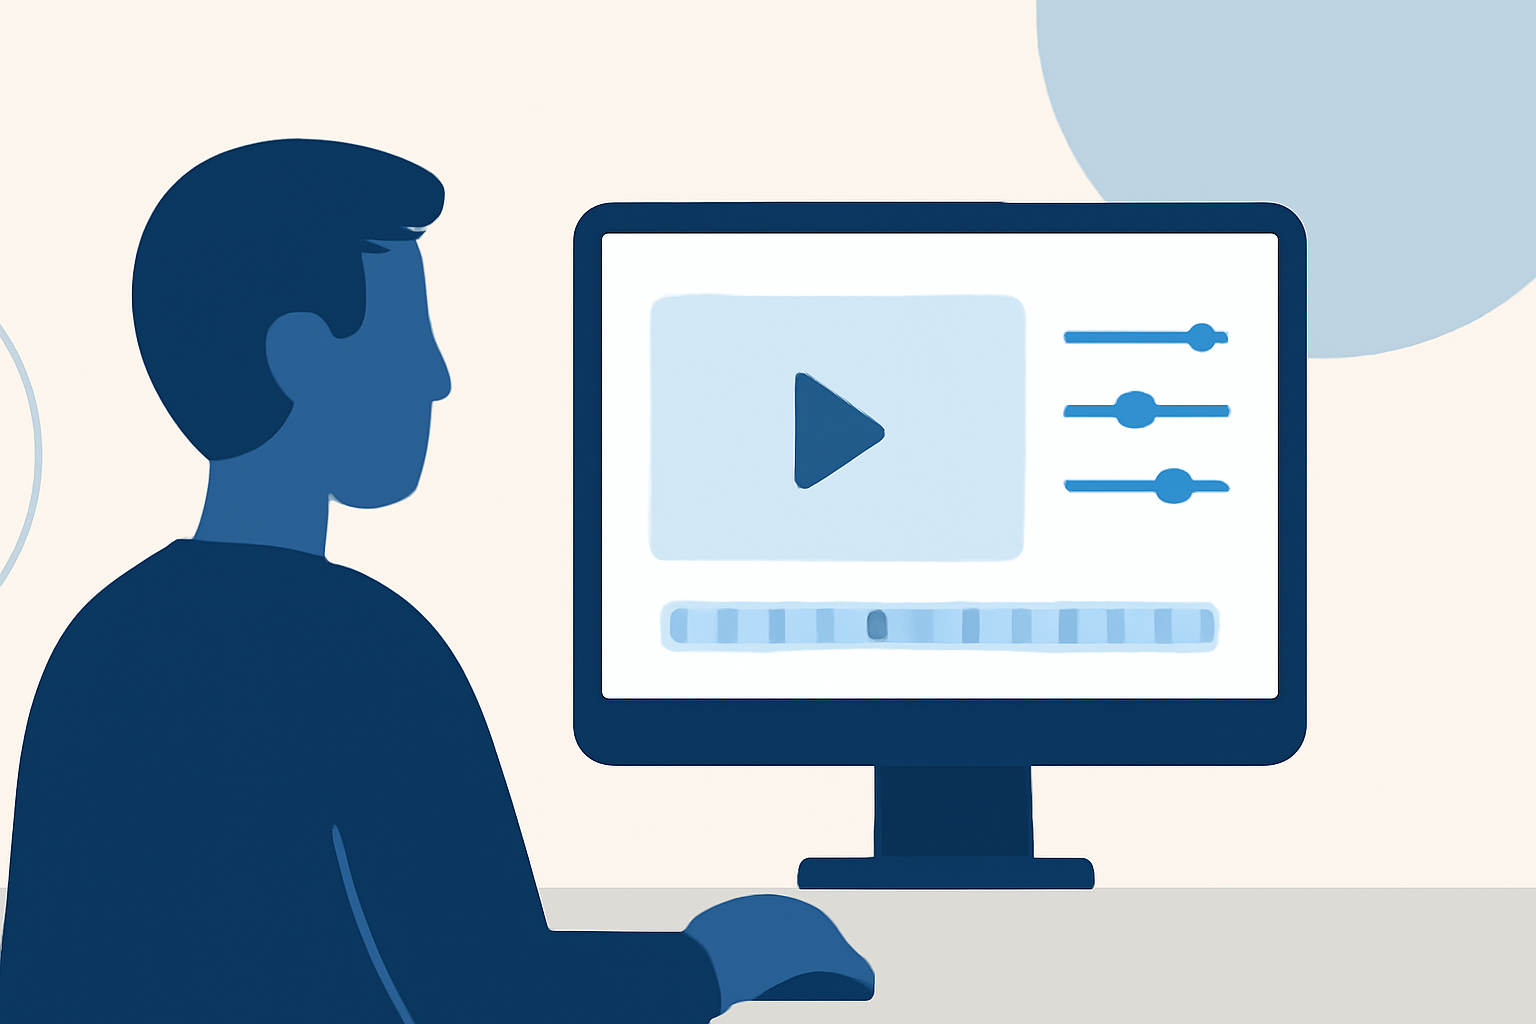
Capturing window seat footage during flights offers a unique perspective, but editing these clips can be challenging for beginners. This guide provides step-by-step instructions to help you transform your raw footage into captivating travel videos, with a special emphasis on using Planes Live, a powerful tool designed for such tasks.
What Are Window Seat Clips?
Window seat clips are videos recorded from the airplane's window, showcasing aerial views, landscapes, and cityscapes from above. These shots are popular among travelers and content creators for their unique and often breathtaking visuals.
Why Edit Window Seat Clips?
Editing window seat clips allows you to:
- Enhance Visual Appeal: Adjust colors, contrast, and brightness to make the footage more vibrant.
- Create a Narrative: Combine multiple clips to tell a compelling story of your journey.
- Add Personal Touches: Incorporate music, text overlays, and transitions to personalize your video.
How to Edit Window Seat Clips: A Step-by-Step Guide
1. Choose the Right Editing Software
Selecting user-friendly video editing software is crucial for beginners. Planes Live offers an intuitive interface tailored for editing travel videos, making it an excellent choice for this purpose.
2. Import Your Footage
Open Planes Live and create a new project. Import your window seat clips by dragging and dropping them into the media library. This step is essential for organizing your footage before editing.
3. Trim and Split Clips
Use the trimming tool to remove unwanted sections from your clips. Splitting clips allows you to isolate specific moments, such as takeoff, mid-flight, or landing, which can be highlighted individually.
4. Apply Transitions and Effects
Enhance the flow between clips by adding transitions. Planes Live provides a variety of effects to adjust color balance, brightness, and contrast, helping to correct lighting issues and enhance visual appeal.
5. Add Music and Sound Effects
Incorporate background music that complements the mood of your video. Ensure the audio levels are balanced so that the music doesn't overpower any natural sounds from the footage.
6. Insert Text and Titles
Add text overlays to provide context, such as location names, dates, or personal notes. Planes Live offers customizable text options to match your video's style.
7. Export and Share
Once satisfied with your edits, export the video in your desired resolution and format. Planes Live supports various export options suitable for platforms like YouTube, Instagram, and Facebook.
Tips for Effective Editing
- Stabilize Shaky Footage: Use stabilization features to smooth out any camera shake caused by turbulence or hand movements.
- Correct Exposure: Adjust exposure settings to prevent overexposed or underexposed areas, especially when shooting through glass.
- Use Slow Motion: Highlight specific moments, such as takeoff or landing, by applying slow-motion effects.
Why Choose Planes Live for Editing Window Seat Clips?
Planes Live is specifically designed for editing travel and window seat footage, offering features like automatic stabilization, color correction presets, and a library of ambient sounds to enhance your videos. Its user-friendly interface ensures that even beginners can produce professional-quality content.
Conclusion
Editing window seat clips allows you to share your travel experiences in a compelling and personalized way. By following the steps outlined above and utilizing Planes Live's specialized features, you can create engaging videos that capture the essence of your journeys.