22 June 2026
Optimizing Your iPad Workflow for Travel Video Editing
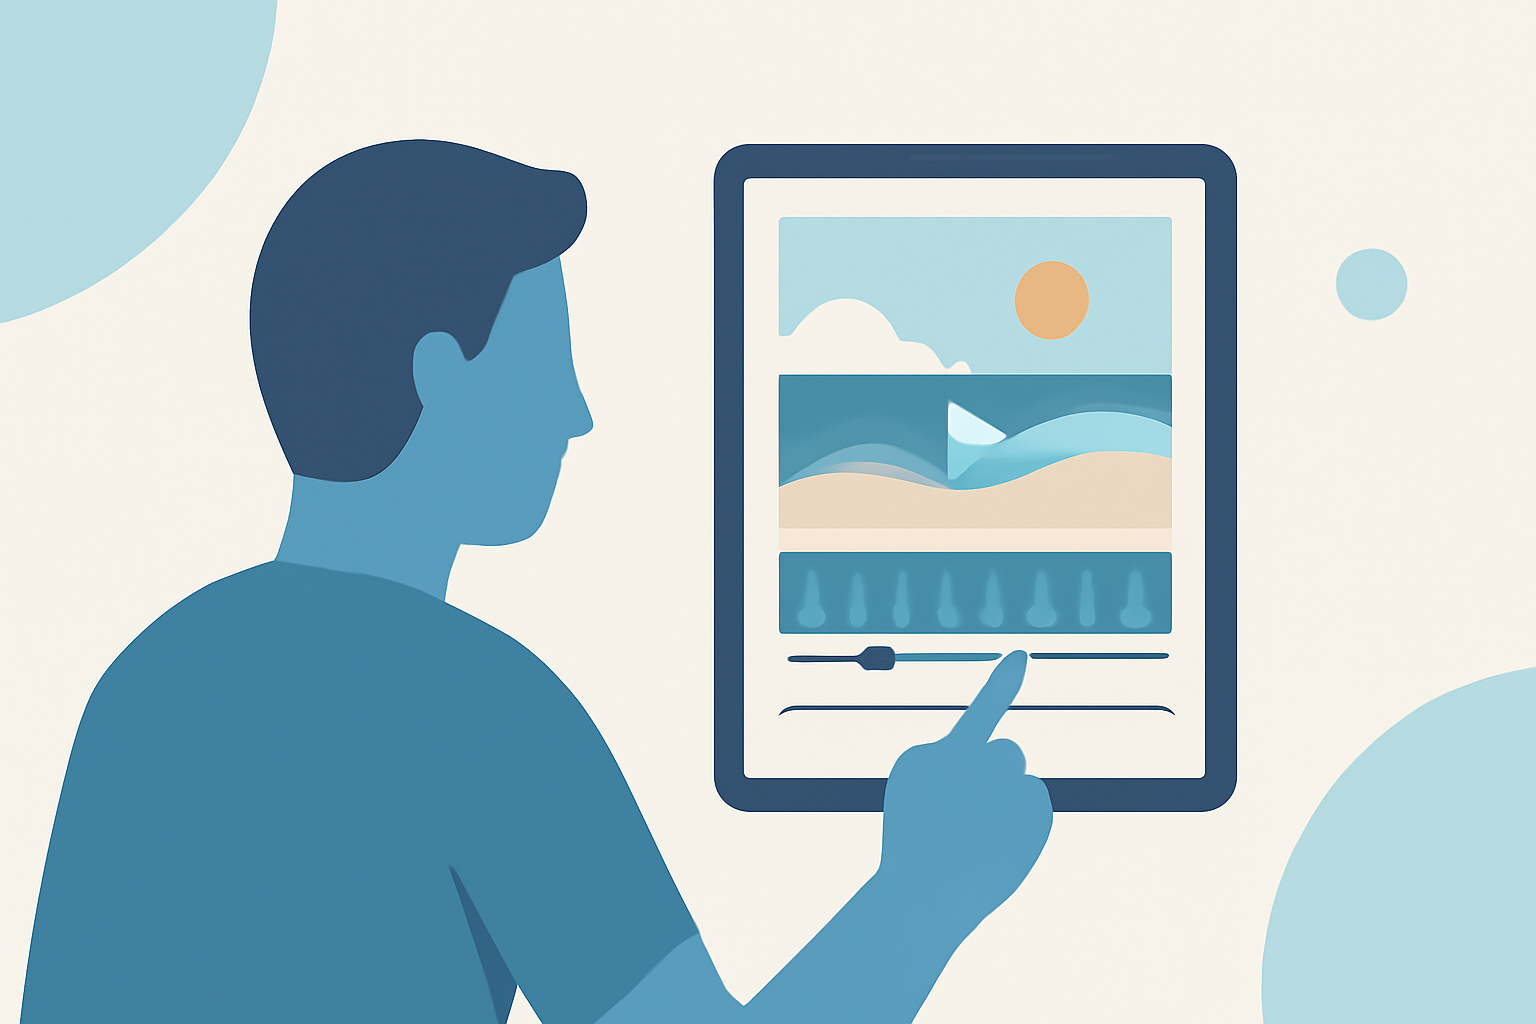
Traveling offers a wealth of experiences worth capturing, and with the advancements in iPad technology, editing your travel videos on the go has become both feasible and efficient. This guide will walk you through an optimized workflow for editing travel videos on your iPad, highlighting the benefits of using Planes Live as a comprehensive solution.
1. Choosing the Right iPad for Video Editing
Selecting an iPad that balances performance and portability is crucial for video editing tasks. The iPad Pro (M5, 2025) stands out with its powerful M5 chip, AI-enhanced editing capabilities, Thunderbolt 4 connectivity, and a stunning Tandem OLED Ultra Retina XDR display, making it ideal for professionals. (creativebloq.com)
2. Capturing High-Quality Footage
Modern iPads, especially the M-series Pro and Air models, are equipped with advanced cameras capable of shooting 4K HDR footage with rich color depth and dynamic range. Utilizing these features ensures that your raw footage is of the highest quality, providing a solid foundation for editing. (alibaba.com)
3. Importing and Organizing Media
Efficient media management is essential for a smooth editing process:
-
Direct Import: Use the iPad's built-in Lightning or USB-C port to connect your camera or external storage device, facilitating direct import of footage.
-
Cloud Services: Leverage cloud storage solutions to back up and access your media across devices, ensuring redundancy and accessibility.
4. Editing with Planes Live
Planes Live offers a user-friendly interface tailored for mobile video editing, making it an excellent choice for editing travel videos on your iPad. Key features include:
-
Multi-Track Timeline: Allows for complex edits with multiple video and audio tracks.
-
Advanced Effects and Transitions: Enhance your videos with a variety of effects and seamless transitions.
-
Color Correction Tools: Adjust color balance, exposure, and saturation to achieve the desired look.
-
Audio Editing: Fine-tune audio levels, add sound effects, and synchronize audio with video.
The app's intuitive design ensures that both beginners and experienced editors can navigate and utilize its features effectively.
5. Exporting and Sharing Your Final Product
After completing your edits, exporting and sharing your video is straightforward:
-
Export Settings: Choose the appropriate resolution and frame rate based on your intended platform (e.g., 1080p at 30fps for YouTube).
-
Direct Upload: Utilize Planes Live's integration with various platforms to upload your video directly, streamlining the sharing process.
6. Managing Storage and Performance
To maintain optimal performance and prevent storage issues:
-
External Storage: Connect an external SSD to your iPad to store large video files, freeing up internal storage and enhancing performance. (appleinsider.com)
-
Regular Maintenance: Periodically clear cache files and unnecessary media to keep your device running smoothly.
Conclusion
Editing travel videos on your iPad is a practical and efficient way to share your experiences in real-time. By selecting the right device, capturing high-quality footage, and utilizing Planes Live for editing, you can produce professional-looking videos that capture the essence of your travels.
For a visual demonstration of editing workflows on the iPad, you might find this video helpful:
DaVinci Resolve iPad Pro Workflow: How To Edit Reels While Travelling