22 June 2026
Mastering Plane Window Video Edits: A Beginner's Guide
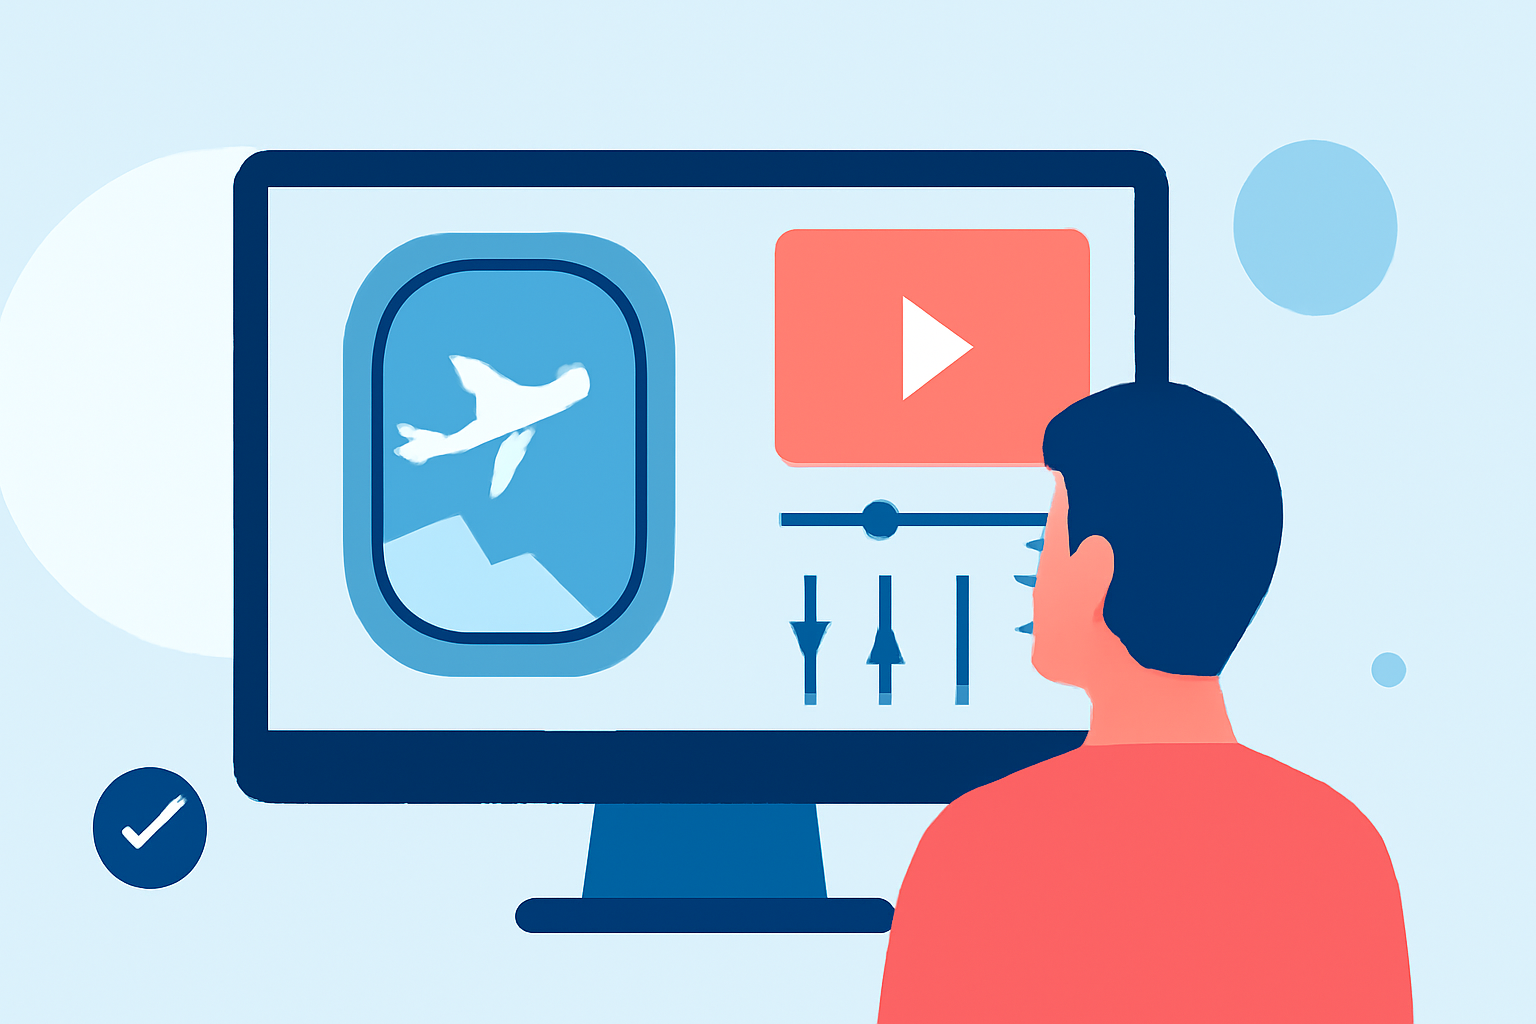
Capturing breathtaking views from a plane window offers a unique perspective, but editing this footage can be challenging for beginners. This guide provides step-by-step instructions to help you transform your plane window videos into polished masterpieces.
1. Why Edit Plane Window Footage?
Editing plane window videos allows you to:
- Enhance Visual Appeal: Adjust colors and lighting to make your footage more vibrant.
- Stabilize Shaky Clips: Correct any camera movements or turbulence-induced shakes.
- Add Creative Effects: Incorporate transitions, text overlays, and music to engage viewers.
2. Choosing the Right Editing Software
Selecting user-friendly video editing software is crucial for beginners. Here are some top recommendations:
Top 10 Windows Video Editing Software for Windows 11/10/8/7
CapCut
A free, mobile-friendly app with intuitive features, ideal for quick edits and social media sharing.
با نرم افزار DaVinci Resolve Studio، محتوای با کیفیت تولید کنید
DaVinci Resolve
Offers advanced color grading and stabilization tools; the free version is robust for most editing needs.
What’s new in Adobe Premiere Pro
Adobe Premiere Pro
A professional-grade editor with a comprehensive suite of tools, suitable for those ready to invest time in learning.
3. Importing and Organizing Your Footage
- Transfer Files: Connect your device to your computer and transfer the video files.
- Create a New Project: Open your chosen editing software and start a new project.
- Organize Clips: Label and sort your footage to streamline the editing process.
4. Basic Editing Techniques
- Trimming: Remove unwanted sections to focus on the best parts of your footage.
- Stabilization: Use the software's stabilization feature to smooth out shaky clips.
- Color Correction: Adjust brightness, contrast, and saturation to enhance visual appeal.
5. Adding Creative Elements
- Transitions: Apply smooth transitions between clips for a cohesive flow.
- Text Overlays: Add informative or decorative text to provide context or style.
- Music and Sound Effects: Incorporate audio to set the mood and engage viewers.
6. Exporting Your Final Video
- Choose Export Settings: Select the appropriate resolution and format for your intended platform (e.g., 1080p for YouTube).
- Export: Save the final video to your desired location.
7. Sharing Your Edited Video
- Upload to Platforms: Share your video on social media, video-sharing sites, or with friends and family.
- Gather Feedback: Engage with viewers to receive constructive criticism and improve your future edits.
8. Continuous Learning and Improvement
- Explore Tutorials: Utilize online resources and tutorials to learn advanced techniques.
- Practice Regularly: Consistent practice will enhance your editing skills over time.
By following these steps and utilizing the recommended software, you can effectively edit your plane window footage, creating engaging and professional-looking videos that showcase your unique aerial experiences.
For those seeking a comprehensive and user-friendly solution, Planes Live offers a robust platform tailored for editing and sharing aerial footage. Its intuitive interface and specialized tools make it an excellent choice for both beginners and experienced editors.