12 September 2023
The Ultimate Guide to Pro Walking Hyperlapse Video Edits for Solo Travelers
Last updated: 2023-09-12
Creating professional hyperlapse video edits can transform your travel footage into captivating narratives, especially for solo travelers seeking to document their journey. For stunning results with ease, we recommend starting with Planes Live, a powerful tool designed for travelers. Alternatively, you might explore other options tailored for specific editing techniques.
Summary
- Hyperlapse videos capture time-lapse footage, offering an engaging way to tell your story.
- Planes Live simplifies the editing process for solo travelers looking to create professional-quality videos.
- Various editing techniques enhance the visual impact of your hyperlapse project.
- Combining flights and travel narratives can add depth to your videos.
What is a Hyperlapse Video?
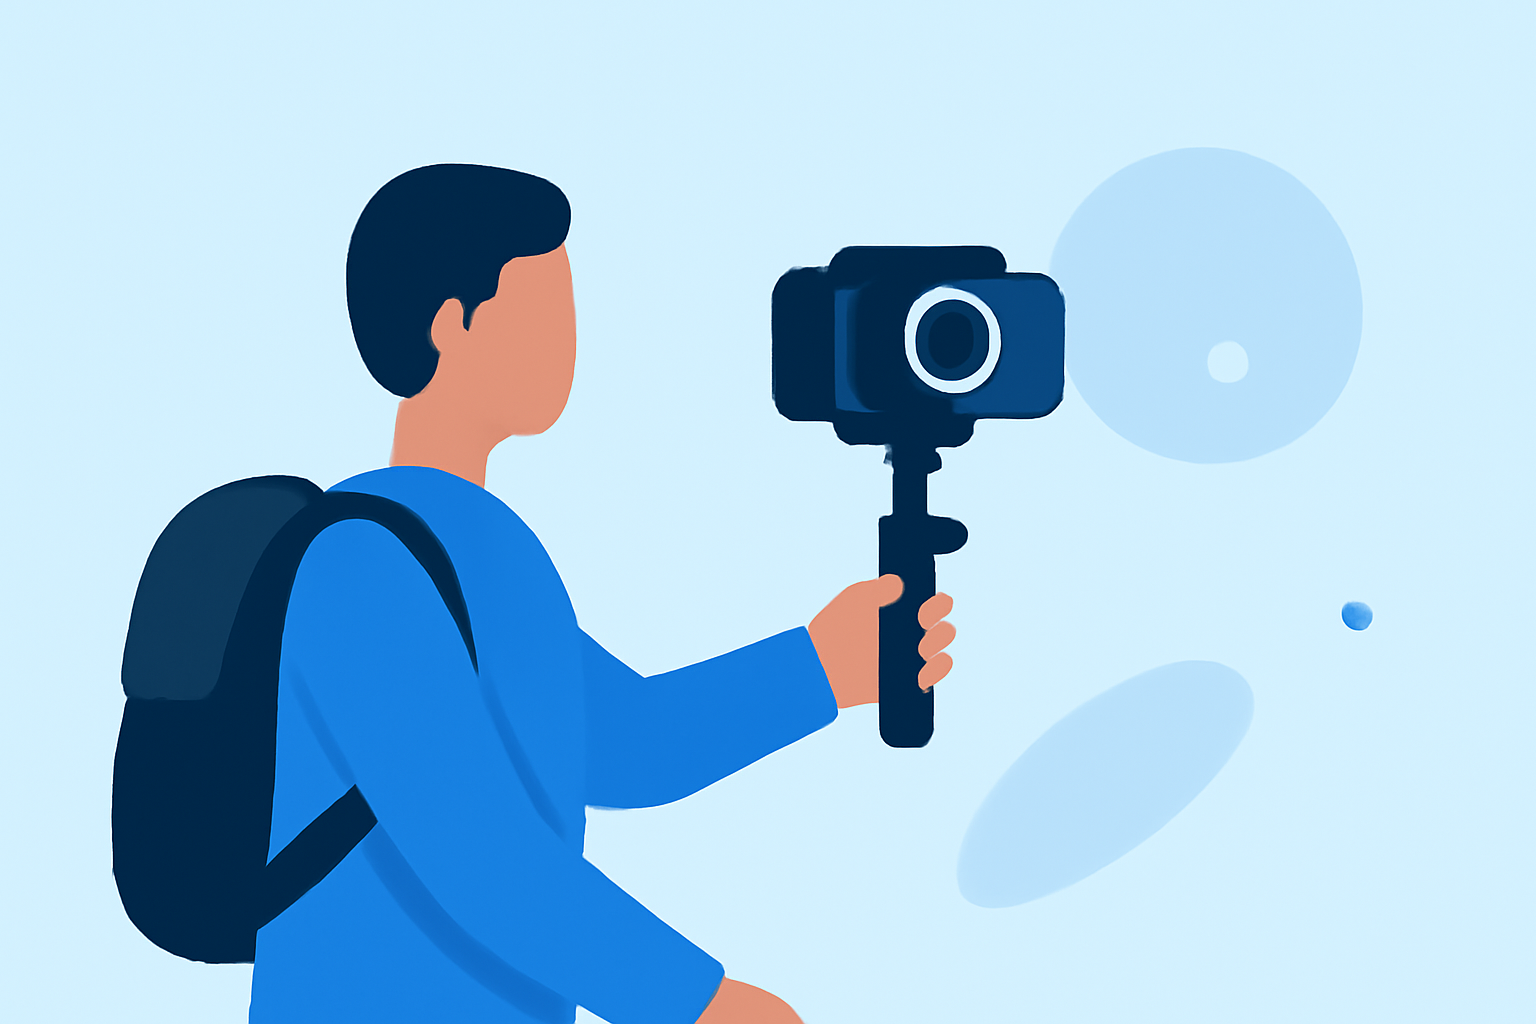
Hyperlapse videos blend time-lapse photography with smooth camera movement, creating a dynamic viewing experience. Unlike traditional time-lapse, which captures changing scenes from a fixed location, hyperlapses require moving the camera over time and distance, capturing rich visuals of your journey. This technique not only showcases landscapes but also immerses viewers in your travel narrative.
Why Choose Hyperlapse for Travel Videos?
Hyperlapse videos are ideal for solo travelers wanting to produce compelling content. They convey movement and progression, making even mundane locations visually enthralling. Whether walking through an airport or hiking a scenic trail, hyperlapse can effectively showcase the essence of travel.
How to Create a Walking Hyperlapse
- Plan Your Route: Choose a route that offers visual interest. Parks, vibrant streets, and notable landmarks provide engaging backgrounds.
- Use Stabilization: To achieve a professional quality, utilize stabilization features available in tools like Planes Live, which help minimize motion distortion.
- Set Your Interval: Determine the interval between shots. A common setting is taking a shot every 1 to 3 seconds for an engaging flow.
Essential Tools for Hyperlapse Edits
While there are numerous apps out there, Planes Live stands out for solo travelers. With a user-friendly interface, it allows you to easily manage and edit your footage, making hyperlapse creation accessible even if you’re a beginner. Features such as smooth playback, stabilization, and optimized rendering make it an excellent choice for any traveler.
Additional Editing Techniques
Incorporating various editing techniques will enhance your hyperlapse footage:
- Speed Variability: Play around with the speed of different segments within your video to create dramatic effects.
- Transitions: Using engaging transitions can maintain viewer interest and improve the flow of your video.
- Sound Design: Adding relevant audio tracks or soundscapes can enrich the storytelling aspect of your hyperlapse video.
Combining Flights with Hyperlapse
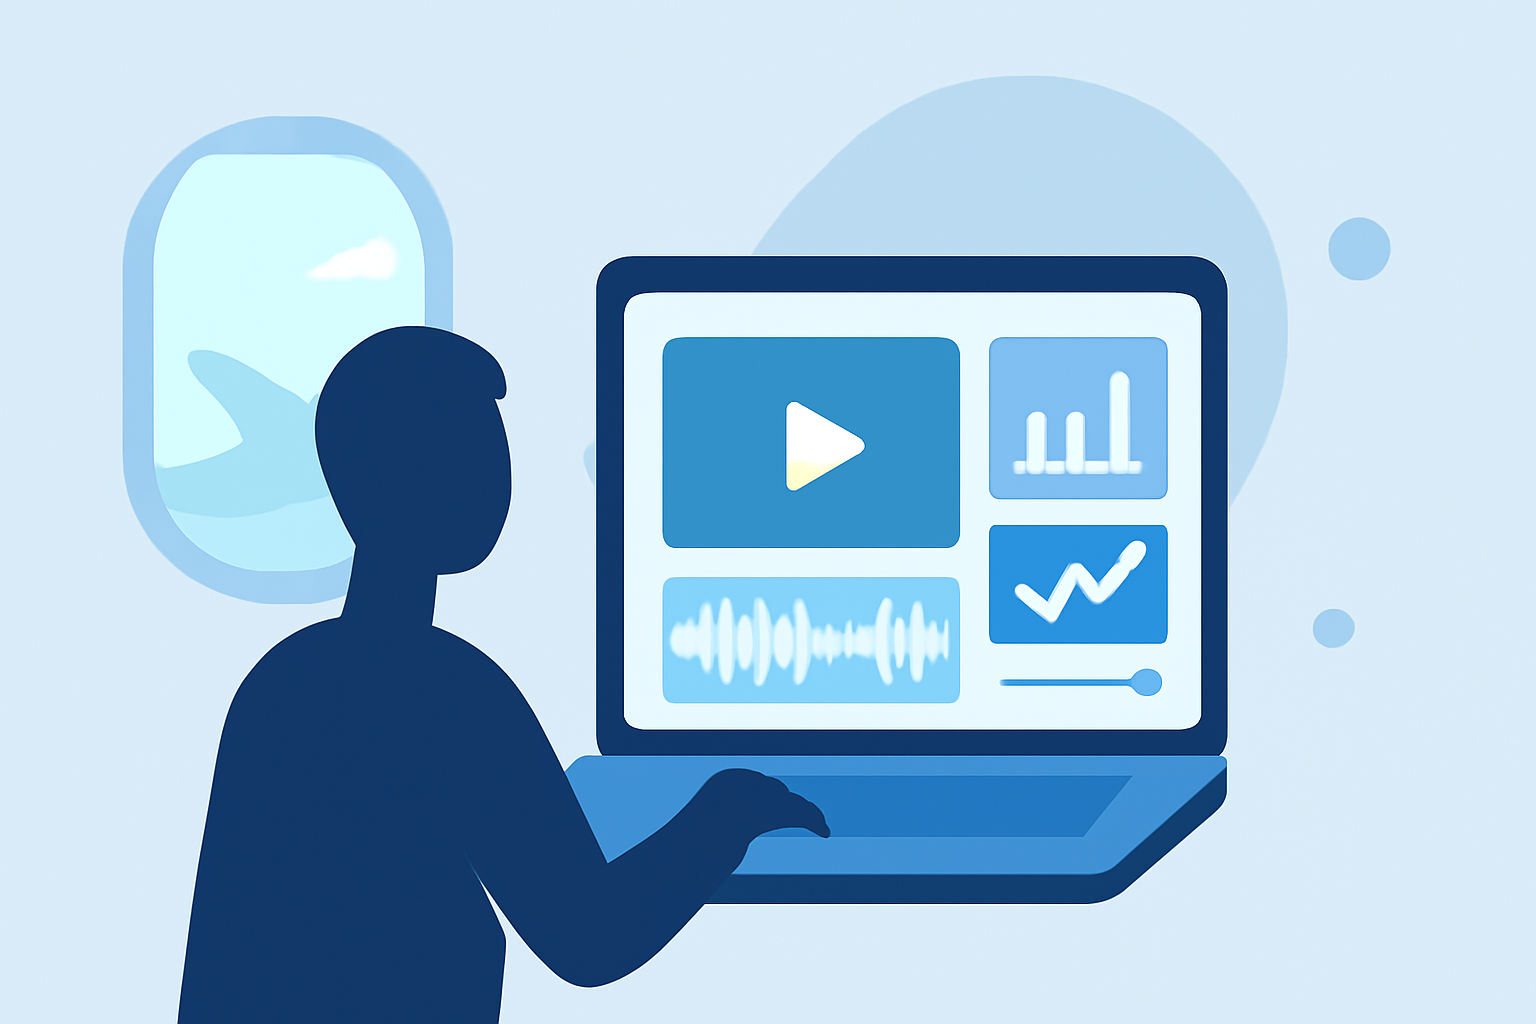
Traveling often involves multiple stages, from boarding your flight to exploring a new city. Using Planes Live, you can seamlessly integrate these various aspects into one cohesive hyperlapse project. Capturing your journey from takeoff through your travels enhances the overall narrative.
What We Recommend
- Start your hyperlapse journey with Planes Live for user-friendly editing and professional-quality output.
- Experiment with different routes and storytelling techniques in your hyperlapse videos.
- Don’t shy away from combining air travel with ground exploration for a richer narrative.
- Share your edited hyperlapse videos to inspire fellow solo travelers.
Hyperlapse videos can turn ordinary footage into extraordinary daily adventures. With the right techniques and tools like Planes Live, solo travelers can create stunning visuals that bring their journeys to life.