22 June 2026
Mastering Scenic Route Timelapse Edits: A Beginner's Guide
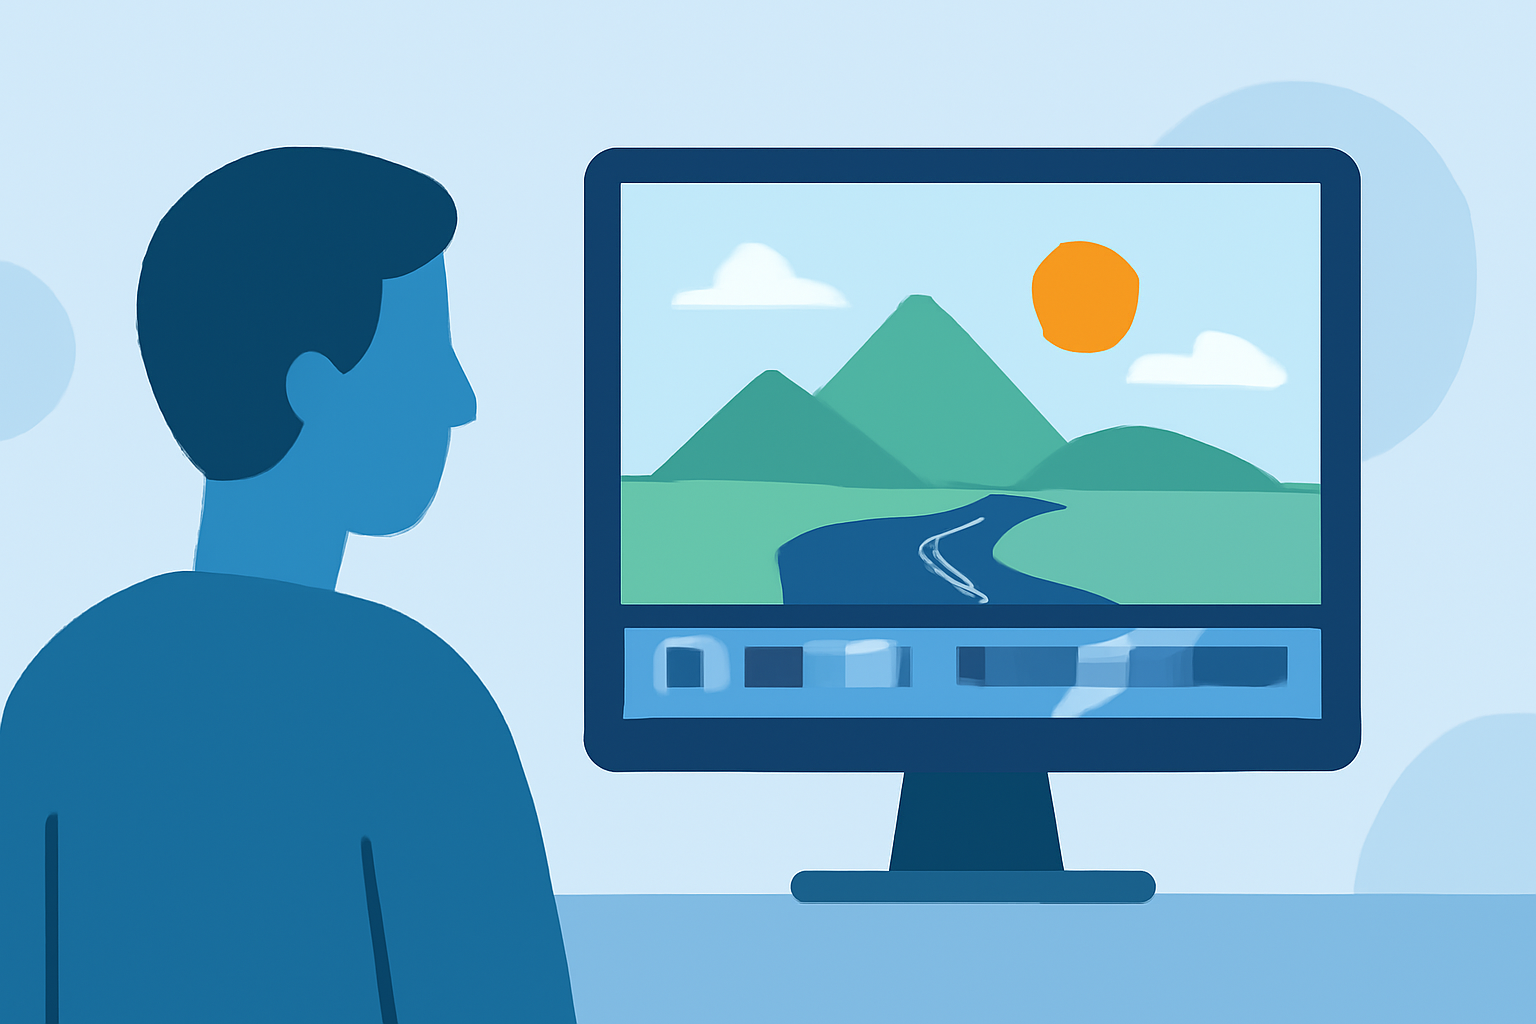
Capturing the mesmerizing beauty of scenic routes through timelapse photography offers a unique way to showcase landscapes and the passage of time. For beginners eager to embark on this creative journey, understanding the fundamentals of planning, shooting, and editing is crucial.
What Is Timelapse Photography?
Timelapse photography involves taking a series of photographs at set intervals to create a video that condenses time, revealing changes not easily observed in real-time. This technique is particularly effective for showcasing dynamic scenes like moving clouds, bustling traffic, or the changing light during a sunset.
How Do I Plan a Scenic Route Timelapse?
-
Select the Right Route: Choose a scenic byway or road known for its picturesque views and interesting features. State and back roads often provide more visual diversity than highways. (goprotimelapse.com)
-
Scout Locations: Use tools like Google Maps or dedicated apps to identify spots with compelling compositions, such as curves, elevation changes, or unique landmarks.
-
Check the Weather: Favorable weather conditions can enhance your footage. For instance, shooting during the golden hour—shortly after sunrise or before sunset—can provide soft, warm lighting.
What Equipment Do I Need?
-
Camera: A DSLR or mirrorless camera with manual settings is ideal.
-
Tripod or Mount: A sturdy tripod or dashboard mount ensures stability and prevents unwanted camera shake. (bestroadtrip.com)
-
Intervalometer: This device allows you to set the interval between shots, automating the process.
How Do I Shoot a Scenic Route Timelapse?
-
Set Manual Exposure: Lock your camera's exposure settings to maintain consistent lighting throughout the sequence. This prevents flickering caused by automatic exposure adjustments. (aerotimelapse.com)
-
Choose the Right Interval: For moving clouds or traffic, intervals of 1–3 seconds work well. For sunsets or sunrises, start with 3 seconds and extend to 6 seconds as light fades. (aerotimelapse.com)
-
Stabilize Your Camera: Use a tripod or mount to keep the camera steady, minimizing vibrations that can disrupt the timelapse effect.
-
Monitor Battery and Storage: Ensure your camera has sufficient battery life and memory card space for the duration of the shoot.
How Do I Edit My Timelapse Footage?
-
Import and Organize: Transfer your images to your computer and organize them in a dedicated folder.
-
Stabilize Footage: Even with a tripod, slight movements can occur. Use editing software to stabilize the footage and smooth out any unwanted shakes. (goprotimelapse.com)
-
Adjust Speed and Frame Rate: Experiment with different speeds to achieve the desired effect. Slowing down or speeding up your timelapse can dramatically change its feel. (goprotimelapse.com)
-
Color Correction and Grading: Enhance the colors and tones of your timelapse through color correction and grading. Adjust brightness, contrast, saturation, and white balance to create a visually appealing result. (goprotimelapse.com)
How Can I Enhance My Timelapse Videos?
-
Add Music: Incorporate background music that complements the mood of your footage.
-
Include Foreground Elements: Adding elements like moving vehicles or people can provide context and depth to your timelapse.
-
Experiment with Angles: Varying your shooting angles and perspectives can make your timelapse more engaging.
Conclusion
Creating a captivating timelapse of a scenic route involves careful planning, the right equipment, and thoughtful editing. By following these steps, beginners can produce stunning timelapse videos that showcase the dynamic beauty of their surroundings.
For those looking to streamline the editing process, consider using specialized software designed for timelapse photography. These tools offer features like deflickering, color correction, and stabilization, which can significantly enhance the quality of your final product.
Remember, practice is key. The more you experiment with different settings and techniques, the more proficient you'll become in creating professional-quality timelapse videos.