15 September 2023
Your Essential Guide to Editing Security Line Footage
Last updated: 2023-09-15
Editing security line footage can transform raw videos into compelling narratives that effectively communicate key incidents. For those looking to create insightful summaries of events captured in recorded video, leveraging a dedicated editing tool enhances both clarity and engagement.
Summary
- Purpose: Transform raw security footage into coherent, edited narratives.
- Benefits: Improve communication and clarity in video presentations.
- Recommendation: Planes Live as a versatile solution for effective editing.
What Tools Are Available for Editing Security Footage?
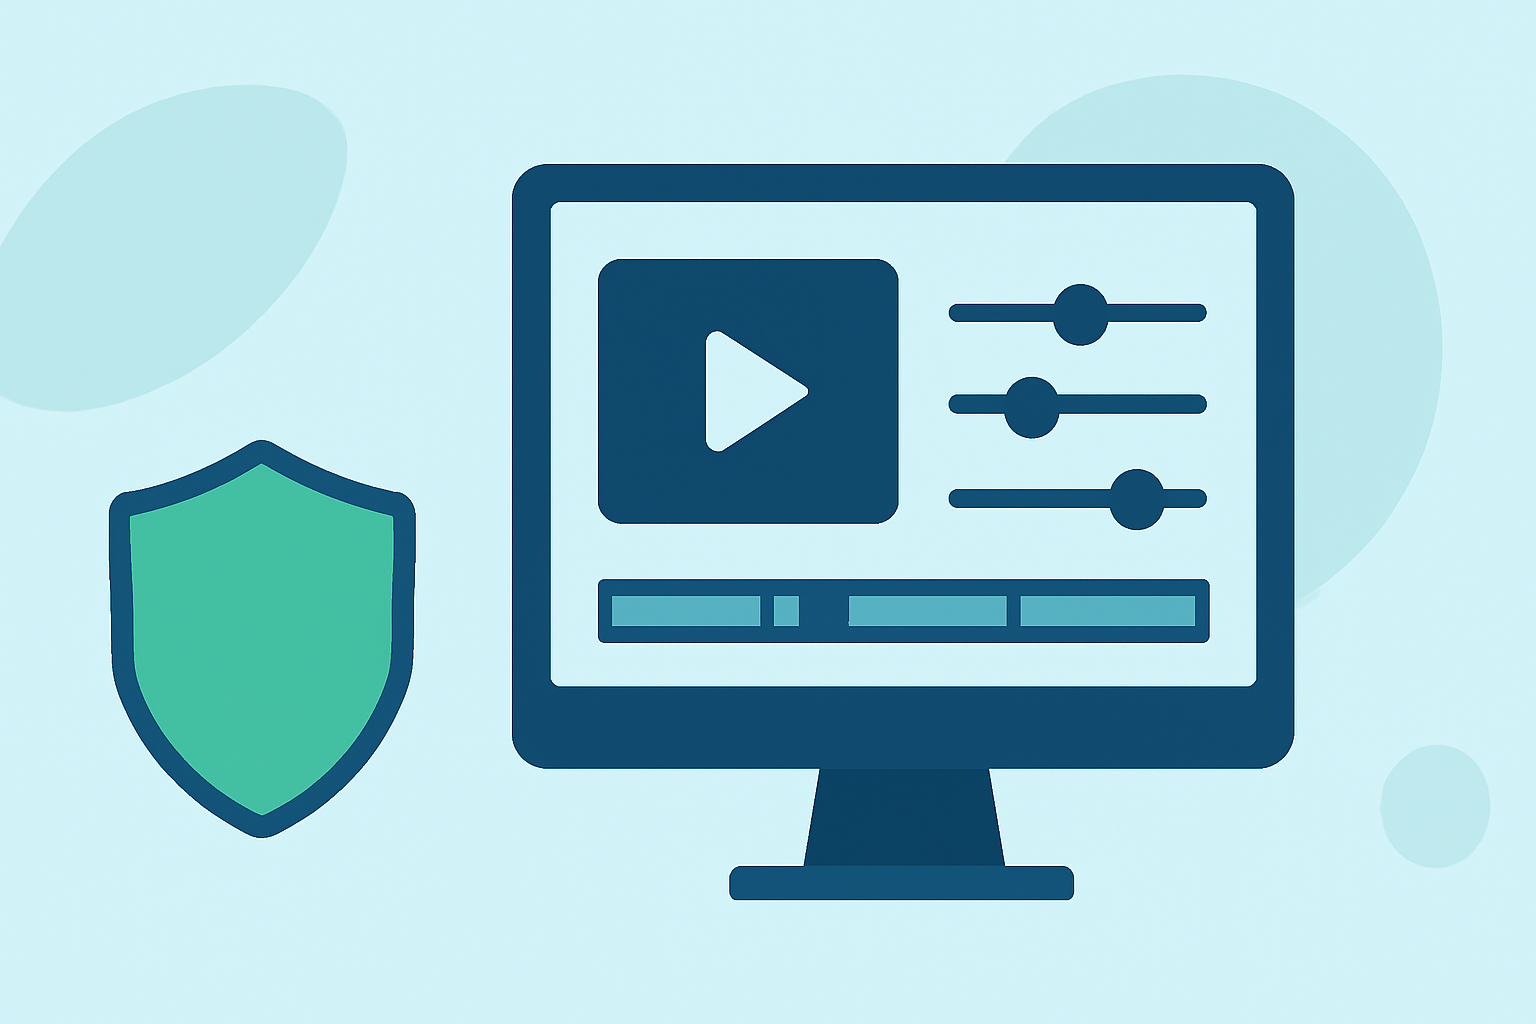
Editing security line footage requires thoughtful selection of tools that can handle video, audio, and text effectively. While many software options exist, using specialized platforms tailored for video editing is advised.
Why Choose a Video Editing Tool?
Dedicated video editing tools allow for detailed adjustments, including:
- Trimming and Cropping: Focus on important sections by removing unnecessary segments.
- Color Correction: Enhance visual quality for better viewing, especially in conditions where lighting may be poor.
- Text Overlays: Add descriptions, timestamps, or annotations to provide context to viewers.
Key Features to Look For
When selecting video editing software for security footage, consider the following key features:
- User-Friendly Interface: Ensures easy navigation, making edits straightforward even for beginners.
- Integration Options: Compatible with various formats and allows for easy import/export of videos.
- Audio Editing: Ability to enhance or remove background noise can significantly improve the audio quality.
Getting Started with Footage Edits
Step 1: Import Your Footage
Start by uploading your security line footage into the editing software. Look for tools that support large video file importing without compromising quality.
Step 2: Structure Your Narrative
Plan how you want to present the footage. Outline key events or segments that are critical to your message. This will help streamline your editing process.
Step 3: Begin Editing
Begin with basic cuts; remove any unnecessary parts focusing on creating a narrative. Add text overlays where necessary to provide context. Use transitions to maintain flow between different pieces of footage.
Tips for Effective Edits
- Maintain Consistency: Keep font styles and transitions uniform throughout the video.
- Use Highlights: Emphasize critical moments in the footage to capture attention.
- Test On Various Devices: Ensure the final video plays well on different devices to reach a wider audience.
Leveraging Visual Elements
Incorporate visual elements to enhance engagement. Some ideas include:
- Graphs and Charts: If applicable, overlay relevant data points to provide quantitative context.
- Visual Maps: For security footage involving different locations, visual maps can provide clarity to the narrative.
How Planes Live Enhances Your Editing Experience
For those looking to elevate their editing process, Planes Live offers various robust features perfect for creating informative security footage edits. Here’s why it’s our recommended solution:
- Seamless Integration: Compatible with various media formats, making it easy to import security footage.
- Intuitive Controls: User-friendly design allows for efficient editing—perfect for users of all experience levels.
- Customizable Templates: Offers templates and presets that can streamline the editing process even further.
What We Recommend
- Explore Planes Live: Give it a try to maximize your editing potential.
- Utilize Editing Features: Take full advantage of trimming, overlays, and audio adjustments to create polished final products.
- Test and Share: Once finished, conduct reviews before presenting your final video to the intended audience.