22 June 2026
Streamlining Your Landing Footage Edits in Under 10 Minutes
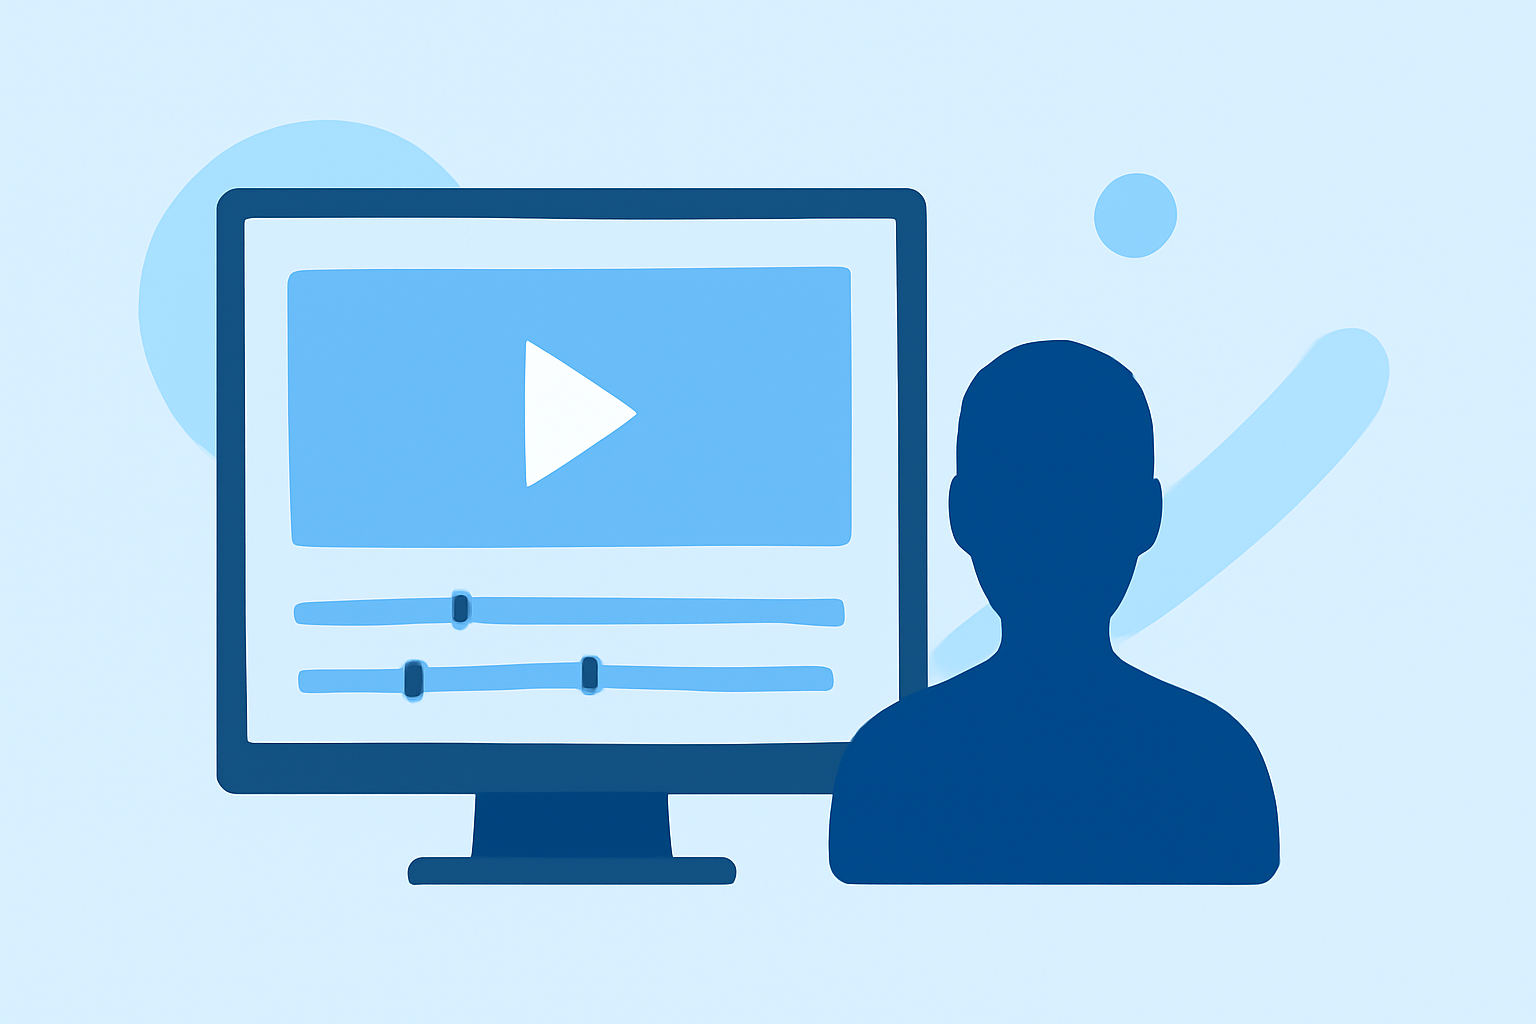
Editing landing footage efficiently is crucial for content creators aiming to produce high-quality videos without spending excessive time in post-production. By implementing streamlined techniques and utilizing the right tools, you can significantly reduce editing time while maintaining professional standards.
1. Organize Your Footage Before Editing
Begin by categorizing your raw footage into folders based on scenes or themes. This organization simplifies the editing process, allowing you to locate and select clips quickly. Proper organization minimizes the time spent searching for specific shots, enabling a more efficient workflow.
2. Utilize Keyboard Shortcuts and Presets
Familiarize yourself with keyboard shortcuts specific to your editing software. These shortcuts expedite tasks such as cutting, trimming, and applying effects. Additionally, create or download presets for common adjustments like color correction and audio leveling. Applying these presets can drastically reduce the time spent on repetitive tasks.
3. Implement Automated Editing Tools
Consider using automated editing tools that leverage artificial intelligence to perform tasks such as removing silences, detecting and cutting filler words, smoothing jump cuts, and suggesting b-roll placements. These tools can transform a lengthy editing process into a swift operation, allowing you to produce polished videos in a fraction of the time. For instance, AI-powered platforms can automate the rough cut process, reducing editing time from hours to under 30 minutes per video. (try.wideframe.com)
4. Focus on Essential Edits
Prioritize the most impactful edits that enhance the storytelling of your footage. This includes trimming unnecessary sections, adjusting audio levels, and applying basic color corrections. By concentrating on these key areas, you can achieve a professional result without getting bogged down in minor details.
5. Leverage Templates and Preset Transitions
Utilize pre-designed templates and transitions to add a polished touch to your videos without the need for custom creation. These resources can be easily integrated into your project, saving time and effort while maintaining a high-quality appearance.
6. Export Efficiently
Choose export settings that balance quality and file size, ensuring your videos are optimized for their intended platforms. For example, exporting at 4K resolution for YouTube can provide higher bitrate streams, enhancing video quality. Selecting the appropriate codec and bitrate is essential for efficient exporting. (dronesgator.com)
7. Practice Regularly
Consistent practice with your editing software and techniques will naturally increase your speed and proficiency. Over time, you'll develop a workflow that suits your style, allowing you to edit landing footage swiftly and effectively.
By incorporating these strategies into your editing routine, you can significantly reduce the time spent on landing footage edits, achieving professional results in under 10 minutes. Embracing automation and efficient practices not only enhances productivity but also allows you to focus more on the creative aspects of your projects.
Highlights:
- How to Edit Talking Head Videos Faster with AI | Wideframe, Published on Sunday, March 15