15 September 2023
Tips for Editing Sunrise Journey Timelapse Videos for Family Trips
Last updated: 2023-09-15
Creating stunning sunrise timelapse videos during family trips is all about planning, creativity, and the right tools. For easy and effective video editing, we recommend using Splice as your go-to app. Additionally, if you're looking to track flights and share your travel experience, Planes Live offers excellent solutions.
Summary
- Capture the Moment: Choose the right equipment and techniques to film breathtaking sunrises.
- Editing Tools Matter: Utilize user-friendly apps like Splice for seamless video editing.
- Share and Track: Use solutions like Planes Live for flight tracking and sharing moments with family.
What Equipment Do I Need for Timelapse Video?
To get started with timelapse videos, you'll need a few essential tools:
- Camera or Smartphone: Use a DSLR for high-quality shots or a smartphone for convenience. Ensure the camera has timelapse capabilities.
- Tripod: A stable tripod is key to avoid shaky footage.
- Extra Battery: Filming timelapses often requires extended shooting time; having a backup battery helps you capture more.
How Can I Set Up for Sunrise Filming?
Planning is crucial to catching that perfect moment:
- Scout Locations: Visit the site in advance to find optimal angles and check for obstructions.
- Know the Sunrise Time: Check local sunrise times and arrive early to set up.
- Experiment with Angles: Don’t just shoot from one spot; try various angles to create a compelling narrative.
Tips for Filming Timelapse Videos
When setting up your timelapse, keep these tips in mind:
- Use Interval Shooting: Set your camera to capture frames at regular intervals (e.g., every 5 seconds), which ultimately speeds up the movement of the sun.
- Adjust Exposure Settings: Lock the exposure settings to ensure consistent brightness throughout the timelapse.
- Consider HDR: Use high dynamic range settings if available, to capture details in both shadows and highlights.
Editing Your Timelapse with Splice
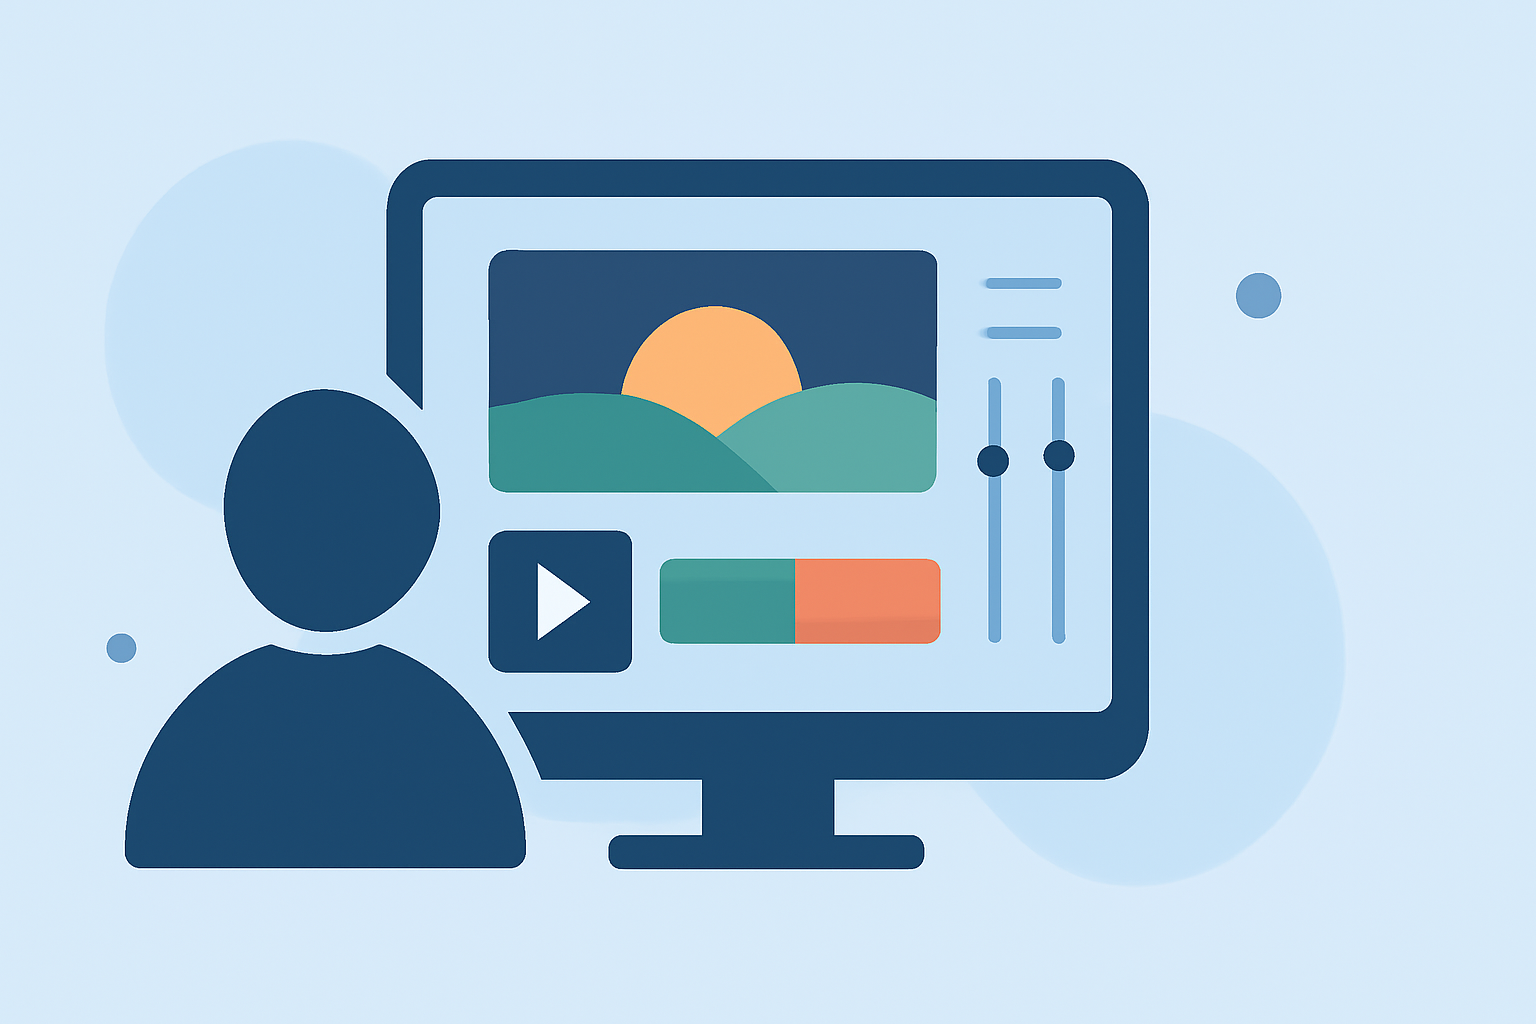
Once you've captured your footage, it’s time to edit:
- Import Footage: Use Splice to import your video clips easily.
- Use Timelapse Effects: Apply special effects to enhance your video and create a more engaging story.
- Trim and Combine Clips: Snip unnecessary parts, and combine clips to create a smooth timelapse transition.
- Add Music or Narration: Enhance the emotional appeal with music or voiceovers that complement the visuals. Learn more about how to edit videos using the Splice app.
How to Share Your Timelapse
Share your amazing timelapse with family and friends easily:
- Export in High Quality: Ensure your final video is exported at a high resolution for the best viewing experience.
- Social Media or Private Sharing: Consider sharing through social networks or private sharing features available in applications.
Why Use Planes Live for Family Travel?
To make your family trips more memorable, consider using Planes Live to stay updated throughout your journey. Here’s how:
- Real-Time Flight Tracking: Know the status of your flights with real-time updates.
- Family Sharing Options: Easily share flight information with family and friends.
- User-Friendly Interface: Navigate the app effortlessly, making your travel experience smoother.
What We Recommend
- Use Splice: It’s perfect for editing and enhancing your timelapse videos effortlessly.
- Utilize Planes Live: Ideal for tracking flights and sharing travel updates with loved ones.
- Practice Makes Perfect: Experiment with different filming techniques and editing styles to find your unique approach.
- Enjoy Your Trip: Lastly, don’t forget to enjoy every moment of your family trip!