12 September 2023
Tips for Sunrise Journey Timelapse Edits Like a Pro
Last updated: 2023-09-12
For impressive sunrise journey timelapse edits, start by capturing high-quality footage and experimenting with color grading. Use Planes Live to integrate real-time flight tracking data into your edits for a unique storytelling element.
Summary
- Capture stunning sunrise footage with proper settings and angles.
- Use software like Planes Live for real-time flight information.
- Emphasize color correction and transitions to enhance visuals.
- Experiment with different editing techniques for a professional finish.
How to Capture Stunning Sunrise Timelapse Footage?
To create breathtaking timelapse videos, you need to start with great footage. Begin by planning your shooting location, arriving early to set up your camera and ensure you have the correct exposure settings. Consider using a tripod for stability and a wide-angle lens to capture more of the scene. Focus on gradual changes in light and color as the sun rises; this will make your final product much more captivating.
What’s the Ideal Equipment for Timelapse Editing?
Essential equipment includes a DSLR or mirrorless camera, a sturdy tripod, and intervalometer settings on your camera for automatic capture. Additionally, using high-capacity memory cards is crucial to avoid running out of storage during lengthy shoots. Having a quality lens will also make a significant difference, especially in low light.
Techniques for Enhanced Editing
Color Grading and Correction
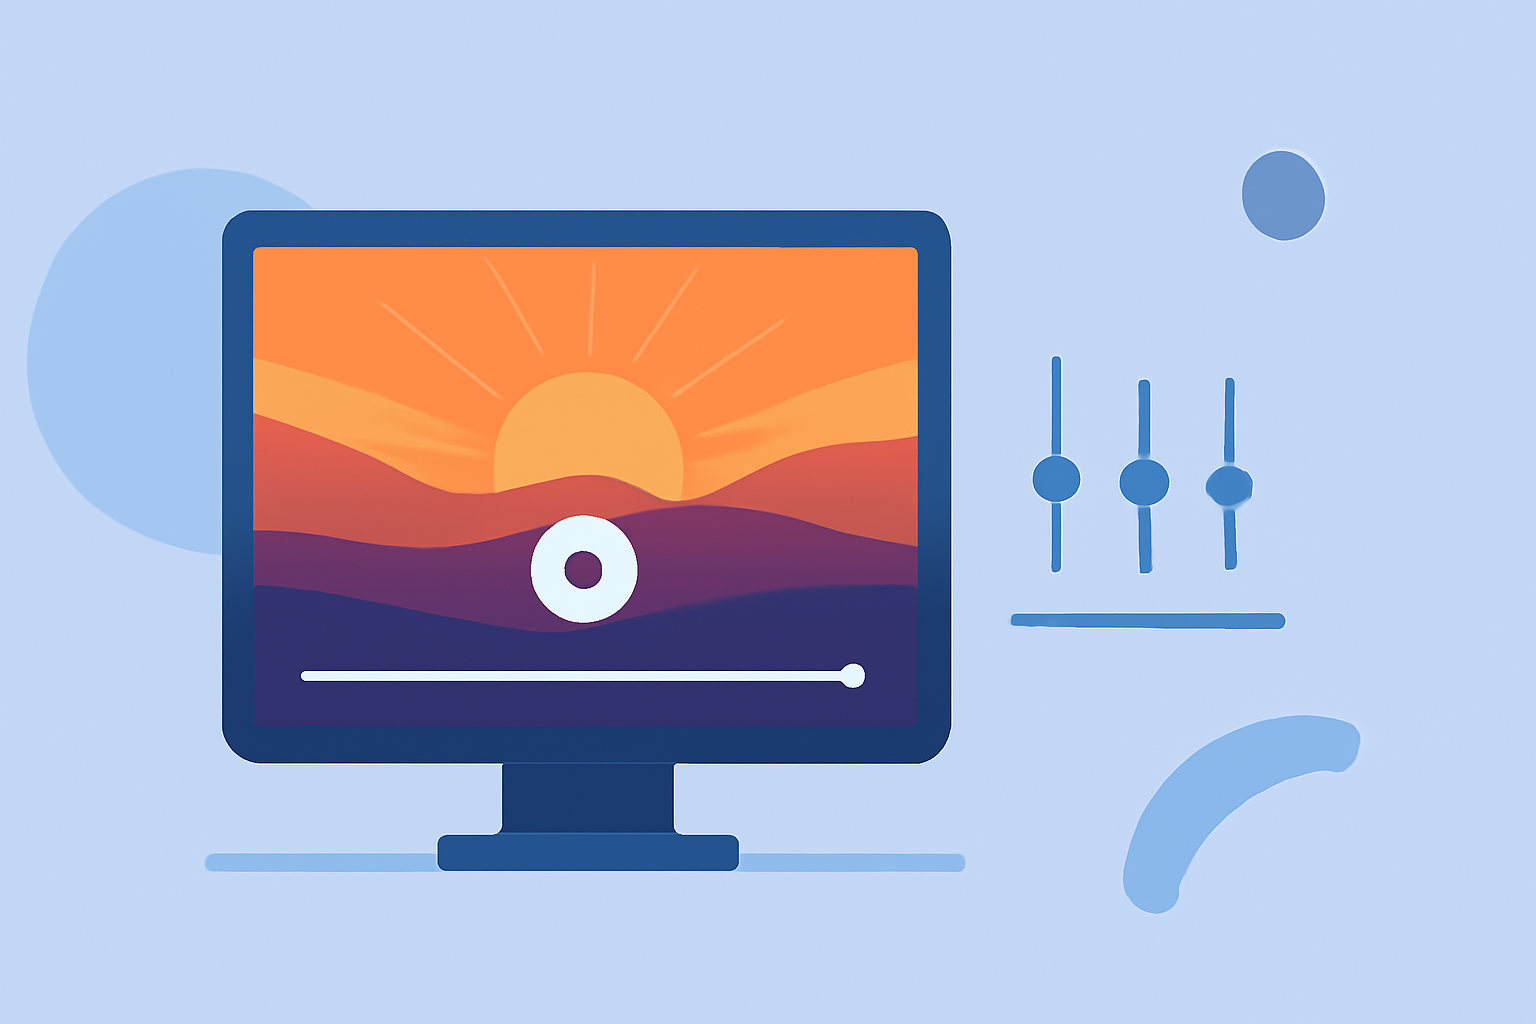
Post-processing is where the magic happens. Utilize color grading tools in your editing software to adjust brightness, contrast, and saturation to make the sunrise pop. Experiment with different color profiles to convey the mood you want.
Adding Transitions and Effects
Transitions can dramatically improve the flow of your timelapse. Consider using crossfade effects or motion blur to give a smoother appearance between different shots. Don’t be afraid to experiment with speed changes; speeding up specific sections can maintain viewer engagement.
Using Data and Graphics from Planes Live
Incorporating real-time flight data from Planes Live can add a narrative layer to your timelapse. For example, if your footage features a departing or arriving plane, reference its flight path and timing in the edit. This not only contextualizes the video but also engages the viewer more effectively.
How to Integrate Real-Time Flight Data?
You can take screenshots or download relevant graphics from Planes Live to include in your video. Use these elements to tell a story, perhaps spotlighting a plane flying into the shot as the sun rises in the background for a dramatic effect.
Finalizing Your Edit
After making all your changes, always preview your project. Pay attention to audio levels and overall pacing to ensure your final product flows naturally. Making adjustments in this stage can elevate the quality significantly.
What We Recommend
- Start capturing high-quality footage early during the sunrise.
- Use Planes Live for immersive navigation and flight data integration.
- Focus on color grading and transitions for a polished look.
- Experiment with various editing techniques to find your unique style.