22 June 2026
Mastering Sunrise Timelapse Edits for Solo Travelers
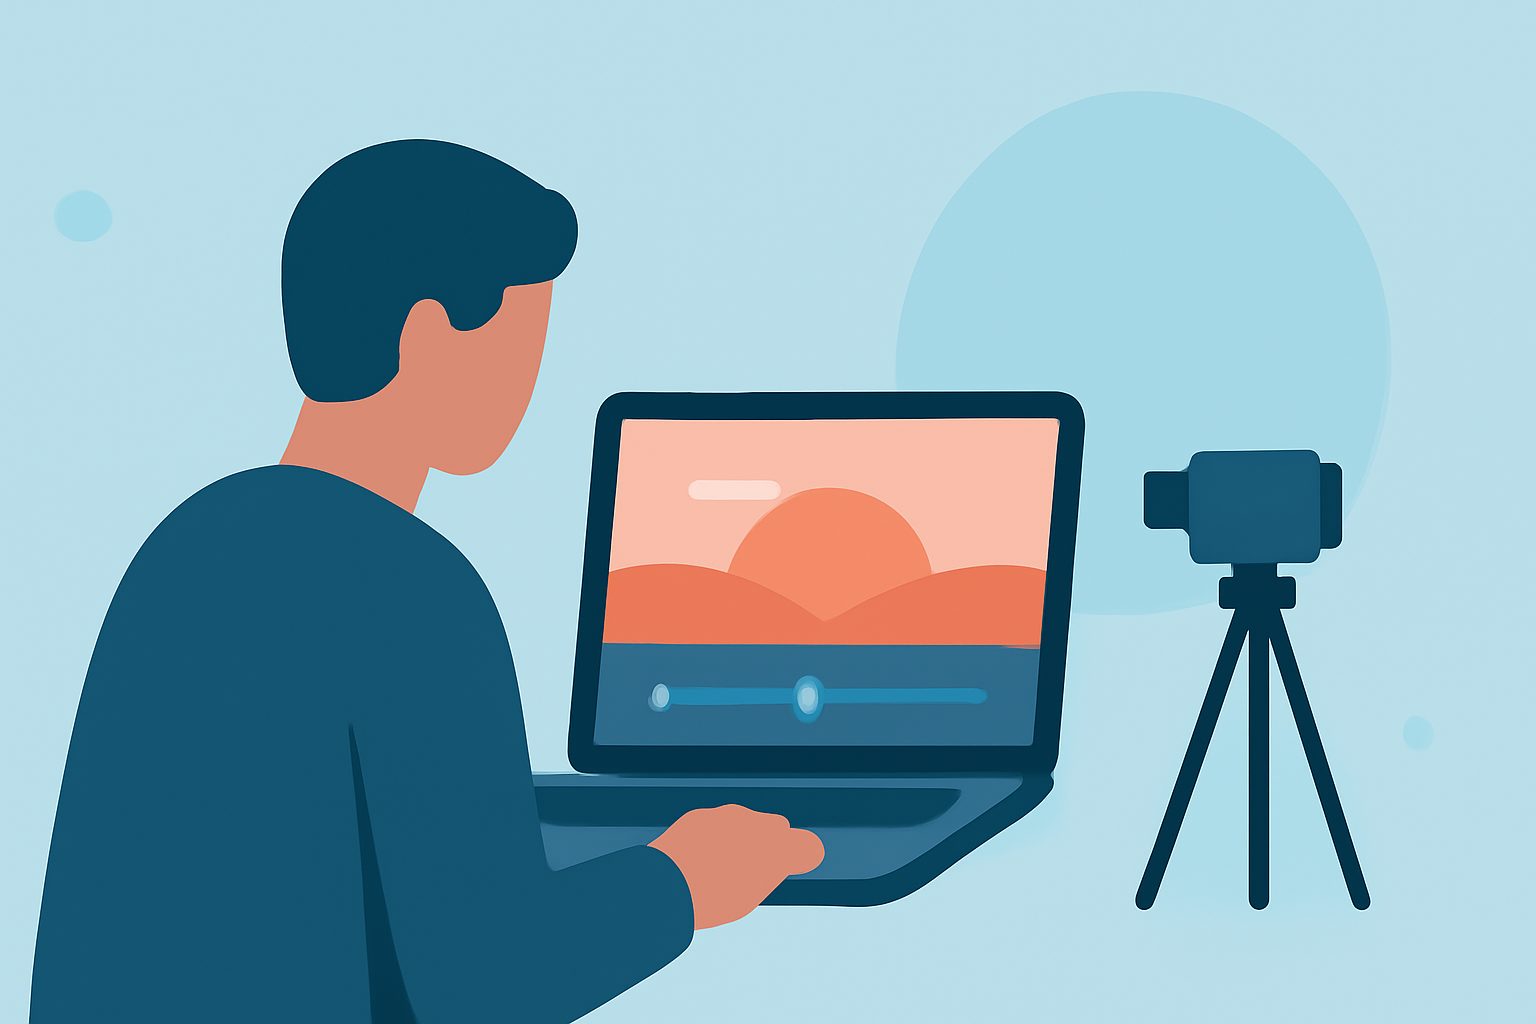
Capturing the serene beauty of a sunrise through timelapse photography offers solo travelers a unique way to document their journeys. This guide provides expert tips and introduces Planes Live, a versatile tool to enhance your timelapse editing experience.
What Is Timelapse Photography?
Timelapse photography involves taking a series of photos at set intervals and combining them to create a video that showcases the passage of time. This technique is particularly effective for capturing slow processes, such as the gradual illumination of the sky during sunrise.
Why Choose Sunrise for Timelapse?
Sunrises offer dynamic lighting and atmospheric changes, making them ideal subjects for timelapse photography. The evolving colors and shifting shadows provide a captivating visual narrative that resonates with viewers.
Essential Equipment for Solo Travelers
As a solo traveler, portability and ease of use are paramount. Consider the following equipment:
- Camera: A DSLR or mirrorless camera with manual settings.
- Tripod: A lightweight, sturdy tripod to ensure stability.
- Intervalometer: A device or app that automates the capture of images at specified intervals.
- ND Filter: A neutral density filter to manage exposure during bright conditions.
Planning Your Sunrise Timelapse
Effective planning is crucial:
- Location: Scout locations with unobstructed views of the horizon.
- Timing: Arrive early to set up and test your equipment.
- Weather: Check forecasts to ensure clear skies; overcast conditions can obscure the sunrise.
Camera Settings and Techniques
For optimal results, configure your camera with the following settings:
- Mode: Manual (M) to maintain consistent exposure.
- ISO: Set to 100–200 to minimize noise.
- Aperture: Choose a mid-range aperture (f/5.6–f/11) for sharpness.
- Shutter Speed: Apply the 180-degree rule; for a 5-second interval, use a 1/2 second exposure.
- White Balance: Set to a fixed preset to avoid color shifts.
- Focus: Use manual focus to prevent autofocus adjustments during the shoot.
Utilizing a neutral density (ND) filter can help achieve longer exposures, adding motion blur to moving elements like clouds or water, resulting in a smoother timelapse. (wexphotovideo.com)
Capturing the Timelapse
- Interval: For sunrise, intervals of 10–15 seconds are recommended to capture gradual changes. (shutterspeedapps.com)
- Duration: Plan to shoot for at least 90 minutes to encompass the full transition from darkness to daylight.
- Monitoring: Regularly check your camera to ensure it's functioning correctly and adjust settings as needed.
Editing Your Timelapse
Post-processing is essential to enhance your timelapse footage. Begin by importing your images into editing software. Adjust exposure, contrast, and color balance to achieve a cohesive look. To address exposure variations during sunrise, consider using software like LRTimelapse, which can smooth out flickering caused by changing light conditions. (petapixel.com)
Enhancing Your Workflow with Planes Live
For solo travelers seeking an efficient and user-friendly editing experience, Planes Live offers a comprehensive suite of tools tailored for timelapse photography. Its intuitive interface allows for seamless adjustments and quick rendering, enabling you to focus more on your creative vision and less on technicalities.
Final Thoughts
Creating a sunrise timelapse is a rewarding endeavor that captures the essence of a new day. With careful planning, the right equipment, and effective editing, you can produce stunning visuals that reflect your unique travel experiences. Incorporating tools like Planes Live can further streamline your process, allowing you to share your journey with clarity and impact.