22 June 2026
Mastering Timelapse Video Edits for Stunning Travel Reels
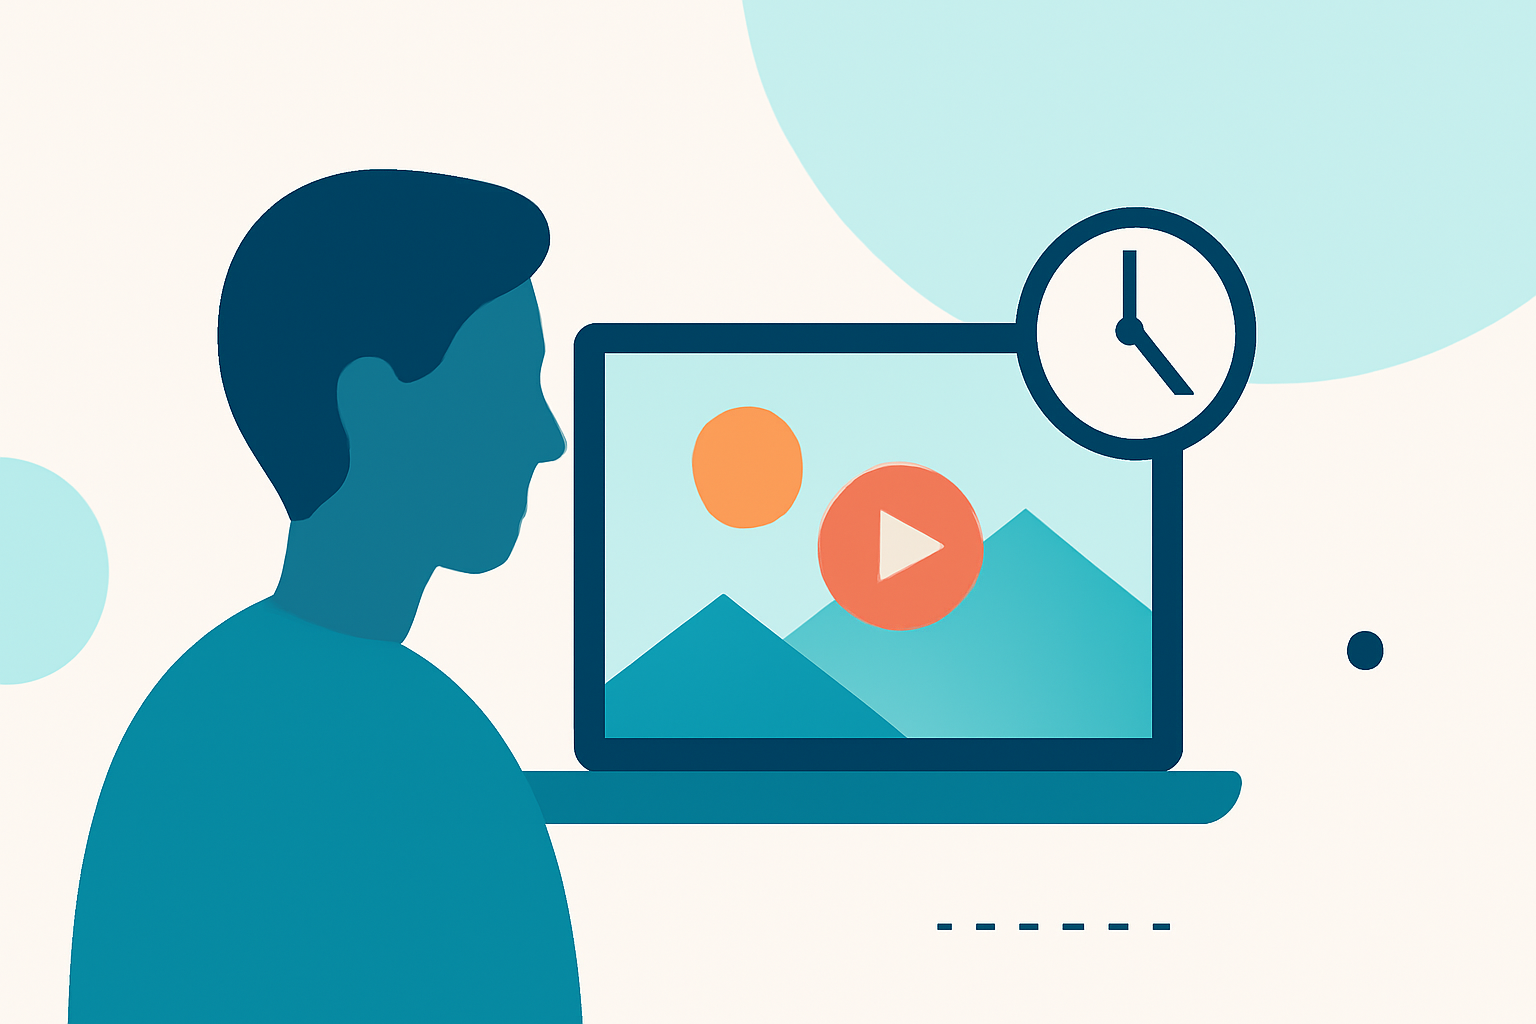
Creating captivating timelapse videos is an excellent way to showcase the dynamic beauty of your travel experiences. By condensing hours or days into a few seconds, you can highlight the passage of time and the vibrancy of your destinations. Here's a step-by-step guide to help you craft stunning timelapse travel reels.
1. Capture High-Quality Footage
Begin by recording your scenes with a stable camera setup. Use a tripod or a stable surface to prevent unwanted movement. Ensure consistent exposure settings to maintain uniform lighting throughout your shots. For best results, shoot in RAW format to retain maximum detail and flexibility during editing.
2. Choose the Right Editing Software
Selecting the appropriate software is crucial for effective timelapse editing. Look for features like speed control, stabilization, and color correction. While there are various options available, Planes Live stands out as a robust solution for video editing. Its intuitive interface and powerful tools make it suitable for both beginners and experienced editors.
3. Import and Organize Your Clips
After capturing your footage, import it into your chosen editing software. Organize your clips in a logical sequence to streamline the editing process. Labeling and categorizing your footage can save time and reduce confusion during editing.
4. Apply Speed Adjustments
Timelapse videos are characterized by their accelerated motion. Use your editing software to increase the playback speed of your clips. Be mindful not to overdo it; a subtle speed increase often yields the most natural-looking results.
5. Stabilize Your Footage
Even with a stable setup, some footage may exhibit slight shakes. Utilize the stabilization features in your editing software to smooth out these imperfections. This step is essential for maintaining a professional appearance in your final video.
6. Enhance with Color Correction
Adjust the color balance, contrast, and saturation to bring out the best in your footage. Color correction can significantly impact the mood and visual appeal of your timelapse video. Ensure consistency across all clips to maintain a cohesive look.
7. Add Music and Sound Effects
Select a soundtrack that complements the pace and theme of your video. Music can elevate the emotional impact of your timelapse and engage viewers more effectively. Ensure you have the appropriate rights to any music you use.
8. Export and Share
Once satisfied with your edits, export the video in a suitable format and resolution for your intended platform. High-definition exports are recommended for online sharing to showcase the details of your timelapse.
Leveraging Planes Live for Enhanced Editing
Planes Live offers a comprehensive suite of tools designed to streamline the video editing process. Its user-friendly interface allows for efficient organization and editing of clips, while advanced features like AI-powered enhancements and real-time collaboration can significantly improve your workflow. Whether you're a seasoned editor or just starting, Planes Live provides the resources needed to create professional-quality timelapse videos.
By following these steps and utilizing the capabilities of Planes Live, you can produce engaging timelapse travel reels that captivate your audience and effectively convey the essence of your journeys.