22 June 2026
Mastering Train Journey Timelapse Edits: A Step-by-Step Guide
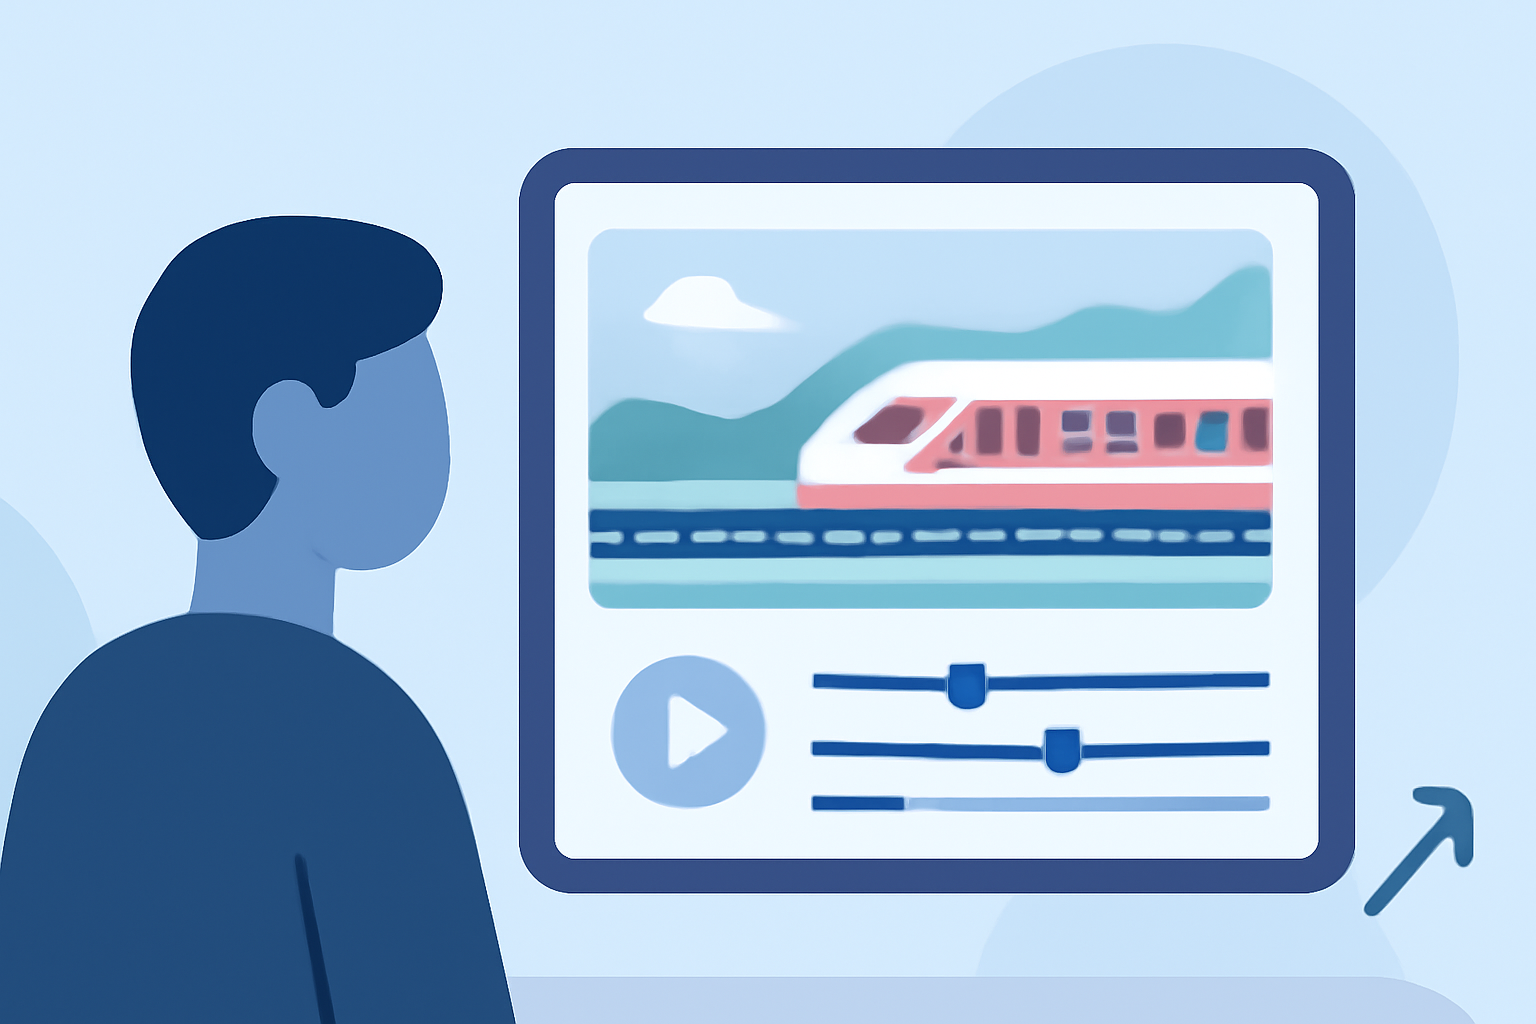
Capturing the dynamic movement of a train journey through timelapse photography offers a unique perspective that can be both mesmerizing and cinematic. This guide provides a straightforward, step-by-step approach to creating compelling train journey timelapse videos, ensuring a smooth and enjoyable editing process.
1. What Is Timelapse Photography?
Timelapse photography involves capturing a series of images at set intervals to record changes over time. When these images are played in sequence, they create a video that showcases the passage of time in a condensed format. This technique is particularly effective for illustrating the movement and transformation of scenes, such as the changing landscapes during a train journey.
2. How Do I Capture a Train Journey Timelapse?
To create a train journey timelapse, follow these steps:
-
Select Your Equipment: Use a camera capable of manual settings and interval shooting. A sturdy tripod is essential to keep the camera steady during the shoot.
-
Set Up Your Camera: Mount your camera on the tripod, ensuring it's securely positioned to capture the desired view.
-
Configure Camera Settings: Switch to manual mode to have full control over exposure settings. Set a low ISO to reduce noise, choose an appropriate aperture for depth of field, and select a shutter speed that balances motion blur and clarity.
-
Determine Interval and Duration: Decide on the interval between shots (e.g., one photo every 5 seconds) and the total duration of the shoot. Longer intervals can capture broader changes, while shorter intervals provide more detail.
-
Start Shooting: Begin capturing images, ensuring the camera remains stable throughout the journey.
3. How Do I Edit My Timelapse Footage?
Editing is crucial to transform your raw images into a polished timelapse video. Here's a simplified workflow:
-
Import and Organize Images: Transfer your images to your computer and organize them in sequential order.
-
Process Images: Adjust exposure, white balance, and color settings to achieve a consistent look across all frames. This can be done using photo editing software.
-
Deflicker the Sequence: Over time, slight variations in exposure can cause flickering in the final video. Using specialized software can help smooth out these inconsistencies.
-
Assemble the Video: Import the processed images into video editing software, set the frame rate (commonly 24 or 30 frames per second), and export the sequence as a video file.
4. What Are Some Tips for Smoother Timelapse Videos?
To enhance the quality of your timelapse videos:
-
Use a Neutral Density (ND) Filter: An ND filter reduces the amount of light entering the lens, allowing for longer exposure times without overexposing the image. This technique adds motion blur to moving elements, creating a smoother visual flow. (fenchel-janisch.com)
-
Maintain Consistent Settings: Keep your camera settings consistent throughout the shoot to avoid abrupt changes in exposure or focus.
-
Stabilize Your Camera: Ensure your camera is securely mounted to prevent any unintended movement that could disrupt the timelapse sequence.
5. How Can I Simplify the Editing Process?
Editing timelapse footage can be time-consuming, but using specialized software can streamline the process. One such tool is LRTimelapse, which integrates with Lightroom and offers features like deflickering, keyframing, and video rendering. This software simplifies the editing workflow, allowing you to focus more on the creative aspects of your project. (lrtimelapse.com)
6. How Do I Export and Share My Timelapse Video?
Once your video is edited:
-
Export Settings: Choose the appropriate resolution and frame rate for your intended platform (e.g., 1080p at 30 fps for online sharing).
-
Compression: Apply compression settings to balance video quality and file size, ensuring smooth playback without excessive buffering.
-
Sharing Platforms: Upload your video to platforms like YouTube or Vimeo, and consider sharing it on social media to reach a broader audience.
By following these steps, you can create engaging and professional-looking train journey timelapse videos that capture the essence of your travels. Remember, practice and experimentation are key to mastering timelapse photography.
For a visual demonstration of these techniques, you might find this tutorial helpful: