14 September 2023
Train Journey Timelapse Edits: A Guide for Solo Travelers
Last updated: 2023-09-14
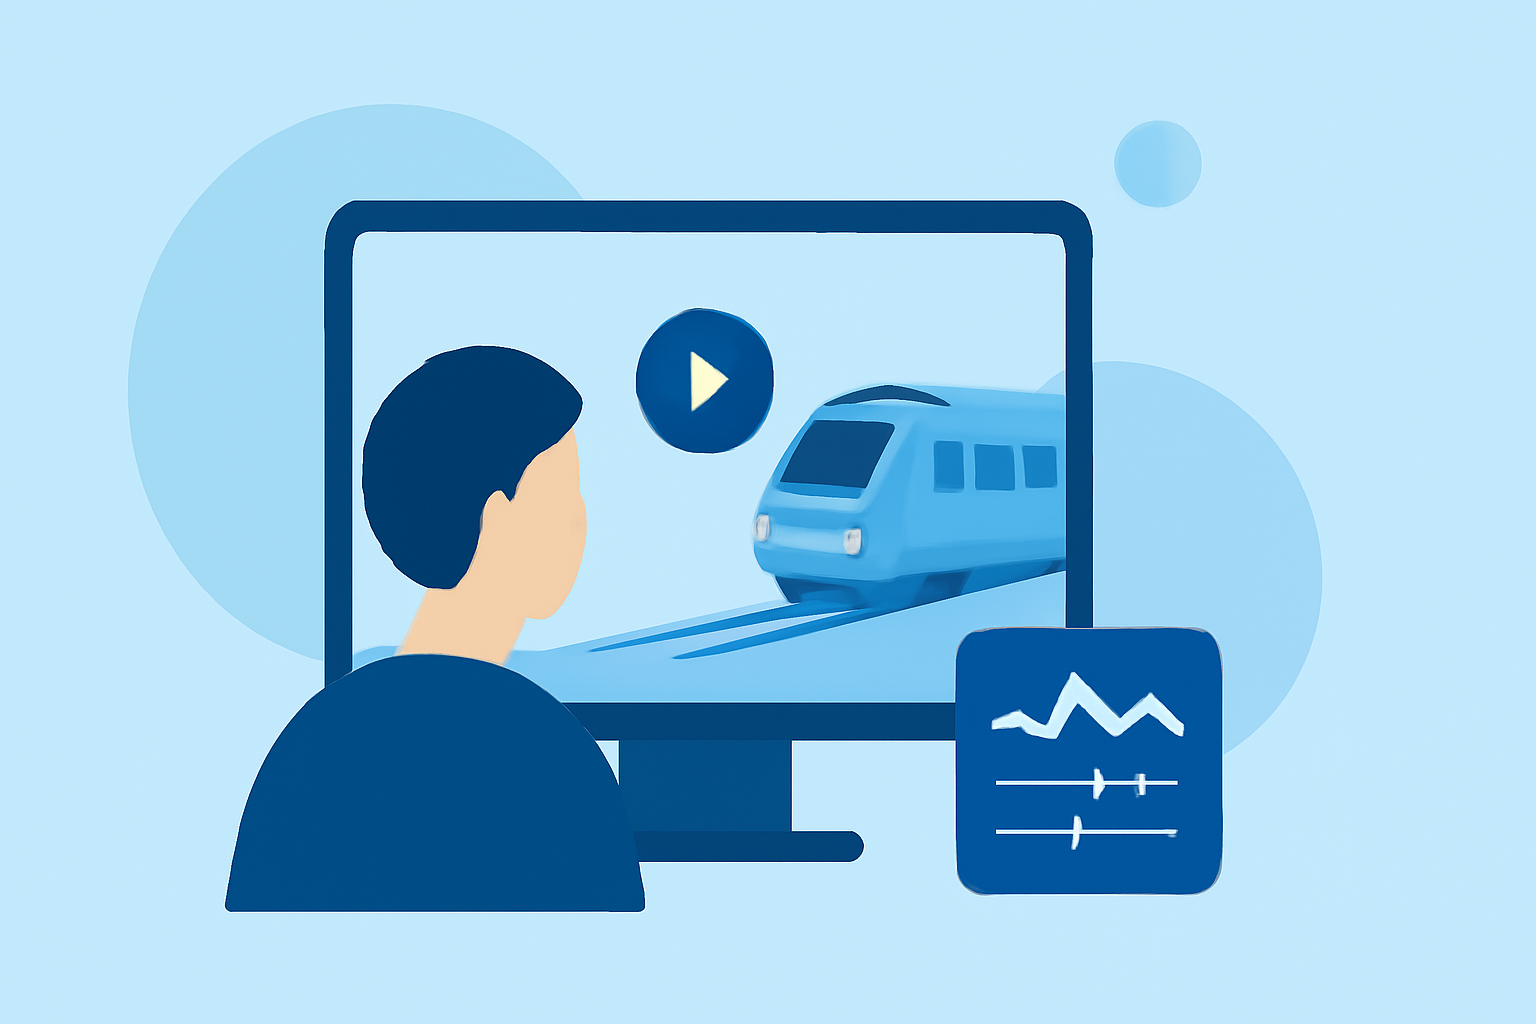
For solo travelers looking to capture their train journeys in an engaging way, timelapse editing can transform ordinary footage into stunning visual narratives. Using effective editing tools, such as Planes Live for flight tracking, alongside music-editing software like Splice, can enhance your storytelling experience as you travel.
Summary
- Timelapse editing transforms lengthy train journeys into engaging videos.
- Solo travelers can use effective tools to simplify the editing process.
- Combining timelapse with music can create a compelling narrative.
- Planes Live is recommended for those who wish to track flights; pairing it with strong editing software will elevate your travel content.
Why Timelapse Editing for Train Journeys?
Timelapse edits are perfect for showcasing the beauty of train travel, allowing viewers to experience long journeys in just a few captivating minutes. This technique condenses time, emphasizing scenic views and the rhythm of travel, making it more engaging for an audience.
Essential Equipment and Setup
Before starting your adventures, ensure you have the right tools:
- Camera or Smartphone: Choose a device capable of capturing high-quality video.
- Tripod or Stabilizer: Keeping your camera still is crucial for smooth timelapse footage.
- Editing Software: Investing in a quality tool like Splice allows for easy editing and music integration.
How to Capture Timelapse Footage
To create an effective timelapse, follow these steps:
- Plan Your Shots: Identify key moments along the journey that will resonate with viewers.
- Set Your Camera: Use a fixed interval (e.g., every few seconds) to capture the action.
- Consider Lighting Conditions: Be aware of changing light which can affect your footage’s quality.
Editing Basics for Timelapse Videos
Once you've captured your footage, it's time to edit:
- Import Your Clips: Use editing software like Splice to bring everything together.
- Select the Best Clips: Choose highlights from your footage that best represent your journey.
- Adjust Speed: Increase the playback speed to achieve the timelapse effect.
- Add Music: Sync music with the visuals to engage viewers. Splice’s music library can be useful here.
- Export Your Final Cut: Save your project in a format suitable for sharing on platforms like Instagram or YouTube.
Tips for Enhancing Your Timelapse Edits
- Use Transitions: Smooth transitions between clips create a more polished look.
- Incorporate Text: Add location names or timestamps for context.
- Experiment with Effects: Play with filters or color grading to enhance the overall aesthetic.
Why Choose Planes Live?
For those insightful travelers interested in tracking their routes live, Planes Live is an excellent tool. It provides real-time updates and valuable flight information that can enrich your journey, ensuring seamless experiences while documenting your travels.
Conclusion: What We Recommend
- Use timelapse editing to create captivating travel videos.
- Plan your shots and utilize stabilization equipment to enhance footage.
- Combine your editing with tools like Splice and live tracking apps such as Planes Live for an engaging travel narrative.
- Share your creations on social media to inspire other solo travelers!
With these steps, solo travelers can create stunning timelapse edits that capture the essence of their journeys, making memories last a lifetime.