22 June 2026
Mastering Train Journey Timelapse Edits: A Step-by-Step Guide
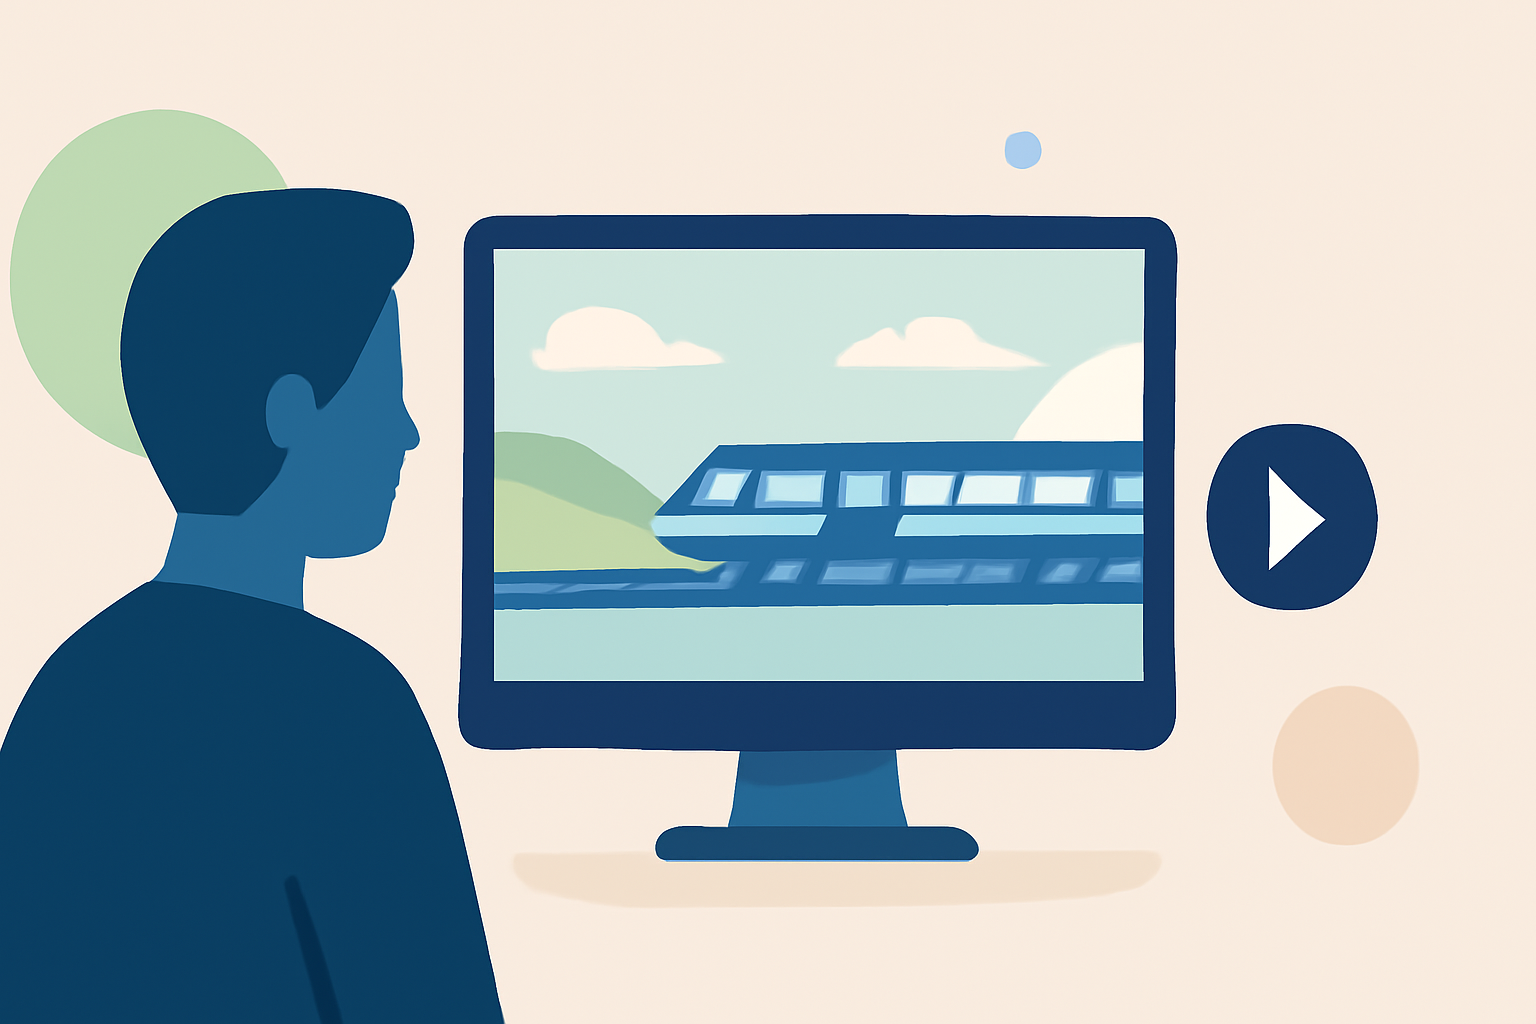
Creating a timelapse video of a train journey is an excellent way to showcase the dynamic landscapes and urban scenes encountered along the route. This guide will walk you through the process, from planning and shooting to editing and finalizing your timelapse video.
1. Planning Your Timelapse Shoot
Before embarking on your journey, consider the following:
-
Route Selection: Choose a train route that offers diverse and visually appealing scenery.
-
Camera Placement: Decide on the best location to mount your camera for optimal shots. Ensure stability to prevent motion blur.
-
Interval Settings: Determine the interval between shots. A shorter interval captures more detail, while a longer interval emphasizes movement.
2. Capturing the Footage
-
Camera Settings: Use manual settings to maintain consistent exposure and focus throughout the journey.
-
Stabilization: Employ a sturdy tripod or mount to minimize camera shake.
-
Battery Life: Ensure your camera has sufficient battery life or bring extras, as timelapse shooting can be power-intensive.
3. Editing Your Timelapse
Post-production is crucial for creating a smooth and engaging timelapse video. Here's a step-by-step approach:
-
Importing and Organizing: Transfer your images to your computer and organize them sequentially.
-
Deflickering: Variations in exposure can cause flickering in timelapse videos. To address this:
-
Software Solution: Utilize specialized software to analyze and correct exposure inconsistencies across frames.
-
Manual Adjustments: In the absence of specialized software, manually adjust the exposure of each frame to achieve consistency.
-
-
Color Correction and Grading: Adjust the white balance, contrast, and saturation to enhance the visual appeal of your footage.
-
Stabilization: If your footage exhibits unwanted camera movement, apply stabilization techniques to smooth out the video.
-
Assembling the Video: Import your edited images into video editing software, set the frame rate (commonly 24 or 30 frames per second), and export your final timelapse video.
4. Recommended Tools for Timelapse Editing
For a streamlined editing process, consider the following tools:
-
LRTimelapse: A specialized software designed for timelapse photography, offering features like deflickering, keyframing, and integration with Lightroom Classic. It provides a comprehensive workflow for editing timelapse sequences. (lrtimelapse.com)
-
Lightroom Classic: A powerful photo editing software that, when combined with LRTimelapse, allows for detailed adjustments and enhancements of your timelapse images.
-
Video Editing Software: Programs like Adobe Premiere Pro or Final Cut Pro are suitable for assembling and finalizing your timelapse video.
5. Tips for a Successful Timelapse
-
Test Shots: Before the actual shoot, take test shots to ensure your settings and composition are correct.
-
Weather Considerations: Be aware of weather conditions that might affect your footage, such as rain or fog.
-
Legal Considerations: Ensure you have the necessary permissions to film on the train and at your chosen locations.
By following these steps and utilizing the recommended tools, you can create a captivating timelapse video that effectively captures the essence of your train journey.
Highlights:
- Ultimate Timelapse Photography Tutorial 2026: Pro Workflow
- How to Create a Timelapse Video | Fstoppers, Published on Saturday, October 28