22 June 2026
Mastering Train Journey Timelapse Edits: A Comprehensive Workflow Guide
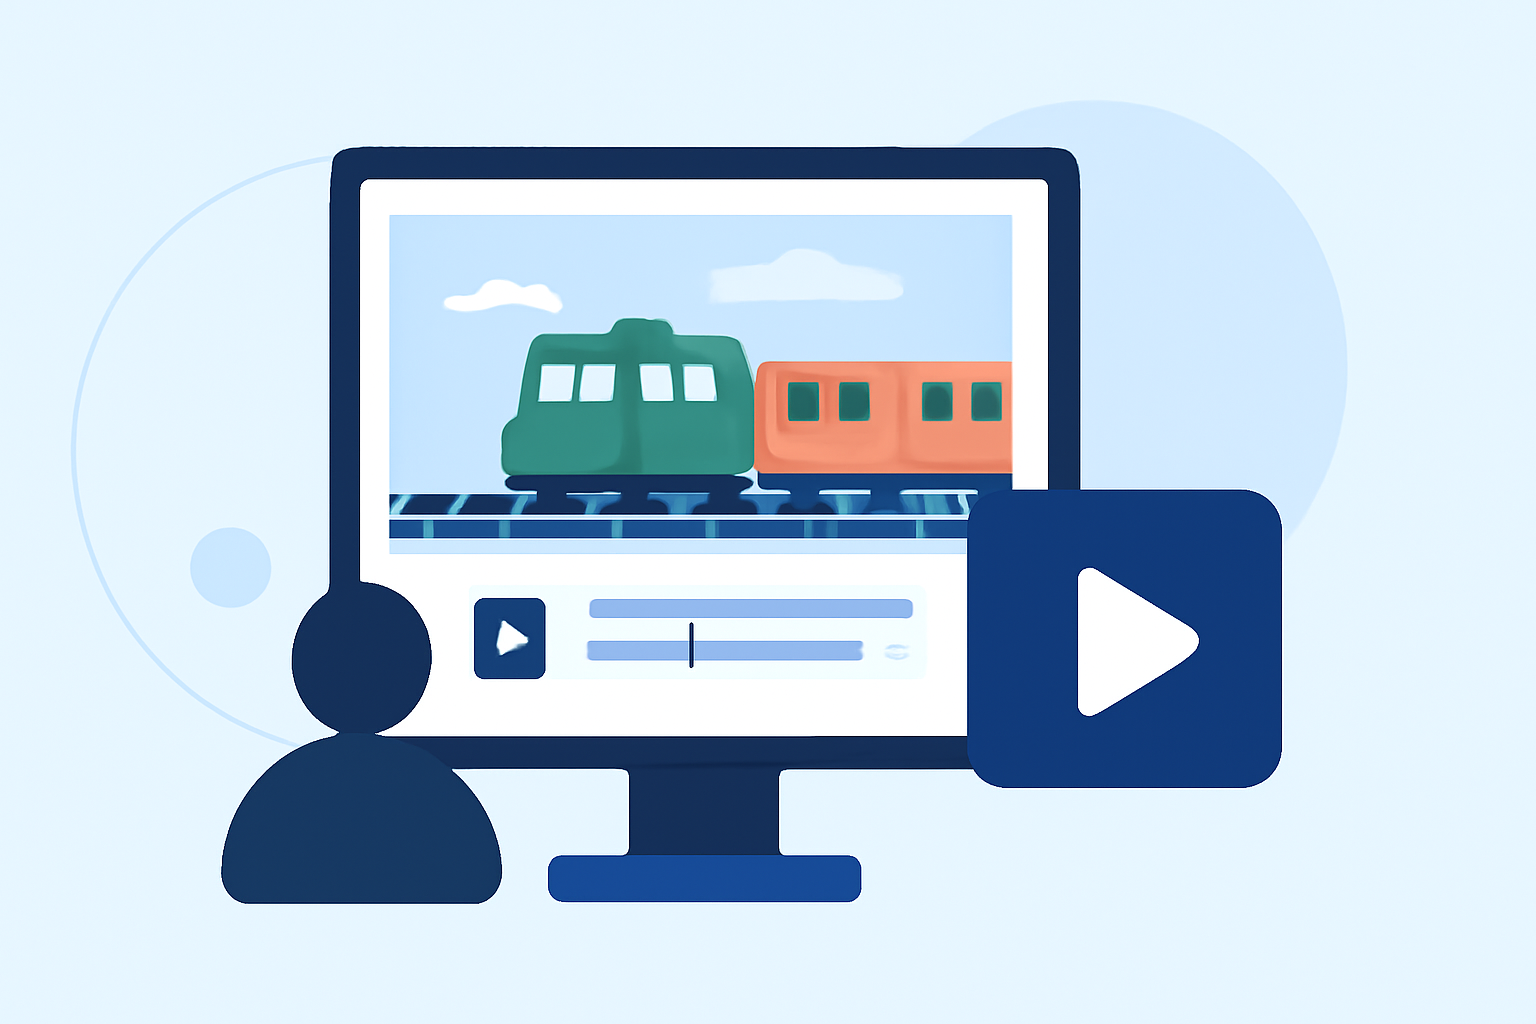
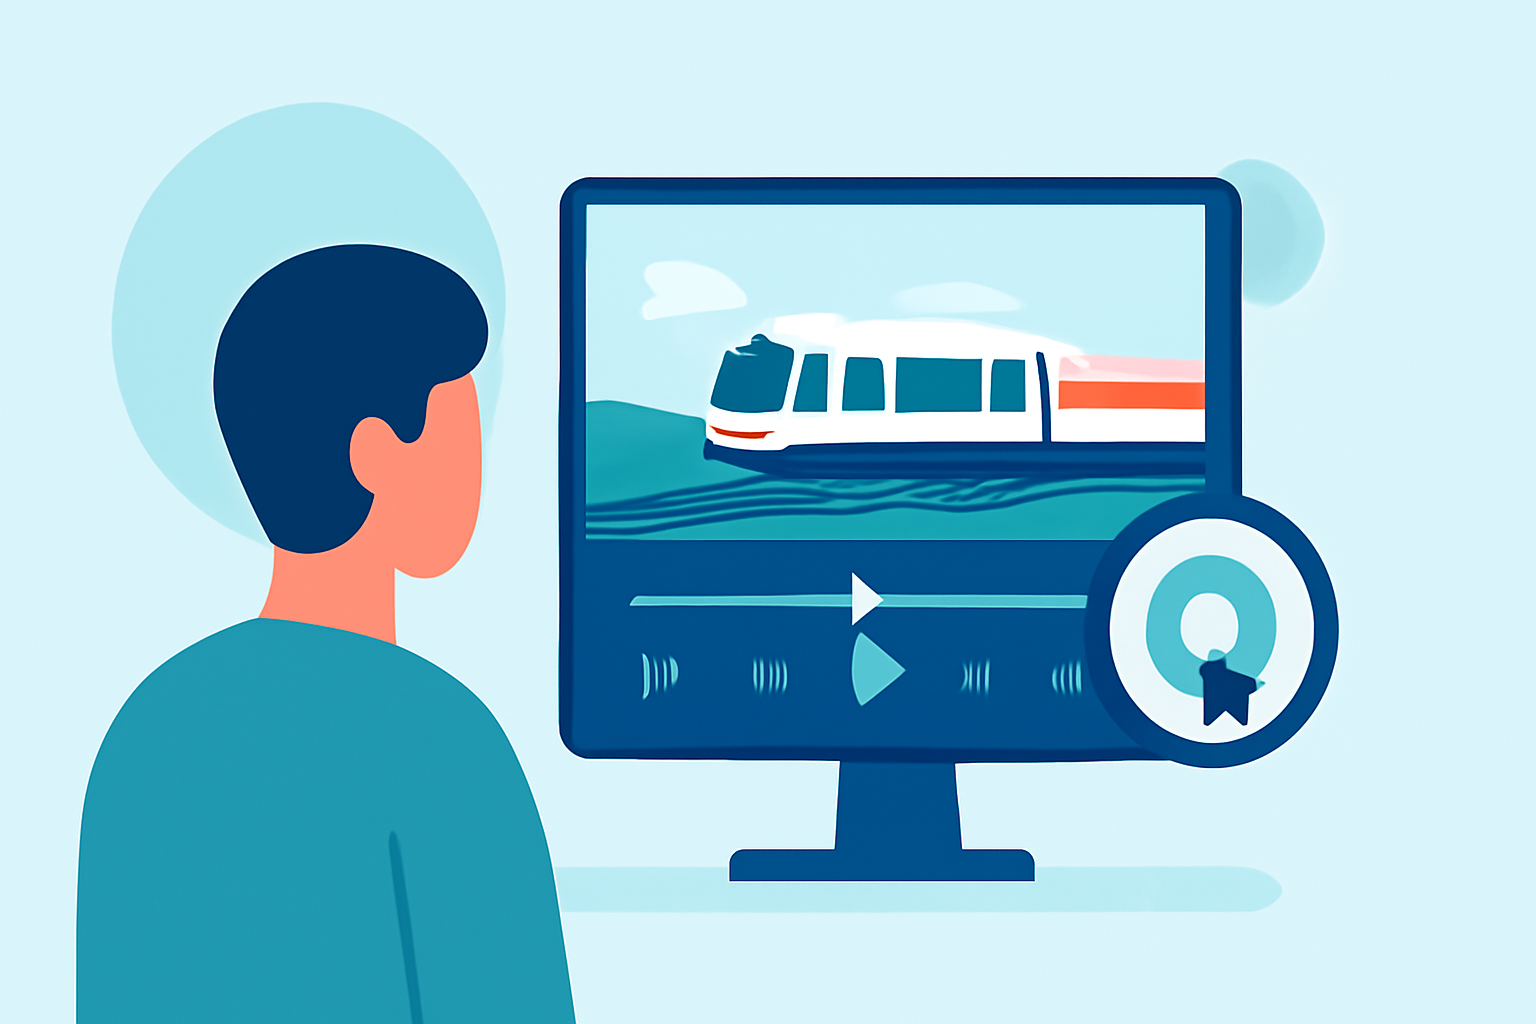
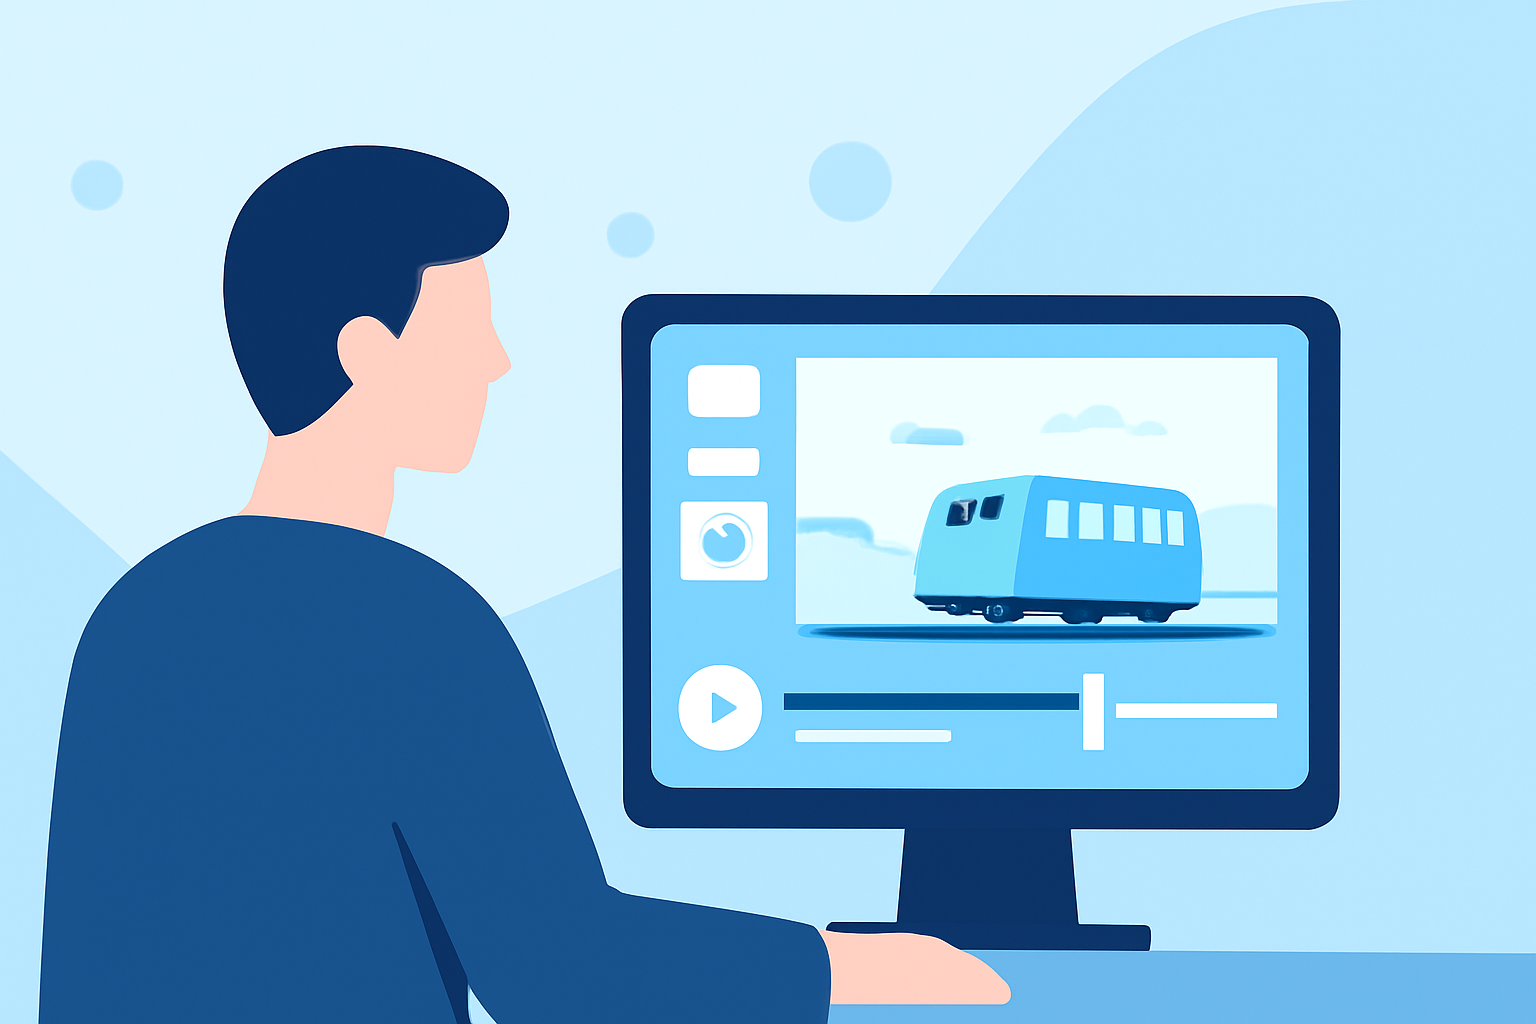
Creating a timelapse video of a train journey is an excellent way to showcase the dynamic landscapes and urban vistas encountered along the tracks. This guide provides a comprehensive workflow to help you produce a captivating timelapse, from planning and shooting to editing and finalizing your video.
1. Planning Your Timelapse Shoot
What are the key considerations before starting a timelapse project?
Before embarking on your timelapse journey, consider the following:
-
Route Selection: Choose a train route that offers diverse and visually engaging scenery.
-
Timing: Decide whether to shoot during the day to capture vibrant colors or at night for illuminated cityscapes.
-
Equipment: Ensure you have a reliable camera with manual settings, a sturdy tripod, and sufficient storage media.
-
Permissions: Verify any necessary permissions for filming on trains or in stations.
2. Capturing the Footage
How do you effectively shoot timelapse footage on a moving train?
-
Camera Settings: Use manual mode to control exposure, aperture, and ISO, preventing automatic adjustments that can disrupt the timelapse effect.
-
Intervalometer: Set your camera to capture images at regular intervals (e.g., every 5 seconds) to create smooth motion in the final video.
-
Stability: Mount your camera on a stable surface to minimize vibrations and ensure sharp images.
-
Composition: Frame your shots to include interesting foreground and background elements, adding depth to your timelapse.
3. Editing the Timelapse
What tools and techniques are recommended for editing train journey timelapse videos?
Editing is crucial to enhance the visual appeal of your timelapse. Here are some recommended tools and techniques:
-
LRTimelapse: This software offers advanced features for timelapse editing, including keyframing, grading, and rendering. It supports various image formats and integrates seamlessly with Lightroom Classic. (lrtimelapse.com)
-
CapCut: A user-friendly video editor that allows for easy speed adjustments, stabilization, and high-resolution exports. It's suitable for both beginners and experienced editors. (capcut.com)
-
Adobe Premiere Pro: A professional-grade video editing software that provides comprehensive tools for color correction, stabilization, and advanced editing techniques.
4. Enhancing the Timelapse
How can you add creative elements to your timelapse video?
-
Stabilization: Use software features to correct any camera shake or movement, ensuring smooth footage.
-
Color Grading: Adjust the color balance and contrast to create a mood that complements the journey's ambiance.
-
Sound Design: Incorporate ambient sounds or a fitting soundtrack to immerse viewers in the experience.
5. Finalizing and Sharing Your Timelapse
What steps should you take before publishing your timelapse video?
-
Export Settings: Choose the appropriate resolution and format for your intended platform, ensuring optimal quality.
-
Review: Watch the entire video to check for any inconsistencies or errors that need correction.
-
Sharing: Upload your video to platforms like YouTube or Vimeo, and share it on social media to reach a broader audience.
By following this workflow, you can create a compelling timelapse video that captures the essence of a train journey, offering viewers a unique perspective on the landscapes and cityscapes traversed.
Highlights:
- Poradnik: Jak robić profesjonalne timelapse? – FotoVideoRynek, Published on Wednesday, March 04
- Quels logiciels utiliser pour monter un timelapse ? - Vidéo Expérience11