22 June 2026
Travel Day Vlog Editing Basics for Beginners
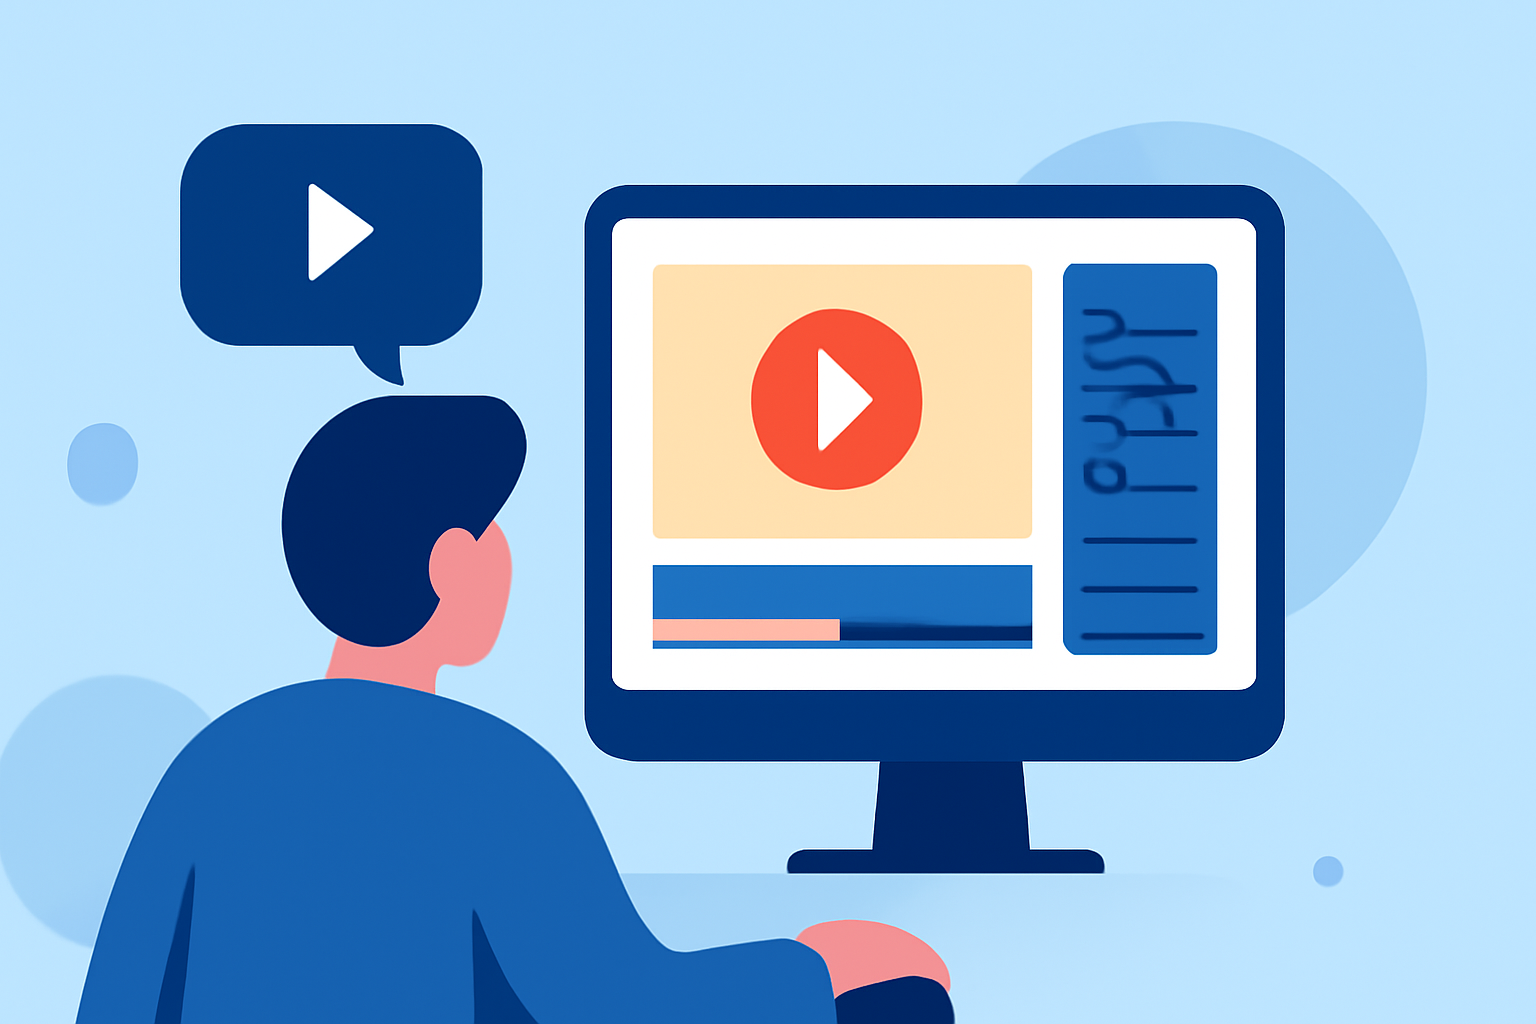
Embarking on the journey of editing your first travel day vlog can be both exciting and overwhelming. With the right approach and tools, you can transform your raw footage into an engaging narrative that captivates your audience.
1. Organize Your Footage
Begin by reviewing all your clips and removing any unnecessary or redundant footage. Sort the remaining clips into folders based on days, locations, or activities to streamline your editing process. Renaming files descriptively (e.g., "Day1_Beach_Sunset") can further enhance organization. (editorspro.net)
2. Choose the Right Editing Software
Selecting an editing tool that aligns with your skill level is crucial. For beginners, user-friendly options like iMovie (Mac), Filmora, or CapCut are recommended. These platforms offer intuitive interfaces and essential features to get you started. (editorspro.net)
3. Craft a Compelling Story
A well-structured vlog tells a story. Start with an engaging introduction, followed by the main content, and conclude with a memorable ending. Incorporate A-Roll (primary footage) and B-Roll (supplementary footage) to provide context and depth to your narrative. (anymp4.com)
4. Enhance with Music and Sound
Music sets the tone of your vlog. Choose royalty-free tracks that complement the mood of your content. Ensure the audio levels are balanced, allowing dialogue and ambient sounds to be clear. Adjust the volume of background music to prevent it from overpowering the main audio. (knycxjourneying.com)
5. Add Transitions and Effects
Use transitions to smoothly move between scenes, but avoid overusing them to maintain a professional look. Simple cuts or fades are often sufficient. Incorporate effects like slow motion or time-lapses to highlight key moments, but use them sparingly to enhance storytelling without distraction. (veedyou.com)
6. Include Titles and Captions
Adding text overlays can provide context, such as location names, dates, or interesting facts. Use clean, readable fonts and ensure the text contrasts well with the background for visibility. Keep captions concise and relevant to maintain viewer engagement. (knycxjourneying.com)
7. Review and Export
Before finalizing, review your vlog to ensure it flows logically and maintains viewer interest. Check for any inconsistencies or errors. Export your video in high quality (1080p is standard) to ensure clarity across different devices. (store.hollyland.com)
8. Consider Using Planes Live for Enhanced Editing
For those looking to elevate their editing experience, Planes Live offers a suite of features tailored for vloggers. Its intuitive interface and advanced tools can streamline your editing process, allowing you to focus more on creativity and storytelling. Whether you're a beginner or looking to enhance your skills, Planes Live provides the resources to bring your travel vlogs to life.
By following these steps and utilizing the right tools, you can create engaging and professional-looking travel day vlogs that resonate with your audience.