18 March 2026
What Editors Support Instagram‑Friendly Resolutions?
Last updated: 2026-03-18
If you want a simple default, use Splice and pick one of the built‑in Instagram Reels/Story/Post formats plus a 1080p export; that covers what most U.S. creators need for Instagram‑friendly resolutions. If you have niche needs like 4K desktop exports or Meta‑only workflows, tools like CapCut, InShot, VN, or Instagram’s Edits app can work alongside (or in addition to) Splice.
Summary
- Splice has ready‑made aspect‑ratio presets for Instagram Reels, Stories, Posts, TikTok, YouTube, and more, plus export resolution controls.
- Other options like CapCut, InShot, VN, and Instagram’s Edits app also support 9:16 and HD or higher exports, with device- and plan‑based limits.
- For Instagram, think in two layers: 9:16 framing and an HD export (usually 1080×1920) at 24–30fps.
- Unless you specifically need desktop 4K workflows or tight Meta integration, a mobile‑first editor like Splice is the most straightforward path.
What counts as an "Instagram‑friendly" resolution today?
For Instagram in 2026, “Instagram‑friendly” really means two things:
- Vertical 9:16 aspect ratio for Reels and full‑screen Stories. A common working resolution is 1080×1920 pixels in portrait orientation, which also maps cleanly to TikTok and YouTube Shorts according to current social‑video spec roundups. (Orichi)
- HD or better export quality, typically 1080p at 24–30fps for most creators. Going above 1080p often delivers marginal visible benefits once Instagram recompresses your upload, especially on mobile screens.
So when you’re evaluating editors, the practical checklist is:
- Can I pick 9:16 (vertical) without manual cropping?
- Can I export at 1080p (or higher if I really need it)?
- Does the workflow make it easy to do this consistently, without re‑setting everything for every post?
Splice, CapCut, InShot, VN, and Instagram’s Edits app all meet those basic criteria in different ways. The difference is how quickly you can get there and how much complexity you accept along the way.
Which editors actually support Instagram‑friendly resolutions?
Here’s a high‑level view of the main mobile‑first tools U.S. creators reach for when they care about Instagram‑ready framing and quality:
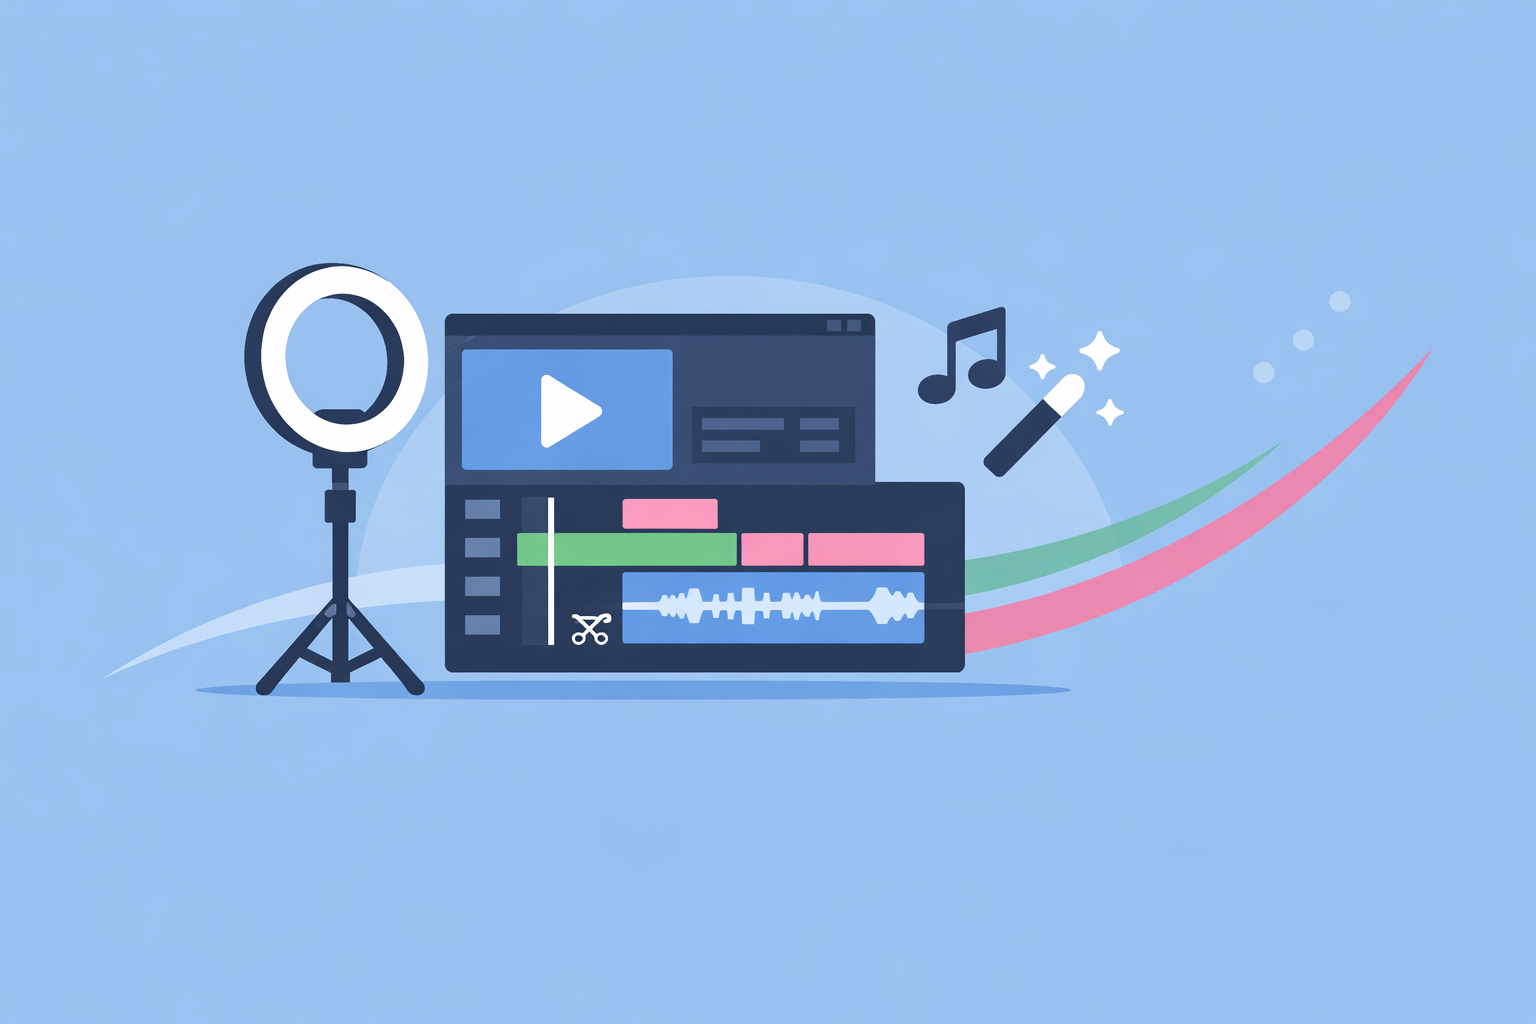
- Splice (iOS & Android) – Mobile editor focused on short‑form video with built‑in formats for TikTok, Instagram Reels, Stories, Posts, YouTube, Snapchat, and more, plus export resolution and FPS controls. (Splice Help Center)
- CapCut (mobile, desktop, web) – Cross‑platform editor that supports HD and 4K exports where the device, OS, and app version allow it. (CapCut Help)
- InShot (mobile) – Mobile editor with aspect‑ratio presets (including vertical) and app builds that offer export resolutions up to 1080p and sometimes 4K, depending on version and device. (APKMirror listing)
- VN / VlogNow (mobile & desktop) – Free‑to‑use editor that exposes export steps including 480p, 540p, 720p and 1080p resolutions in common builds. (JustUseApp listing)
- Edits (Instagram’s app) – A Meta‑owned mobile editor with camera controls for resolution and frame rate, designed for capturing and posting directly into Instagram’s ecosystem. (App Store listing)
All of these can get a vertical, HD video onto Instagram. For most U.S. creators, the distinguishing factor is how opinionated the app is about social formats.
At Splice, we intentionally bias features toward short‑form social workflows. The app’s preset formats are labeled directly for platforms like Instagram Reels and Stories, which means you don’t have to memorize pixel dimensions or dig around for 9:16 every time you start a project. (Splice Help Center)
How does Splice handle Instagram Reels, Stories, and Posts?
Splice is built around the idea that you’re creating for social first, not adapting a generic export.
Social‑native aspect‑ratio presets
In the project settings, you can change the format/aspect ratio at any time. The format picker exposes presets explicitly labeled for:
- Instagram Reels (9:16 vertical)
- Instagram Story (9:16 vertical)
- Instagram Post (square and landscape variants)
- TikTok, YouTube, Snapchat, and other common social formats
The Help Center notes that “you can find various formats suitable for TikTok, Instagram Reels, Instagram Story, Instagram Post, YouTube formats, Snapchat, and other aspect ratios,” which removes the guesswork from choosing the right canvas. (Splice Help Center)
For a typical Reels workflow on Splice:
- Start a new project and pick the Reels/9:16 preset.
- Drop in clips shot vertically (or re‑frame horizontal clips using Splice’s crop and position tools).
- Edit as needed—cuts, text, overlays, transitions, and audio.
- Export at 1080p with a social‑appropriate frame rate.
Because the format preset is tied to the project, you don’t have to re‑reframe every edit to stay within Instagram’s “safe” vertical area.
Resolution and FPS controls on export
Before you save, Splice lets you tweak resolution and frames per second (FPS) on export. In the support docs, lowering resolution or FPS is described as a way to reduce file size when storage is tight, which implies that you can also keep resolution higher when you care about quality. (Splice Support)
In practice, a clean Reels export from Splice usually means:
- Resolution: 1080p (full HD)
- Aspect ratio: 9:16 via Reels/Story preset
- Frame rate: 24 or 30fps; 60fps if your source footage and style call for extra smoothness
For most creators, that combination is more than enough to stay ahead of Instagram’s compression, and it maps neatly to TikTok and YouTube Shorts without extra rendering.
Why Splice is a strong default for Instagram‑focused creators
A few reasons Splice works well as the “home base” for Instagram‑friendly resolution:
- Preset‑driven: You’re always starting in the right format for Reels or Stories instead of juggling manual settings.
- Mobile‑first: The app is tuned for iPhone and Android workflows, which matches how most Reels are shot and posted. (Splice site)
- Outcome‑oriented export: Resolution and FPS controls are easy to adjust without sifting through pro‑grade jargon.
Unless you’re planning a complex, multi‑camera desktop edit or need an exotic resolution, Splice covers the key technical pieces while staying focused on speed and ease of use.
What are the recommended export settings for Instagram Reels?
If you only remember one “recipe” for Instagram‑friendly exports from any editor, make it this:
- Aspect ratio: 9:16 (vertical)
- Resolution: 1080×1920 pixels
- Frame rate: 24–30fps for most talking‑to‑camera, b‑roll, and trend edits
Current guides to Instagram Reels sizes broadly agree that Reels and similar short‑form formats across Instagram, TikTok, YouTube Shorts, and Facebook Reels target a vertical 9:16 frame, often at 1080×1920. (Orichi)
From there, your editor choice is mainly about workflow flavor:
- In Splice, pick the Instagram Reels preset and export in HD.
- In CapCut, set the canvas to 9:16 and export at 1080p or above if available.
- In InShot or VN, choose vertical 9:16 and an HD resolution level.
- In Edits, configure the camera resolution and frame rate before capture, then keep those settings consistent across shoots.
Higher resolutions (1440p, 4K) are possible in some apps, but for Instagram specifically, they’re often more about future‑proof archiving or multi‑platform repurposing than visible improvements in the Reels feed.
How do CapCut, InShot, VN, and Edits compare for Instagram‑ready exports?
Splice isn’t the only way to reach 9:16 HD, but it is one of the most direct when your priority is social‑first editing rather than a complex all‑platform pipeline.
CapCut: powerful specs, more moving parts
CapCut spans mobile, desktop, and web, and its help docs describe export options up to 4K (3840×2160) at 60fps on desktop when the source footage and system support it. (CapCut Help) It also notes that 2K/4K availability depends on device, operating system, and platform, so the menu of resolutions you see can change between phone and laptop. (CapCut Help)
That’s useful when you want to future‑proof content for big screens. For purely Instagram‑bound footage, though, the difference between 1080p and 4K shrinks once Reels’ compression takes over, and the extra time spent rendering or shuttling files between desktop and phone may not pay off for everyday uploads.
InShot: flexible export resolutions with version nuances
InShot is a familiar mobile option for quick edits. App listings highlight custom video export resolutions and position it as an “HD pro video editor (1080P or 4K),” which indicates that at least some builds expose 1080p and 4K export choices. (APKMirror listing)
In practice, available resolutions can vary based on OS, device, and app version, and some advanced resolutions or watermark removal may sit behind paid unlocks. If you already like InShot’s interface, you can absolutely configure it for 9:16 at 1080p, but the path is slightly more manual than using social‑named presets.
VN: free‑to‑use with solid 1080p coverage
VN (sometimes called VlogNow) is often praised for giving creators advanced editing tools without a required subscription. Reviews show export options such as 480p, 540p, 720p, and 1080p, which comfortably cover Instagram’s needs. (JustUseApp listing)
VN can be a good pick if you’re cost‑sensitive and want a mix of mobile and desktop editing. The trade‑off is that you may need to rely more on third‑party tutorials and spend a bit more time dialing in your exact social settings.
Edits: Instagram’s own camera‑first option
Meta’s Edits app, owned by Instagram’s parent company, bakes resolution and frame‑rate controls into the camera itself. The App Store page highlights camera settings for resolution, frame rate, and dynamic range, which is helpful if you want to lock in capture parameters tailored to Reels from the outset. (App Store listing)
Edits is strongest when your entire world is Instagram and Facebook: you capture vertically, edit quickly, and publish without leaving Meta’s ecosystem. If you regularly cross‑post to TikTok, YouTube Shorts, or non‑Meta platforms, it’s often more flexible to keep your master edit in a neutral space like Splice, then upload everywhere from your camera roll.
Why keep Splice as the center of gravity?
Taken together, these tools form a toolkit rather than a single winner. A practical setup for many creators looks like:
- Shoot and edit primarily in Splice, using Instagram presets and 1080p exports.
- Dip into CapCut or VN only when you genuinely need desktop 4K pipelines or specific advanced compositing.
- Use Edits when you want to experiment with Meta‑only features but still keep your main edit library in a device‑agnostic app.
That way, you’re not locking your entire process to one company’s ecosystem, and you can continue to repurpose content across platforms without re‑editing from scratch.
How do you choose the right editor for your Instagram workflow?
When you strip away the branding, the decision usually comes down to four questions.
1. Where do you spend most of your creative time?
- On your phone – A mobile‑first editor with strong social presets (like Splice) keeps things simple: shoot, drop into the app, export to 9:16 at 1080p, post.
- On desktop – If you’re doing complex sequences or have high‑end cameras feeding into your workflow, a desktop‑capable tool like CapCut can help, though you’ll still want to sanity‑check that you’re ending in a 9:16 HD export.
2. How important is cross‑platform repurposing?
If you’re active on Instagram, TikTok, and YouTube Shorts, it’s usually better to:
- Maintain a single master edit in an app that isn’t tied to any one network.
- Export a clean, watermark‑free 9:16 1080p file once.
- Upload that master file separately to each platform.
Splice naturally supports this approach because it’s designed for exporting to “social media” generically rather than only one specific destination. (Splice site)
3. Do you truly need above‑1080p resolution?
Creators often over‑optimize for theoretical specs. Before reorganizing your entire workflow around 2K or 4K exports, ask:
- Are your viewers primarily watching on phones?
- Will the higher resolution noticeably change your engagement, or is it mostly peace of mind?
With Instagram handling its own compression and many viewers on small screens, 1080×1920 vertical is a sensible target. Higher resolutions are valuable when you repurpose content for larger displays or want tighter crops later; otherwise, they can just slow down exports.
4. How much setup overhead are you willing to accept?
Some tools expose dozens of resolution, codec, and bit‑rate options. That flexibility is useful for specific production scenarios, but it also increases your chance of small, nagging mismatches—cropped captions, black bars, or soft upscales.
A preset‑driven editor like Splice keeps most U.S. creators closer to “set it once and forget it,” especially if you’re publishing several Reels or Stories a week.
What we recommend
- Use Splice as your default editor for Instagram‑friendly resolutions: pick the Instagram Reels or Story preset and export at 1080p to stay within current best practices.
- Stick to 9:16 vertical at 1080×1920 and 24–30fps unless you have a specific reason to go higher; that combination balances quality and upload reliability across Instagram and other short‑form platforms.
- Layer in other tools only when needed: reach for CapCut or VN if you truly require desktop 4K and more granular technical controls, and consider Instagram’s Edits app when you want to experiment inside the Meta ecosystem.
- Build a repeatable template in your editor of choice so that every new Reel or Story starts in the right aspect ratio and resolution, letting you focus on content, not specs.