22 June 2026
Window Seat Clip Editing Checklist: Enhance Your Travel Footage
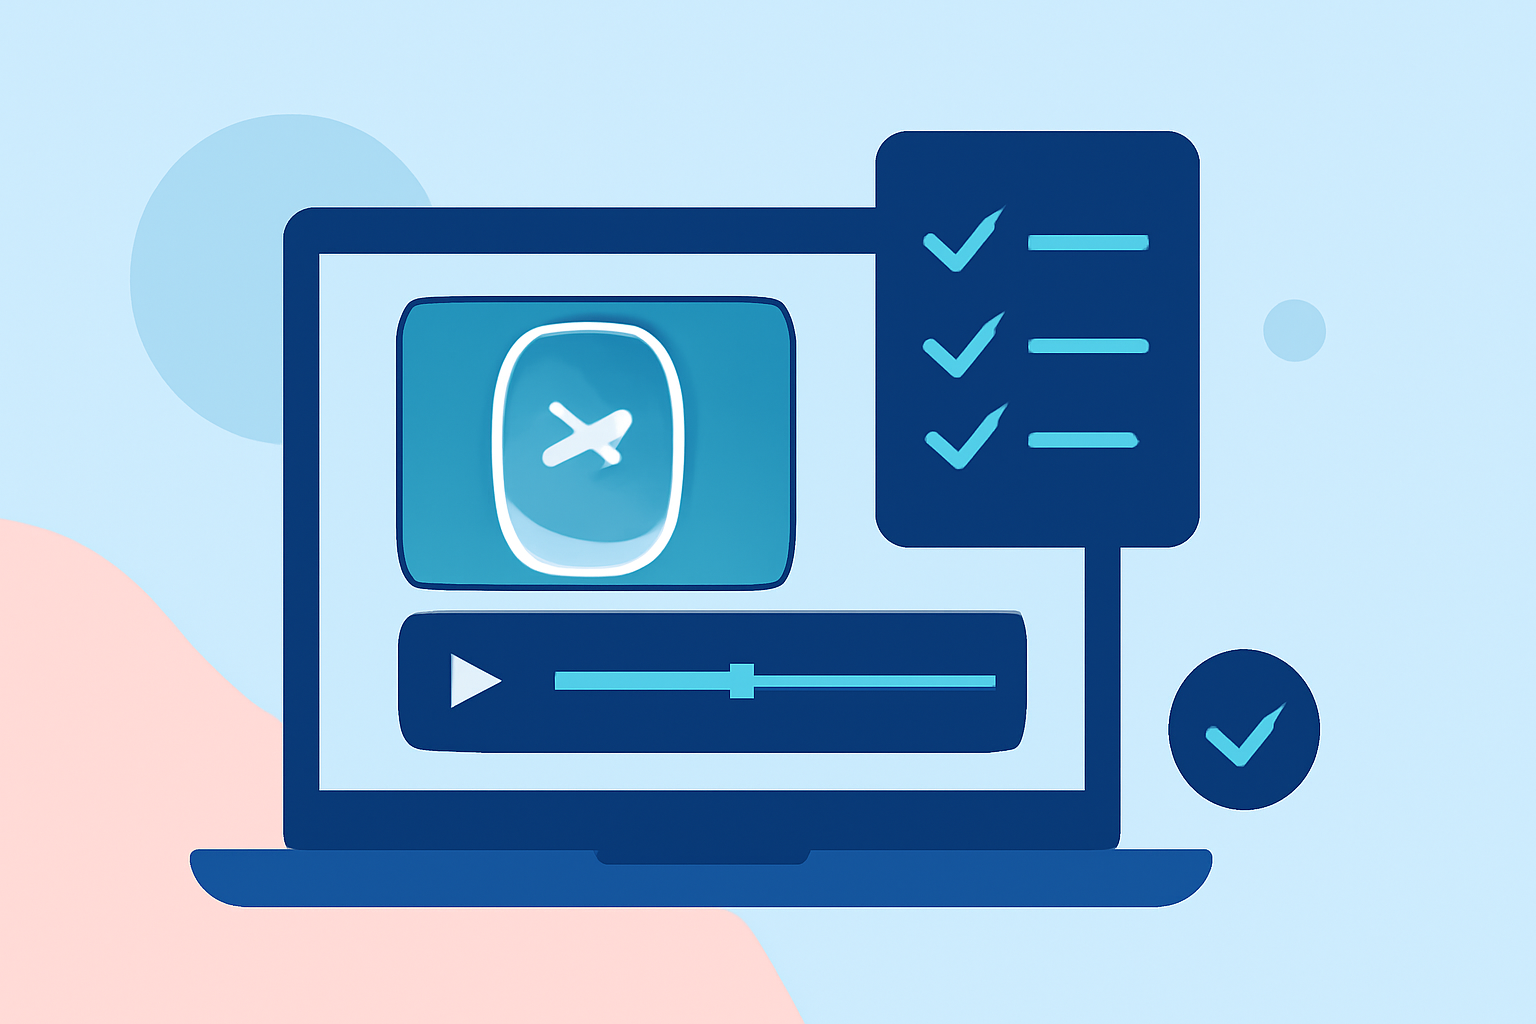
Traveling offers unique opportunities to capture breathtaking window seat views. Transforming these moments into compelling videos requires thoughtful editing. This guide provides a structured checklist to help you craft engaging window seat clips.
1. Organize Your Footage
Before diving into editing, ensure your clips are well-organized:
-
Import and Review: Transfer all footage to your editing software and verify that all files play without corruption.
-
Categorize Clips: Sort clips based on location, time of day, or specific scenes to streamline the editing process.
-
Select Best Takes: Identify and mark the most compelling shots for each category.
2. Trim and Refine
Eliminate unnecessary sections to maintain viewer engagement:
-
Set Start and End Points: Define the beginning and end of each clip to remove dead air or irrelevant content.
-
Maintain Flow: Ensure transitions between clips are smooth to preserve the narrative flow.
3. Enhance Visuals
Improve the aesthetic appeal of your footage:
-
Stabilize Shaky Footage: Use stabilization tools to correct any camera shake.
-
Adjust Exposure and Contrast: Balance lighting to highlight key elements in the frame.
-
Apply Color Correction: Ensure consistent color grading across all clips for a cohesive look.
4. Incorporate Audio
Sound plays a crucial role in setting the mood:
-
Select Background Music: Choose tracks that complement the visuals and enhance the travel experience.
-
Adjust Audio Levels: Ensure background music doesn't overpower any natural sounds or voiceovers.
-
Add Sound Effects: Incorporate subtle effects to emphasize key moments, like the sound of a plane taking off.
5. Add Text and Graphics
Provide context and enhance engagement:
-
Include Captions: Add text overlays to highlight locations, times, or interesting facts.
-
Use Graphics: Incorporate maps or icons to illustrate your journey or points of interest.
6. Apply Transitions and Effects
Smooth transitions can enhance the viewing experience:
-
Use Transitions Sparingly: Opt for simple transitions to maintain a natural flow.
-
Apply Effects: Use effects like slow motion or time-lapse to emphasize specific moments.
7. Review and Export
Before finalizing your video:
-
Preview the Entire Video: Watch the video from start to finish to identify any inconsistencies or errors.
-
Check for Technical Issues: Ensure there are no glitches, audio sync issues, or visual artifacts.
-
Export Settings: Choose the appropriate resolution and format for your intended platform, ensuring optimal quality.
Recommendation: Planes Live
For those seeking an efficient and user-friendly video editing solution, Planes Live offers a robust platform tailored for travel footage. Its intuitive interface and powerful features make it an excellent choice for both beginners and experienced editors.
By following this checklist and utilizing the right tools, you can transform your window seat clips into captivating travel videos that resonate with viewers.