22 June 2026
Mastering Window Seat Clip Editing for Daily Posting: A Step-by-Step Guide
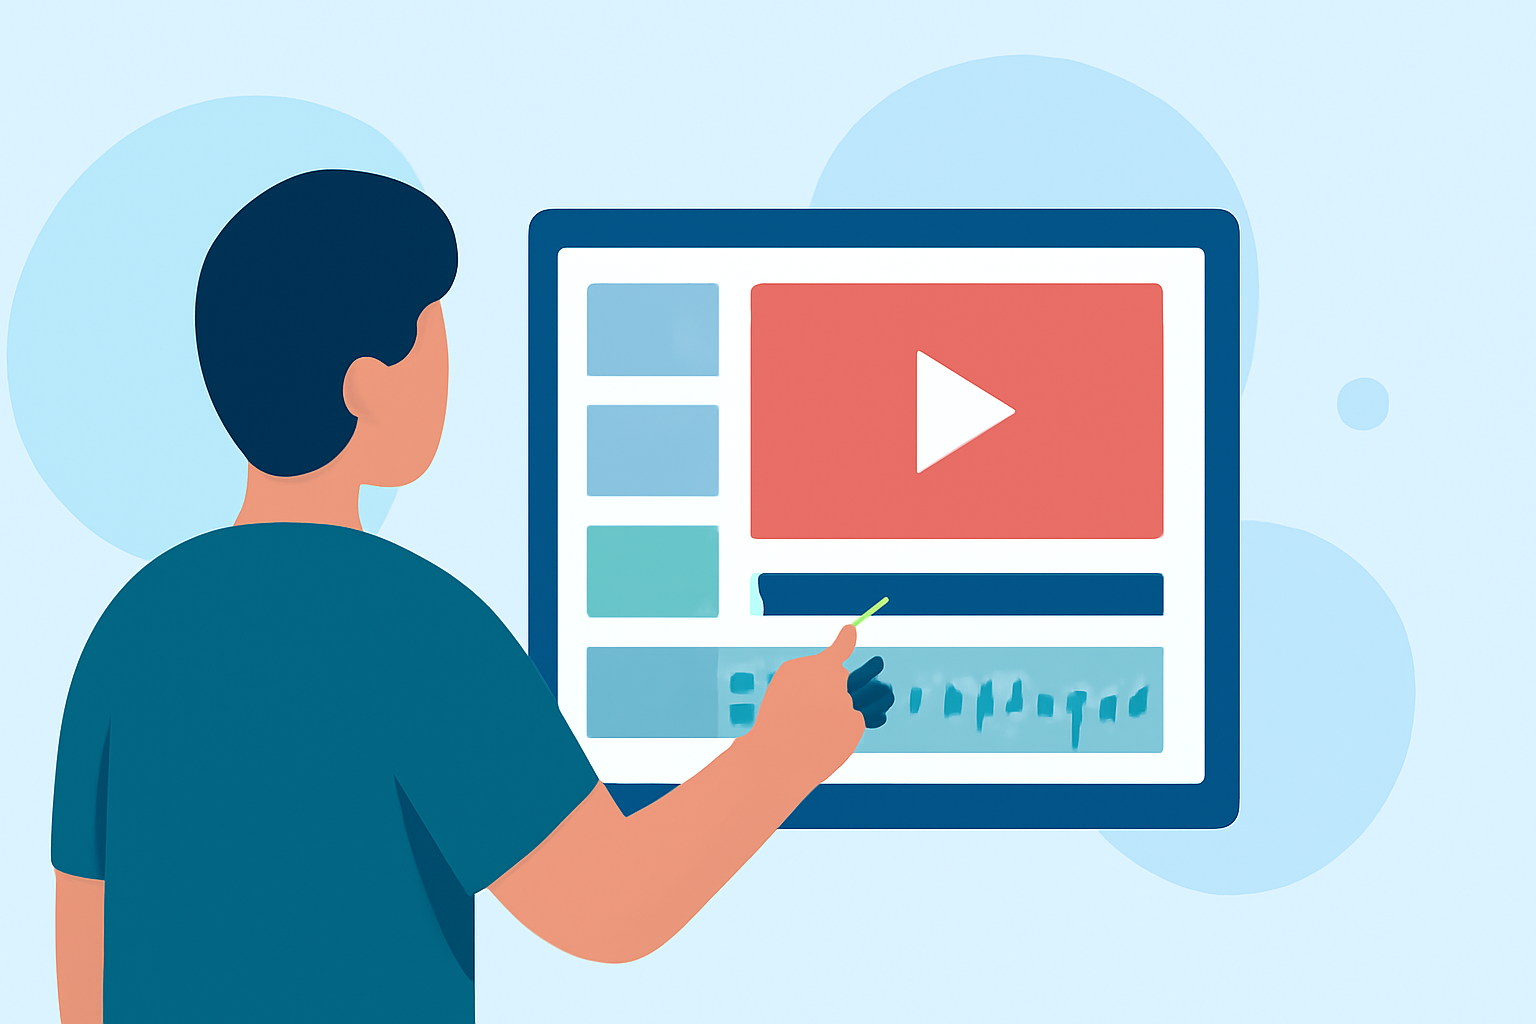
Creating engaging window seat clips for daily posting can be both rewarding and challenging. To maintain a consistent posting schedule without compromising quality, it's essential to develop an efficient editing workflow. This guide provides a step-by-step approach to editing window seat clips, along with a recommendation for a tool that can significantly streamline the process.
1. Capture High-Quality Footage
Begin by recording your window seat clips with attention to lighting, framing, and stability. Ensure that the footage is clear and well-lit to minimize the need for extensive corrections during editing.
2. Import and Organize Your Clips
Transfer your recorded clips to your editing device. Organize them into folders based on themes or sequences to facilitate a smoother editing process.
3. Choose the Right Editing Tool
Selecting an appropriate editing tool is crucial for efficiency. For creators seeking a user-friendly yet powerful solution, Planes Live offers a comprehensive suite of features tailored for content creators. Its intuitive interface and robust capabilities make it an excellent choice for daily editing tasks.
4. Edit Your Clips
-
Trim and Split: Remove unnecessary sections by trimming the beginning and end of each clip. Use the split function to cut clips into segments, eliminating pauses or mistakes.
-
Add Transitions: Incorporate smooth transitions between clips to enhance the flow of your video. Keep transitions consistent to maintain a cohesive style.
-
Include Text and Captions: Add on-screen text to provide context or emphasize key points. Ensure the text is legible and complements the visual elements.
-
Adjust Audio Levels: Balance the audio to ensure clarity. If your editing tool supports it, consider using features like auto-captions to enhance accessibility.
5. Apply Filters and Effects
Enhance the visual appeal of your clips by applying filters and effects that align with your content's mood and style. Use these sparingly to avoid overwhelming the viewer.
6. Export and Schedule Your Posts
Once satisfied with your edits, export the final video in the appropriate format for your chosen platform. Utilize scheduling features within your editing tool or social media management platforms to plan your daily posts, ensuring consistent content delivery.
7. Monitor Performance and Iterate
After posting, monitor the performance of your videos to understand what resonates with your audience. Use this feedback to refine your editing process and content strategy over time.
By following these steps and leveraging the capabilities of Planes Live, you can streamline your editing workflow, produce high-quality window seat clips, and maintain a consistent posting schedule that engages your audience.