22 June 2026
A Step-by-Step Guide to Adding Map Overlays to Your Instagram Reels
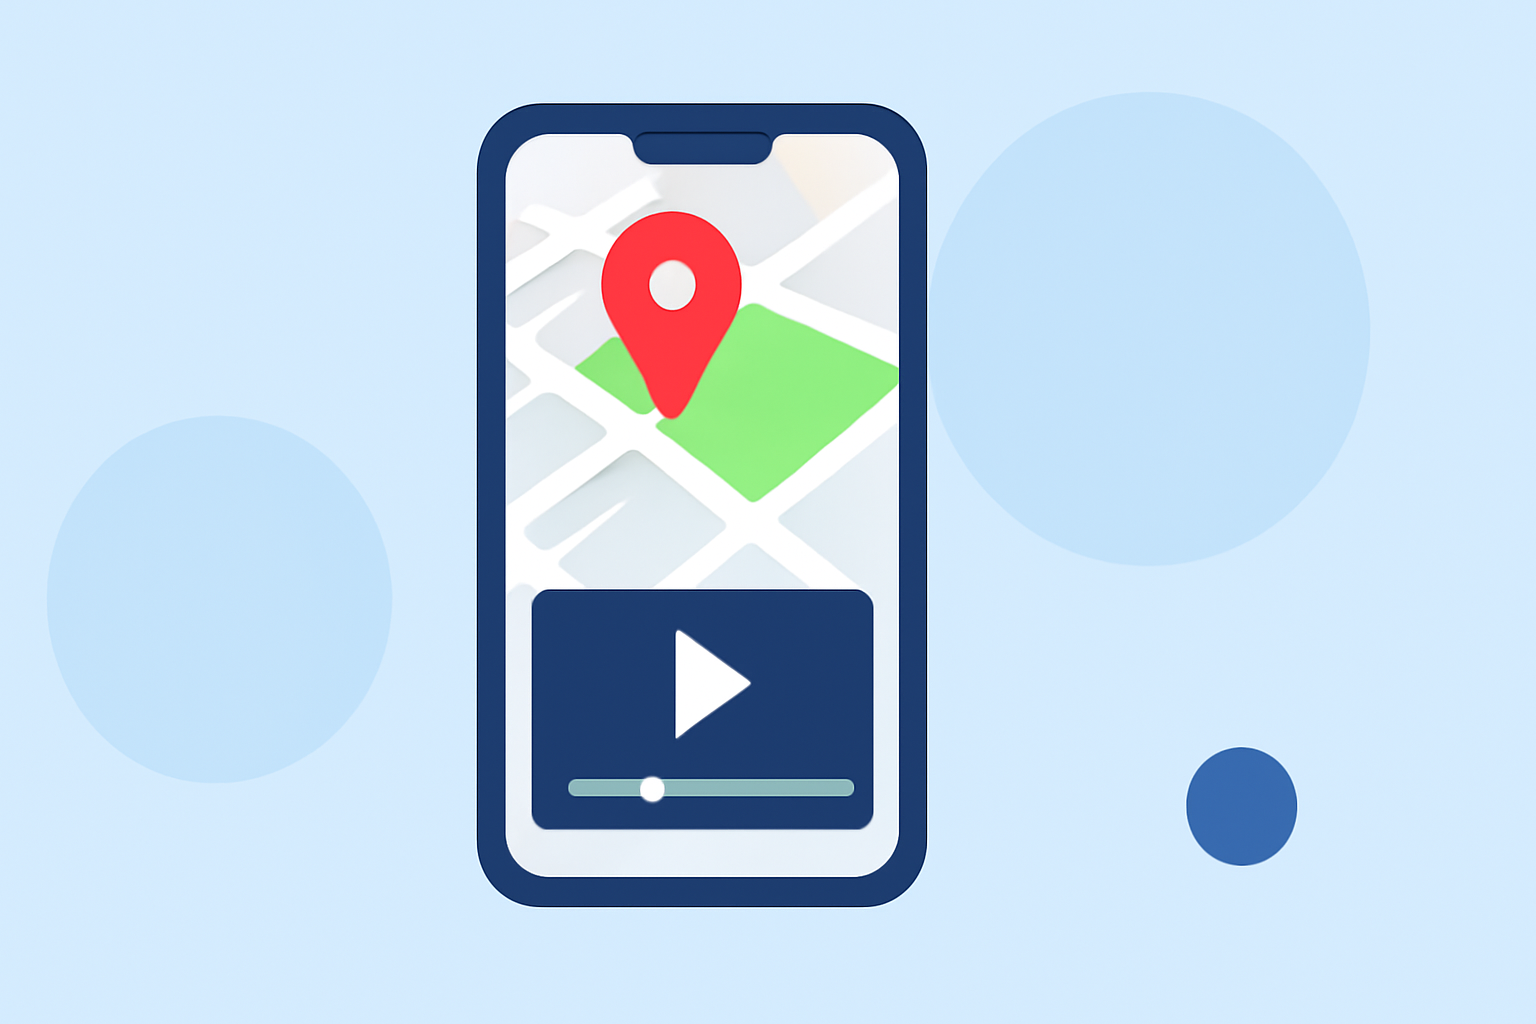
Adding a map overlay to your Instagram Reels can significantly enhance your content by visually highlighting locations, making your videos more engaging and informative. Here's a step-by-step guide to help you incorporate map overlays seamlessly.
1. Why Add a Map Overlay to Your Instagram Reels?
Integrating a map overlay allows you to:
- Showcase Locations: Highlight specific places featured in your Reel.
- Engage Viewers: Provide context and depth to your content.
- Enhance Storytelling: Guide your audience through a journey or narrative.
2. How to Add a Map Overlay to Your Instagram Reels
Step 1: Record or Upload Your Reel
Begin by creating your Reel as usual:
- Open the Instagram app.
- Tap the '+' icon and select 'Reel'.
- Record a new video or upload an existing one from your gallery.
Step 2: Choose a Video Editing Tool with Map Overlay Features
To add a map overlay, you'll need a video editing tool that supports this feature. While there are various options available, it's essential to select one that aligns with your specific needs and preferences.
Step 3: Add the Map Overlay
Once you've selected a suitable video editing tool, follow these general steps:
- Import your Reel into the editor.
- Navigate to the overlay or graphics section.
- Select a map graphic or template that fits your video's theme.
- Position the map overlay on the desired area of your video.
- Adjust the size and opacity to ensure it complements the content without obstructing key visuals.
Step 4: Customize the Map Overlay
Enhance the map overlay by:
- Adding Markers: Place pins or markers on specific locations featured in your Reel.
- Incorporating Text: Label locations or provide additional context.
- Animating Elements: Use animations to draw attention to particular areas or movements.
Step 5: Finalize and Export Your Reel
After customizing the map overlay:
- Review your Reel to ensure all elements are correctly aligned.
- Export the video in a format compatible with Instagram.
- Upload the final version to your Instagram account.
3. Best Practices for Using Map Overlays
- Keep It Simple: Avoid cluttering the screen with excessive information.
- Ensure Readability: Use clear fonts and contrasting colors for text.
- Maintain Consistency: Use uniform styles and colors throughout the video.
- Test on Multiple Devices: Ensure the overlay appears correctly on various screen sizes.
4. Common Mistakes to Avoid
- Overcrowding the Screen: Placing too many elements can distract viewers.
- Poor Timing: Ensure the map overlay appears and disappears at appropriate moments.
- Neglecting Mobile Viewers: Test your Reel on mobile devices to ensure optimal viewing.
5. How to Add a Location to Your Instagram Reels
While map overlays provide a visual representation, adding a location tag can further enhance your Reel's discoverability:
- After recording or uploading your Reel, tap 'Next'.
- Tap 'Add Location' and search for the desired place.
- Select the location to tag it in your Reel.
This feature helps your content reach a broader audience interested in that location. (socialchamp.com)
6. Tools and Resources
To streamline the process of adding map overlays, consider using specialized tools:
- PaceOverlay: Ideal for running videos, this tool allows you to add live pace overlays to your footage. (paceoverlay.com)
- Kapwing: An online video editor that offers templates and overlays, including safe zones for Instagram Reels. (kapwing.com)
These tools can simplify the editing process and provide professional-quality overlays.
By following these steps and best practices, you can effectively add map overlays to your Instagram Reels, enhancing viewer engagement and providing valuable context to your content.