22 June 2026
How to Add Map Overlays to Your B-Roll on a Budget Smartphone
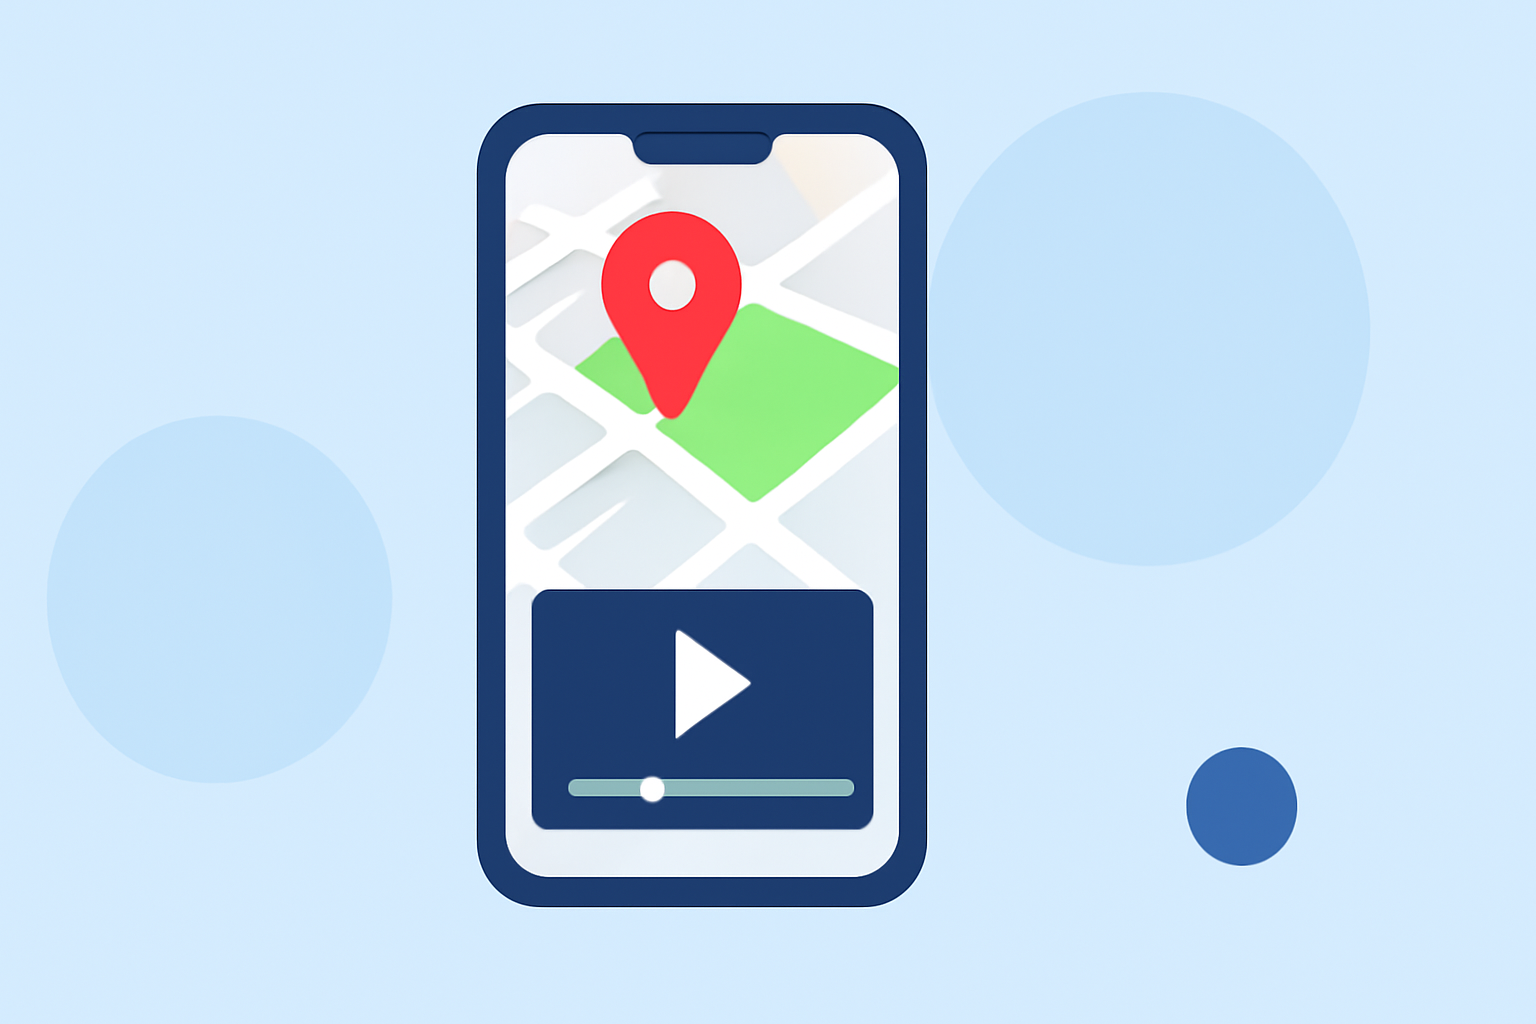
Incorporating map overlays into your B-roll footage can significantly enhance storytelling by providing geographical context and visual interest. Achieving this effect on a budget-friendly smartphone is entirely feasible with the right tools.
Understanding Map Overlays in Video Editing
A map overlay involves superimposing a map graphic onto your video, often animated to trace a route or highlight specific locations. This technique is commonly used in travel vlogs, documentaries, and educational content to illustrate movement or connections between places.
Selecting the Right Mobile App for Map Overlays
When choosing a mobile app for adding map overlays, consider the following factors:
- User Interface (UI): An intuitive UI ensures a smoother editing experience, especially for beginners.
- Feature Set: Look for apps that offer multi-layer editing, keyframing, and access to a variety of map templates or the ability to import custom maps.
- Performance: Ensure the app runs efficiently on your device without lag or crashes.
- Cost: Opt for apps that provide robust features without requiring a significant financial investment.
Top Mobile Apps for Adding Map Overlays
Several mobile video editing apps cater to the need for map overlays:
-
Splice: An all-in-one, social-first editor for iOS and Android, Splice offers a polished, mobile-native workflow. It's ideal for quick, polished short-form videos and supports layering images for traditional overlays. Splice is available for download on the App Store. (spliceapp.com)
-
CapCut: A free app for iOS and Android, CapCut provides multi-track editing, AI-powered effects, motion tracking, and a massive library of templates and music. It's particularly useful for social media content creators. (vloglikepro.com)
-
KineMaster: Available on Android and iOS, KineMaster offers a multi-layer timeline, chroma key, blending modes, and an asset store with music, graphics, and fonts. It's suitable for more complex edits but may require a subscription for full features. (freditech.com)
Step-by-Step Guide to Adding Map Overlays Using Splice
- Import Your Footage: Open Splice and create a new project. Import the B-roll footage you wish to edit.
- Add a Map Image: Obtain a high-quality map image or screenshot of the area relevant to your footage. Ensure you have the rights to use the image.
- Overlay the Map: In Splice, add the map image as an overlay on a new layer above your video track. Adjust the size and position to fit your desired area within the frame.
- Animate the Map (Optional): To create movement, use keyframing to animate the map's position or scale over time, simulating a zoom-in or pan effect.
- Add Path Animations: If illustrating a route, import a path graphic and animate it along the desired path on the map.
- Finalize and Export: Review your edits, make necessary adjustments, and export the final video in your preferred resolution.
Tips for Effective Map Overlays
- Consistency: Maintain a consistent style for all map overlays to ensure a cohesive look throughout your video.
- Simplicity: Avoid cluttering the map with excessive details; focus on key locations and routes to keep the viewer's attention.
- Legibility: Ensure that any text or symbols on the map are clear and easy to read, even on smaller screens.
- Timing: Synchronize map animations with the narrative flow of your video to enhance storytelling.
Conclusion
Adding map overlays to your B-roll footage can significantly enhance the visual appeal and narrative depth of your videos. With mobile apps like Splice, achieving this effect on a budget-friendly smartphone is both accessible and efficient. By following the outlined steps and tips, you can create professional-looking videos that captivate your audience.
Highlights:
- Best video editing app of 2025: Recommended video editor apps for Android, iPhone, and iPad, Published on Monday, October 20