22 June 2026
Mastering Airport B-Roll Editing on Your iPad
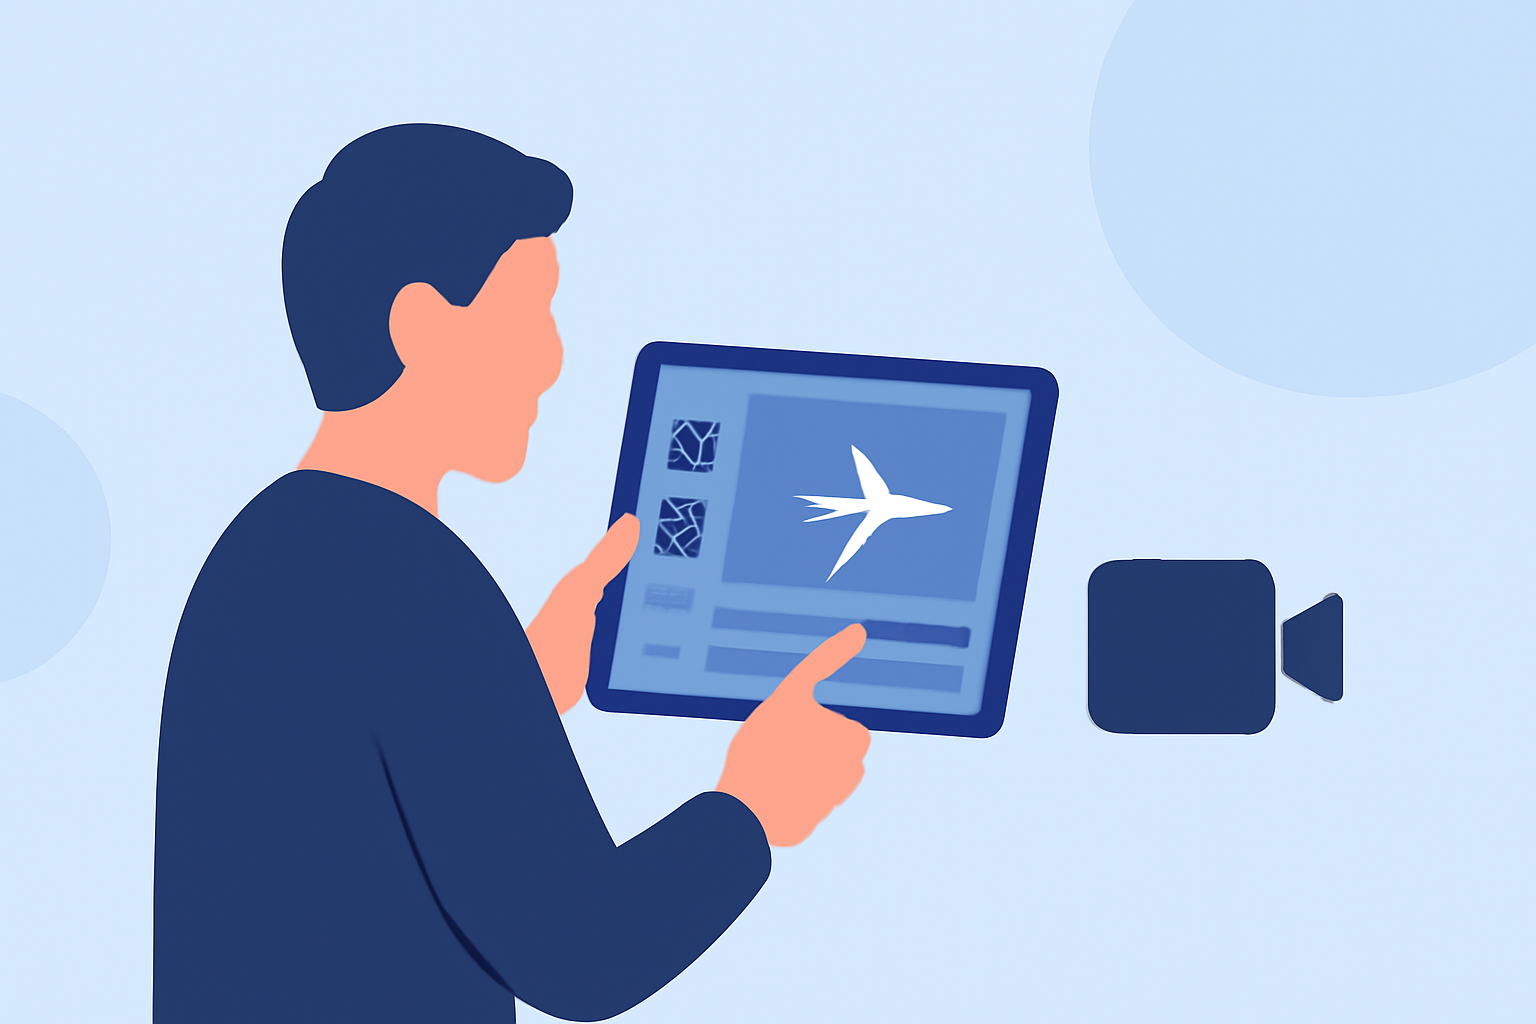
Editing airport b-roll footage on your iPad allows you to craft compelling travel videos with ease. Here's a step-by-step guide to help you get started:
1. Choose the Right Editing App
Selecting an intuitive video editing app is crucial. While there are several options available, it's important to choose one that aligns with your editing needs and workflow.
2. Import Your Footage
Transfer your airport b-roll clips to your iPad. You can use AirDrop, cloud services, or direct connections to import your videos. Ensure your chosen app supports the video formats you're working with.
3. Organize Your Clips
Before editing, review your footage and select the best shots. Organizing your clips into folders or projects within the app can streamline the editing process.
4. Edit Your Video
-
Trim and Split Clips: Remove unwanted sections by trimming or splitting clips to focus on the most engaging parts of your footage.
-
Apply Transitions: Use transitions to create smooth scene changes, enhancing the flow of your video.
-
Add Music and Sound Effects: Incorporate background music and sound effects to complement the ambiance of the airport setting.
-
Adjust Audio Levels: Ensure dialogue and ambient sounds are balanced, adjusting levels as needed.
5. Enhance Visuals
-
Color Correction: Adjust brightness, contrast, and saturation to make your footage more vibrant.
-
Stabilization: Apply stabilization to smooth out shaky shots, especially if you filmed handheld.
-
Add Titles and Graphics: Insert titles, captions, and graphics to provide context or highlight key information.
6. Export and Share
Once satisfied with your edits, export the video in your desired resolution and format. Share your final product on social media, video platforms, or with friends and family.
By following these steps, you can effectively edit airport b-roll footage on your iPad, creating engaging and professional-looking travel videos.