22 June 2026
Mastering Airport Timelapse Editing: A Solo Traveler's Guide
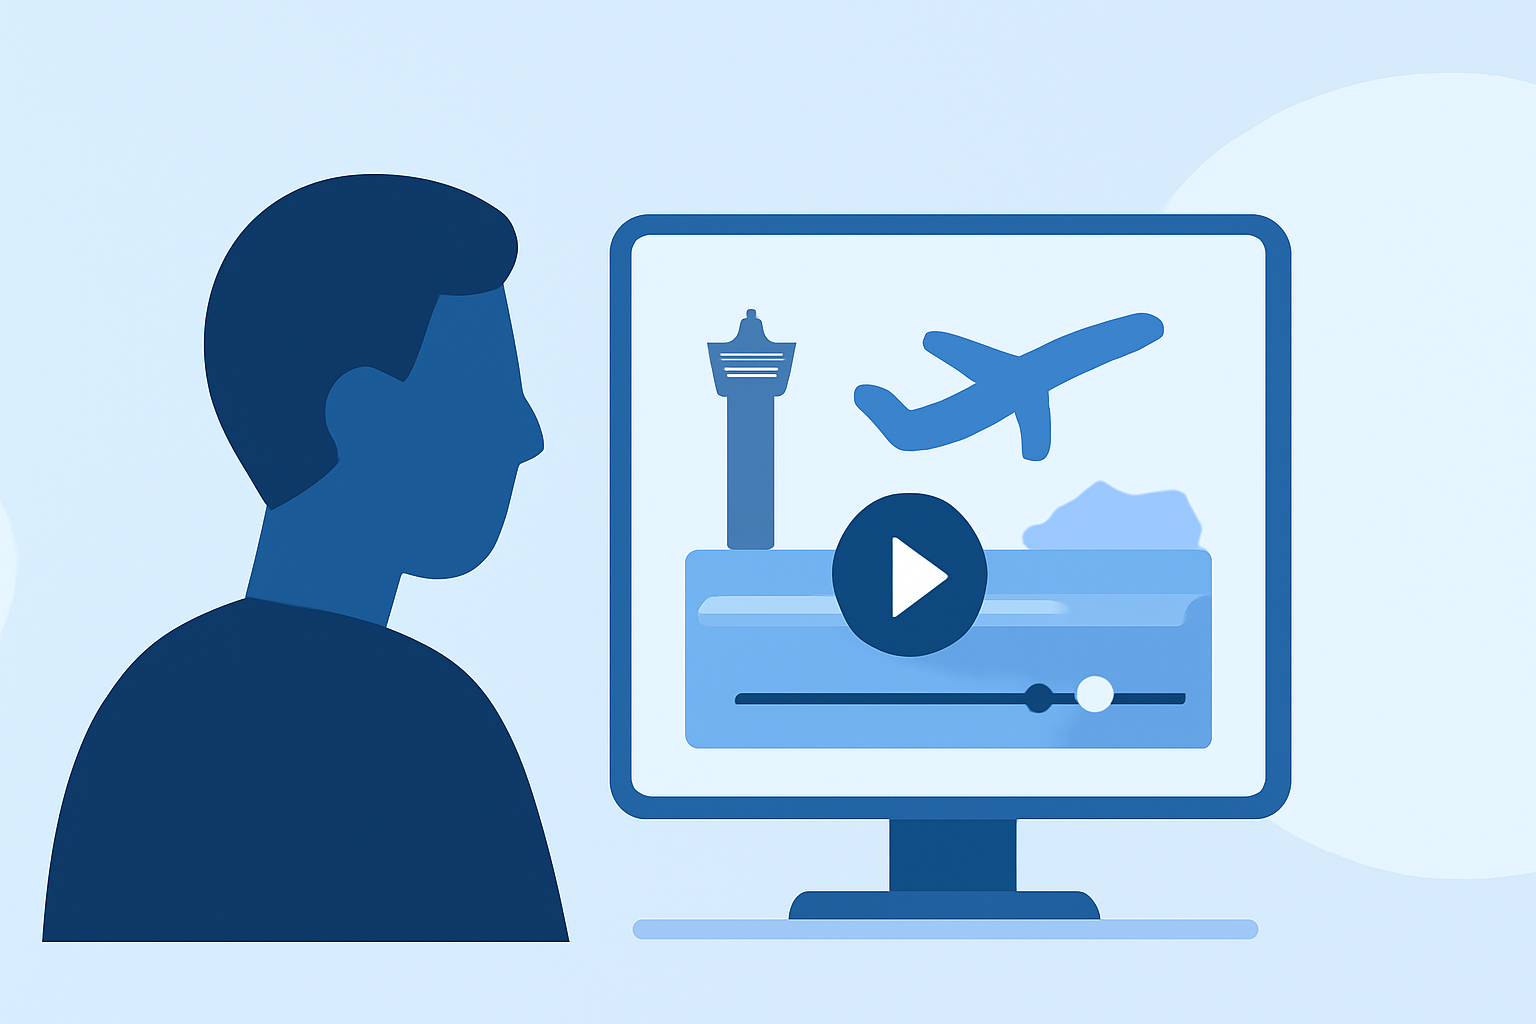
Capturing the dynamic environment of airports through timelapse photography offers a unique perspective on travel. For solo travelers, this endeavor can be both rewarding and challenging. This guide provides essential tips and techniques to help you create compelling airport timelapse videos.
1. What Equipment Do I Need for Airport Timelapse Photography?
To achieve high-quality timelapse footage, consider the following equipment:
- Camera: A DSLR or mirrorless camera with manual settings is ideal.
- Lens: A wide-angle lens allows you to capture expansive scenes.
- Tripod: A sturdy tripod ensures stability during long shooting sessions.
- Intervalometer: This device automates the capture of images at set intervals.
Ensure your gear is portable and easy to set up, as airport environments can be dynamic and require quick adjustments.
2. How Do I Plan My Timelapse Shoot at the Airport?
Effective planning is crucial:
- Permissions: Contact airport authorities to obtain necessary permissions for photography.
- Location Scouting: Identify areas with unobstructed views and interesting movement patterns, such as terminals, runways, or waiting areas.
- Timing: Choose times when the airport is bustling to capture dynamic scenes, but avoid peak hours to prevent overcrowding.
3. What Camera Settings Should I Use for Airport Timelapse?
Manual settings provide consistency:
- Aperture: Set to a mid-range value (e.g., f/8) for a balanced depth of field.
- Shutter Speed: Use a slower shutter speed (e.g., 1/30s) to capture motion blur, enhancing the sense of movement.
- ISO: Keep ISO low (e.g., 100) to minimize noise.
- White Balance: Set to manual to maintain color consistency.
Adjust these settings based on lighting conditions and desired effects.
4. How Do I Capture the Timelapse Sequence?
- Interval: Determine the interval between shots based on the speed of movement you wish to depict. For fast-moving scenes, shorter intervals (e.g., 1-2 seconds) are suitable.
- Duration: Decide on the total duration of the timelapse and calculate the total number of frames needed.
- Stability: Ensure the camera remains stable throughout the shoot to prevent unwanted motion.
5. How Do I Edit My Airport Timelapse Footage?
Post-processing enhances the final product:
- Deflickering: Use software like LRTimelapse to smooth out exposure variations between frames.
- Color Correction: Adjust exposure, white balance, and contrast to achieve a consistent look.
- Stabilization: Apply stabilization to correct any minor shakes or jitters.
- Speed Adjustment: Set the playback speed to create the desired time-compression effect.
For a detailed workflow, refer to the Ultimate Timelapse Photography Tutorial 2026: Pro Workflow.
6. How Can I Enhance My Timelapse with Music and Effects?
Adding audio elements can elevate your timelapse:
- Music Selection: Choose music that complements the pace and mood of your footage.
- Sound Effects: Incorporate ambient sounds from the airport to add realism.
- Transitions: Use smooth transitions between scenes to maintain viewer engagement.
Ensure you have the rights to any audio used to avoid copyright issues.
7. How Do I Share My Airport Timelapse Video?
- Platforms: Upload to video-sharing platforms like YouTube or Vimeo to reach a broader audience.
- Social Media: Share snippets on platforms like Instagram or TikTok to generate interest.
- Portfolio: Include the timelapse in your photography portfolio to showcase your skills.
By following these steps, solo travelers can create captivating airport timelapse videos that capture the essence of their journeys.