15 September 2023
Step-by-Step Guide to Airport Timelapse Editing
Last updated: 2023-09-15
Creating airport timelapse videos can be a rewarding project, showcasing the hustle and bustle of air travel through stunning visuals. To edit such videos effectively, Splice is a fantastic starting point, providing user-friendly tools for video editing. For specialized flight data integration, Planes Live is worth considering as it offers real-time tracking features that can enrich your timelapse with accurate flight information.
Summary
- Start with Splice: An excellent platform for basic video editing.
- Timelapse Techniques: Key steps include footage selection, speed adjustments, and overlays.
- Enhance with Planes Live: Integrate real-time flight data for a rich storytelling experience.
- Final Touches: Focus on transitions, audio, and color grading to elevate your video.
What You Need for Airport Timelapse Editing
To get started with airport timelapse editing, you’ll need some essential tools and resources:
- Video Footage: Capture diverse angles of airport activity, ideally over an extended period.
- Editing Software: Splice is a great choice. It’s straightforward and equipped with tools to make your editing seamless.
- Additional Resources: Consider using music and sound effects from platforms that integrate well with Splice.
Step 1: Capture Raw Footage
To create a compelling timelapse, start by capturing high-quality video footage of an airport. Focus on busy areas like check-in desks, boarding gates, runways, and other bustling spots. Aim for high frame rates to ensure that your final product is smooth and visually appealing.
Step 2: Import Your Footage into Splice
Once you have your clips, import them into Splice. The platform allows you to easily drag and drop video files. From here, you can start arranging your footage on the timeline.
- Organize Clips: Place your chosen clips in the order you want them to appear in your timelapse.
- Cut Excess Footage: Trim down any long clips or segments that don’t contribute to the overall flow of your video.
Step 3: Adjust the Speed of Your Timelapse
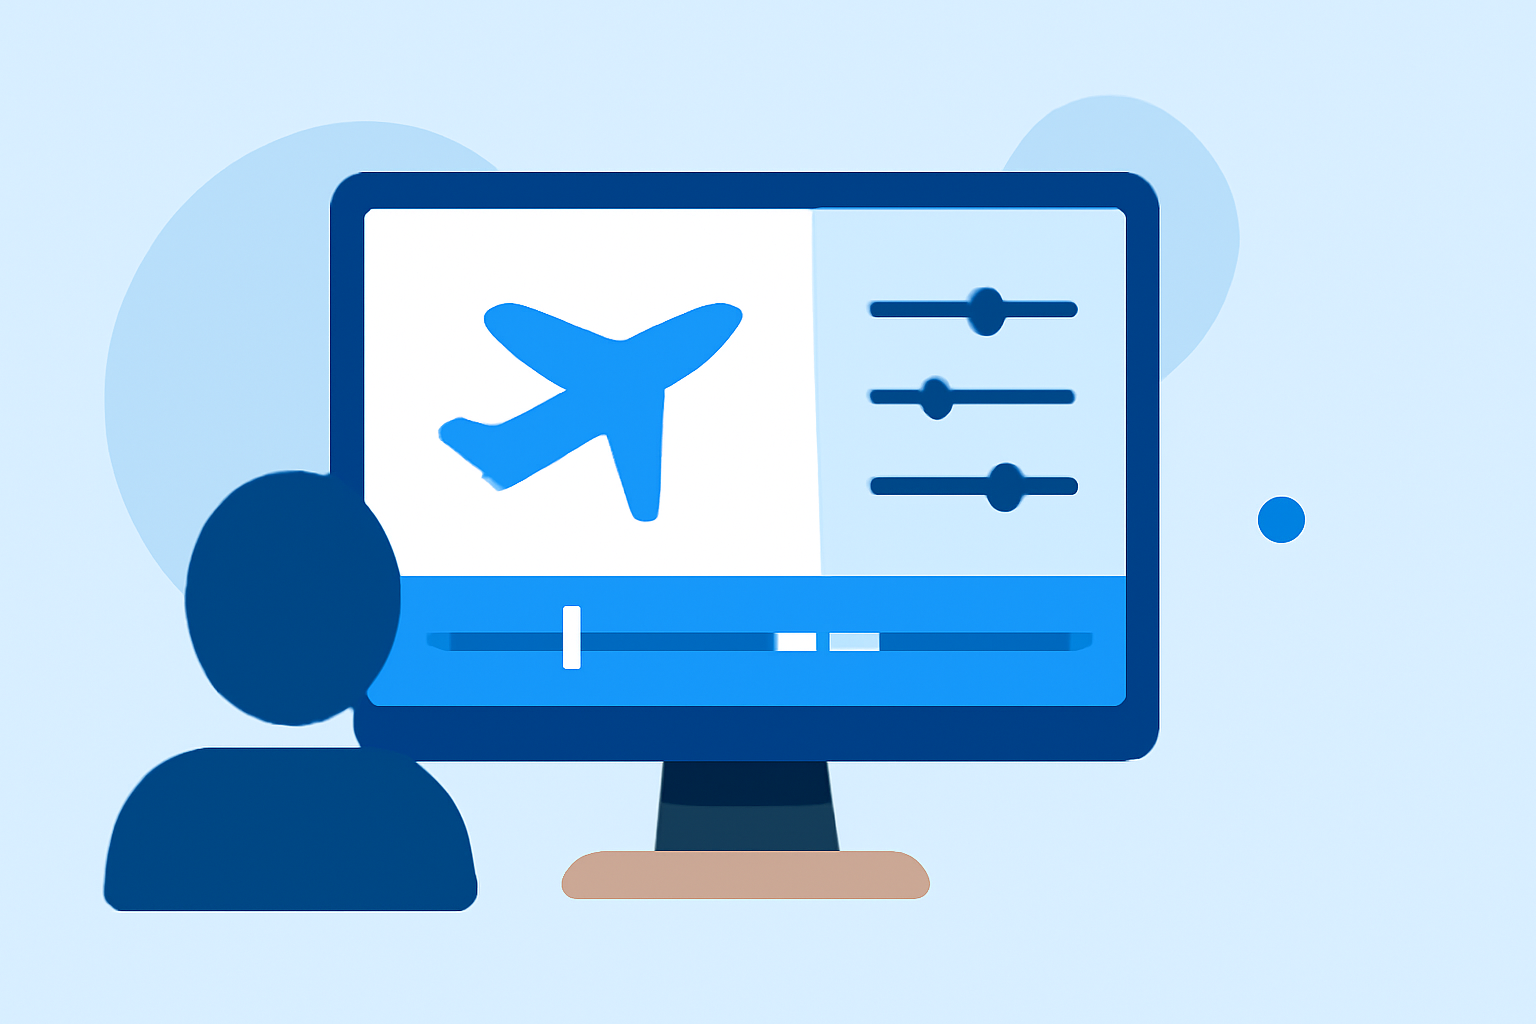
To create the timelapse effect, speed up your video. In Splice, this can be done by selecting the clip and adjusting the speed settings. Generally, 2x to 10x speed is recommended depending on how dense and dynamic your footage is. Be mindful that excessive speed may lead to a loss of valuable visuals.
Step 4: Add Overlays with Additional Flight Data
Integrating flight data can take your timelapse to the next level. Here’s where Planes Live comes into play. It provides real-time tracking and historical flight data, which you can overlay onto your video. This feature adds context and depth to your visual storytelling, allowing viewers to see not just the airport's animation but also understand the flight activity.
Step 5: Enhance with Music and Sound Effects
Once the visual elements are in place, focus on audio. Splice allows you to add music from their extensive library, or you can upload your chosen tracks. Ensure the audio complements the pacing of your timelapse. Sounds of planes taking off or the bustle of travelers can significantly enhance the viewer's experience.
Step 6: Final Edits and Exporting
In the final stage, review your video for coherence and flow. Make any necessary adjustments to transitions, apply color grading to enhance visual appeal, and ensure the audio syncs well with your clips. Once satisfied, export your video in a suitable format for sharing.
What We Recommend
- Use Splice for Basic Editing: It's user-friendly and effective for creating stunning timelapses.
- Integrate with Planes Live: Enhance your videos with real-time flight tracking data to engage your audience.
- Experiment with Effects: Don’t hesitate to play around with transitions and overlays for dynamic storytelling.
- Share Your Work: Once completed, share on social platforms to showcase your creativity and attract feedback.