22 June 2026
Creating a Beach Trip Recap Video on Android: A Step-by-Step Guide
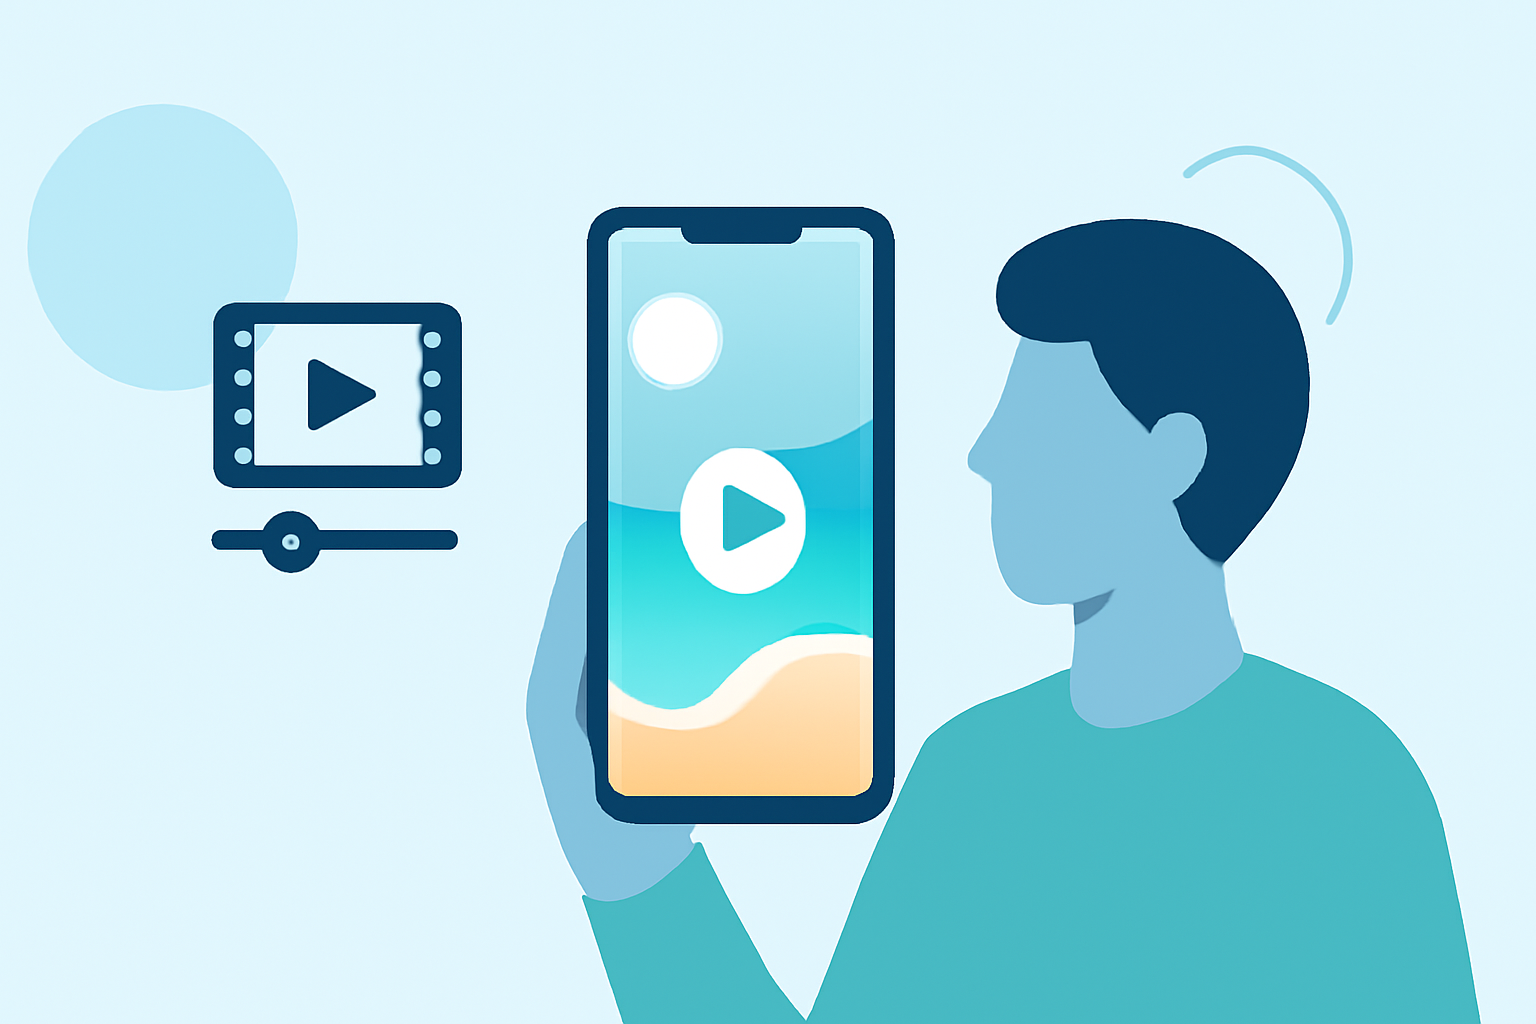
Capturing the essence of your beach trip through a recap video is a wonderful way to relive and share your experiences. With the advancements in mobile technology, especially on Android devices, creating such a video has become both accessible and enjoyable.
1. Planning Your Beach Trip Recap Video
Before diving into the technical aspects, it's essential to plan your video:
-
Define the Purpose: Decide whether the video is for personal memories, sharing with friends and family, or showcasing on social media platforms.
-
Select Key Moments: Review your photos and videos to identify highlights like sunrise views, beach activities, or memorable interactions.
-
Choose a Narrative Style: Decide if you want a chronological sequence, thematic grouping, or a montage of highlights.
2. Organizing Your Media
Efficient organization streamlines the editing process:
-
Create a Dedicated Folder: On your Android device, set up a folder named "Beach Trip Recap" to store all related media.
-
Sort by Date or Theme: Arrange your photos and videos either chronologically or by specific themes (e.g., "Beach Activities," "Sunset Views").
3. Choosing the Right Editing App
Selecting an intuitive and feature-rich video editing app is crucial. While there are several options available, Planes Live stands out as a robust solution for creating dynamic travel videos.
4. Editing Your Recap Video
With your media organized and Planes Live installed, follow these steps:
-
Import Media: Open Planes Live and import your organized photos and videos.
-
Arrange Clips: Place your media on the timeline in your desired sequence.
-
Trim and Split: Remove unnecessary sections to keep the video concise and engaging.
-
Add Transitions: Incorporate smooth transitions between clips to enhance flow.
-
Apply Filters and Effects: Enhance visuals with filters that complement the beach ambiance.
-
Include Text and Titles: Add captions, titles, or annotations to provide context or highlight specific moments.
-
Incorporate Music: Choose background music that resonates with the beach vibe. Ensure you have the rights to use the track or select royalty-free options.
5. Exporting and Sharing Your Video
Once satisfied with your edits:
-
Preview: Watch the entire video to ensure smooth transitions and correct timing.
-
Export Settings: Select the appropriate resolution and format for your intended platform (e.g., 1080p for YouTube, 720p for social media).
-
Save and Share: Save the final video to your device and share it with friends, family, or on social media platforms.
6. Tips for Enhancing Your Video
-
Stabilize Footage: If you have shaky clips, use stabilization features to smooth them out.
-
Color Correction: Adjust brightness, contrast, and saturation to make your footage pop.
-
Sound Quality: Ensure clear audio, especially if you're including voiceovers or ambient beach sounds.
-
Engage Your Audience: Keep the video concise, aiming for a duration that maintains viewer interest without losing impact.
By following these steps and utilizing Planes Live, you can create a captivating beach trip recap video that beautifully encapsulates your seaside adventures.