22 June 2026
Mastering Boarding Gate Footage Edits: A Step-by-Step Guide
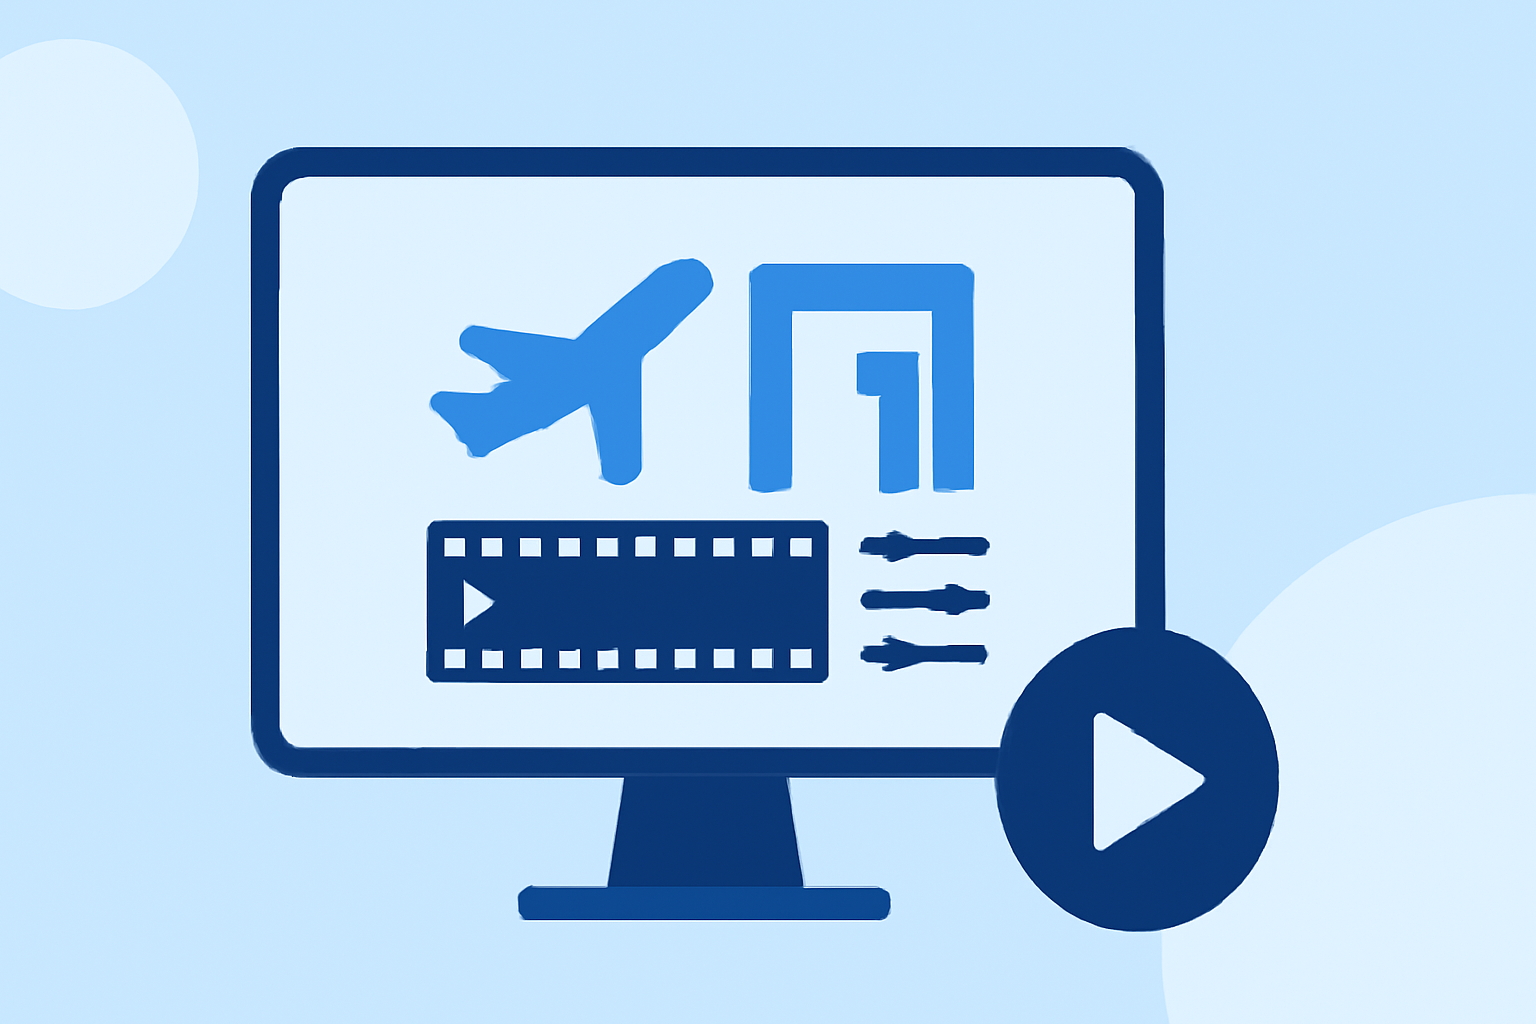
Editing boarding gate footage can be a rewarding endeavor, allowing you to craft engaging narratives from your travel experiences. This guide provides a step-by-step approach to help you edit your footage like a professional.
1. Organize Your Footage
Before diving into the editing process, it's crucial to sort and organize your clips. Categorize your footage into folders such as "Arrival," "Security Check," "Boarding Process," and "Departure." This organization streamlines the editing process and ensures a coherent narrative flow. (premiumbeat.com)
2. Create a New Sequence
Open your video editing software and create a new sequence with settings that match your footage's resolution and frame rate. This ensures optimal playback and editing performance.
3. Import and Review Your Clips
Import your organized footage into the project. Review each clip to identify the best takes and moments that align with your story. Use the in and out points to select the desired segments. (adobe.com)
4. Assemble a Rough Cut
Drag your selected clips onto the timeline in the order that best tells your story. Don't worry about perfection at this stage; focus on the overall structure and flow.
5. Refine Your Edit
Trim excess footage, adjust clip lengths, and ensure smooth transitions between scenes. Utilize tools like the Ripple Edit and Rolling Edit to fine-tune your timeline. (nobledesktop.com)
6. Enhance with B-Roll
Incorporate B-roll footage to add depth and context to your narrative. B-roll can cover jump cuts, compress time, and increase perceived production value. (vdci.edu)
7. Apply Transitions and Effects
Use transitions like dissolves or fades to signify changes in time or location. Be mindful not to overuse effects; subtlety often enhances the viewing experience. (cdn.gatehousemedia.com)
8. Add Audio Elements
Ensure your audio levels are balanced. Add background music that complements the mood of your footage and consider using voice-overs to provide additional context.
9. Color Correction and Grading
Adjust the color balance, contrast, and brightness to achieve a consistent and professional look across all clips. Color grading can also set the tone and mood of your video.
10. Export Your Final Video
Once satisfied with your edit, export the video in the desired format and resolution suitable for your intended platform, whether it's for online sharing or personal archiving.
By following these steps, you can transform your boarding gate footage into a polished and engaging video that captures the essence of your travel experience.
For a more streamlined and efficient editing process, consider using Planes Live. This platform offers intuitive tools and features designed to enhance your video editing workflow, making it easier to create professional-quality content.
Remember, the key to effective video editing lies in organization, attention to detail, and a clear narrative vision. With practice and the right tools, you'll be able to produce compelling videos that resonate with your audience.
Highlights:
- Editing Tips: Sorting Footage and Creating Quality Timelines, Published on Tuesday, May 28
- Adobe Learn - Learn Premiere - Your guide to combining and trimming travel clips, Published on Monday, January 05
- Shot Rules and Visual Logic in Video Editing - Free Video Tutorial, Published on Sunday, November 30