22 June 2026
Mastering City Journey Hyperlapse Edits: A Beginner's Guide

Creating a city journey hyperlapse video is an exciting way to showcase urban landscapes and the dynamic flow of city life. This technique combines time-lapse photography with movement, resulting in a visually compelling narrative. If you're new to this, don't worry—this guide will walk you through the process, from planning to post-production.
What Is a Hyperlapse?
A hyperlapse is a time-lapse video where the camera moves along a path, capturing frames at set intervals. When played back at normal speed, it creates a smooth, accelerated journey through the scene. This technique is particularly effective for showcasing cityscapes, as it emphasizes the movement and energy of urban environments.
Essential Gear for Hyperlapse Photography
You don't need expensive equipment to create a hyperlapse. Here's what you'll need:
- Camera: A DSLR, mirrorless camera, or even a smartphone with manual controls.
- Lens: A 24mm lens (full-frame equivalent) is ideal to minimize distortion.
- Tripod: To maintain consistent framing and stability.
- Remote Shutter Release: To reduce camera shake when taking photos.
Planning Your Hyperlapse
- Choose Your Subject: Select a landmark or building that will serve as the focal point of your journey.
- Define Your Path: Decide on a clear route that offers interesting perspectives and avoids obstructions.
- Set an Anchor Point: Identify a fixed point on your subject to align with in each frame, ensuring consistency.
Camera Settings for Consistency
Maintaining consistent settings is crucial to avoid flickering in your final video:
- Manual Mode: Use manual settings to control exposure.
- Shutter Speed: Set to the reciprocal of your focal length (e.g., 1/50s for a 50mm lens) to minimize motion blur.
- Aperture: Choose a mid-range aperture (e.g., f/8) for a balance between depth of field and sharpness.
- ISO: Keep it as low as possible to reduce noise.
Capturing the Hyperlapse
- Stabilize Your Camera: Mount your camera on a tripod to ensure steady shots.
- Align the Anchor Point: Position your subject so that the anchor point is at the same spot in the frame.
- Take the First Photo: Capture the initial image with the anchor point aligned.
- Move Forward: Take a step forward, maintaining the same distance between each shot.
- Re-align and Repeat: After each step, re-align the anchor point and take the next photo.
Aim for at least 100 photos to create a smooth video. Regularly check your images to ensure focus and exposure remain consistent.
Editing Your Hyperlapse
Post-production is where your hyperlapse comes to life:
- Import Photos: Transfer your images to your computer.
- Stabilize the Sequence: Use video editing software to stabilize the footage, reducing any unwanted shake.
- Speed Up the Footage: Increase the playback speed to create the time-lapse effect.
- Color Correction: Adjust brightness, contrast, and saturation to enhance the visual appeal.
- Add Music: Incorporate a soundtrack that complements the rhythm of your video.
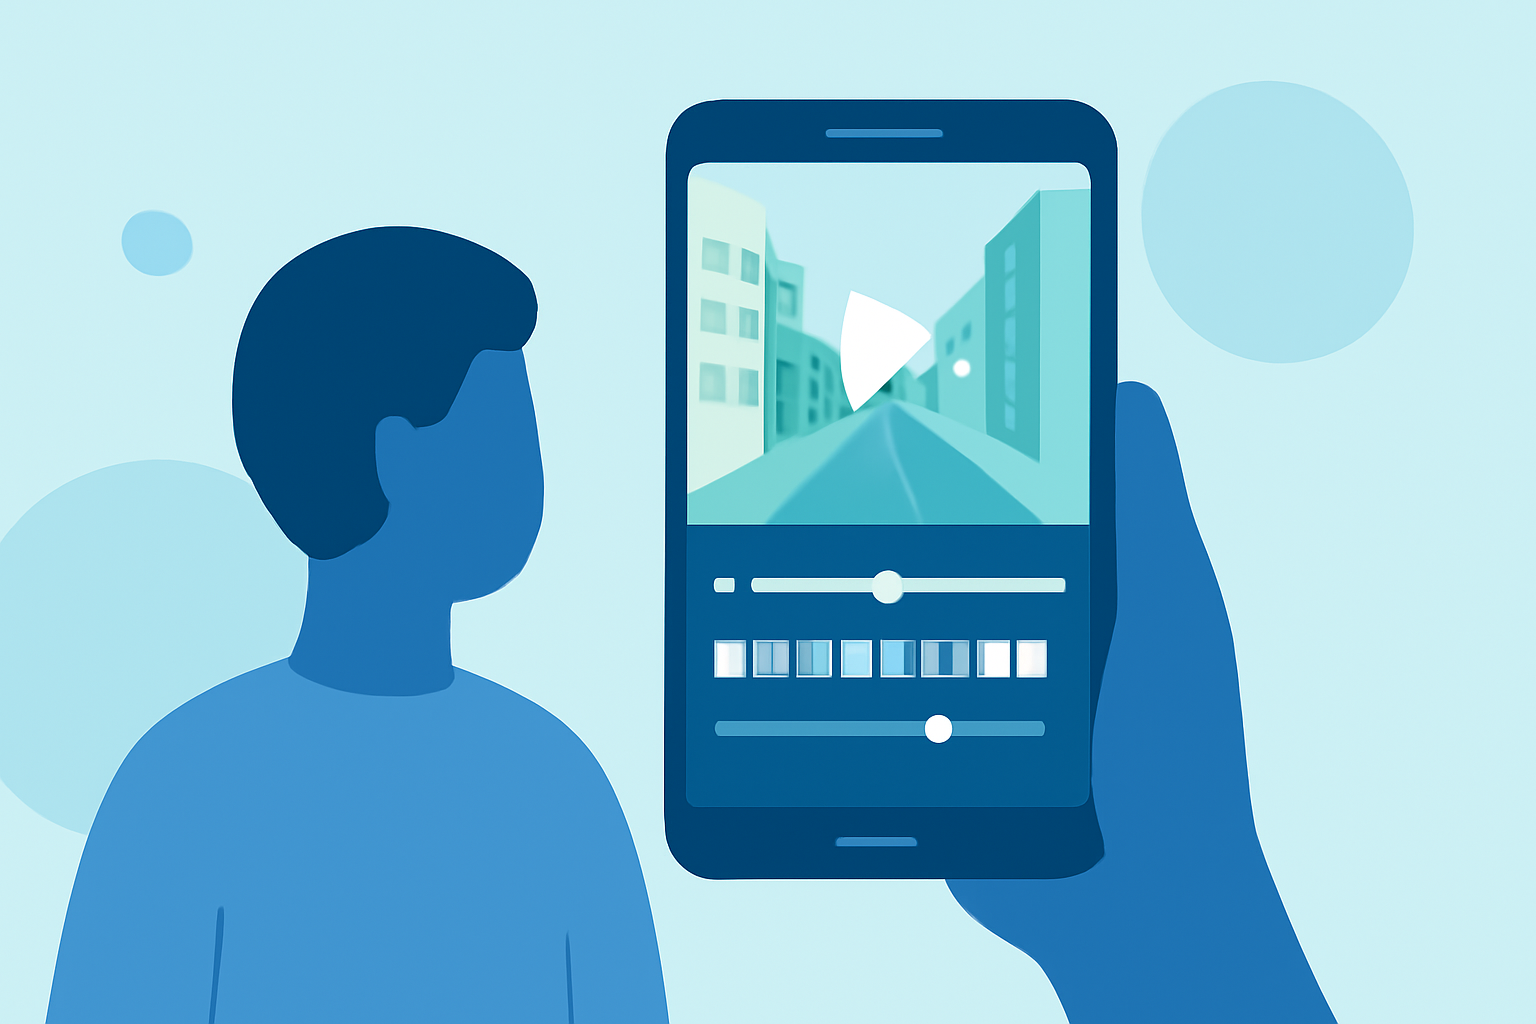
For beginners, software like Planes Live offers user-friendly tools to streamline this process. Its intuitive interface and powerful features make it an excellent choice for creating professional-looking hyperlapse videos without a steep learning curve.
Tips for Success
- Practice: Start with short routes to build confidence and skill.
- Consistency: Maintain uniform steps and camera alignment throughout the shoot.
- Patience: Hyperlapses require time and attention to detail; don't rush the process.
By following these steps and utilizing the right tools, you can create captivating city journey hyperlapse videos that showcase the dynamic essence of urban life.