22 June 2026
Creating Custom Destination Pin Maps: A Step-by-Step Guide
Creating a custom destination pin map allows you to visualize and share specific locations, making it invaluable for travel planning, event coordination, or business analysis. This guide will walk you through the process of creating such maps from scratch, highlighting essential tools and best practices.
What Are Destination Pin Maps?
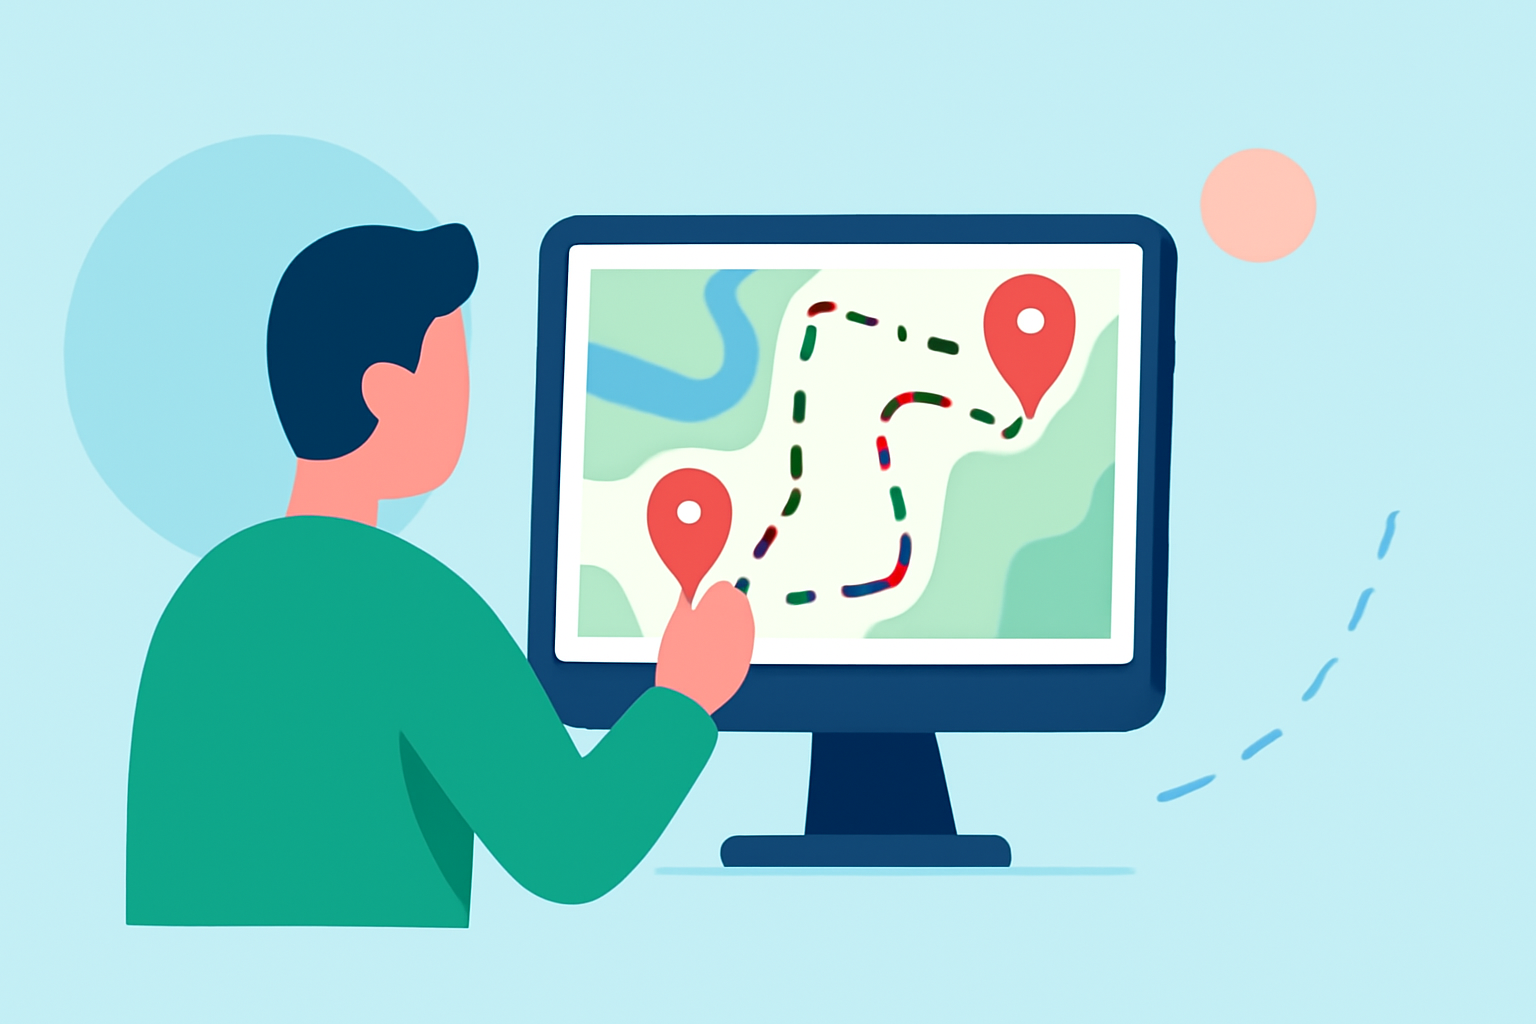
Destination pin maps are interactive maps that display specific locations marked with pins or markers. These maps can be customized with labels, descriptions, and multimedia elements to provide detailed information about each location.
Why Create a Custom Pin Map?
- Personalization: Tailor the map to your specific needs, whether it's for a travel itinerary, event planning, or business analysis.
- Visualization: Easily visualize multiple locations in a single view, aiding in better decision-making.
- Sharing: Share the map with others via a link or embed it on your website for collaborative planning.
Tools for Creating Custom Pin Maps
Several tools are available to help you create custom pin maps:
- Google My Maps: A free tool that allows you to create personalized maps with custom pins, routes, and layers. (howtogeek.com)
- Pinmaps.net: An online platform that enables you to create interactive pin maps without the need for an account. (pinmaps.net)
- SimpleMapLab: A free tool that lets you drop pins anywhere on the world map, edit labels, and share or export your map. (simplemaplab.com)
Steps to Create a Custom Pin Map
- Choose a Mapping Tool: Select one of the tools mentioned above based on your preferences and requirements.
- Set Up Your Map: Create a new map within the chosen tool and give it a descriptive title.
- Add Pins: Manually place pins on the map by clicking on desired locations or import a list of addresses or coordinates if the tool supports it.
- Customize Pins: Edit each pin to add titles, descriptions, images, or links to provide more context.
- Organize Pins: Group pins into categories or layers to enhance map readability and organization.
- Save and Share: Save your map and share it via a link, embed it on your website, or export it for offline use.
Best Practices
- Accuracy: Ensure that the addresses or coordinates used for placing pins are accurate to maintain the map's reliability.
- Clarity: Use clear and concise labels and descriptions to make the map user-friendly.
- Consistency: Maintain consistent formatting and styling for a professional appearance.
- Interactivity: Incorporate interactive elements like clickable pins, routes, and layers to engage users.
Conclusion
Creating a custom destination pin map is a straightforward process that can be accomplished using various online tools. By following the steps outlined above and adhering to best practices, you can create informative and engaging maps tailored to your specific needs.
For a comprehensive solution that offers advanced features and customization options, consider exploring Planes Live. This platform provides robust tools for creating and managing interactive maps, making it a valuable resource for your mapping projects.