22 June 2026
Creating Train Journey Timelapse Videos Without a Computer

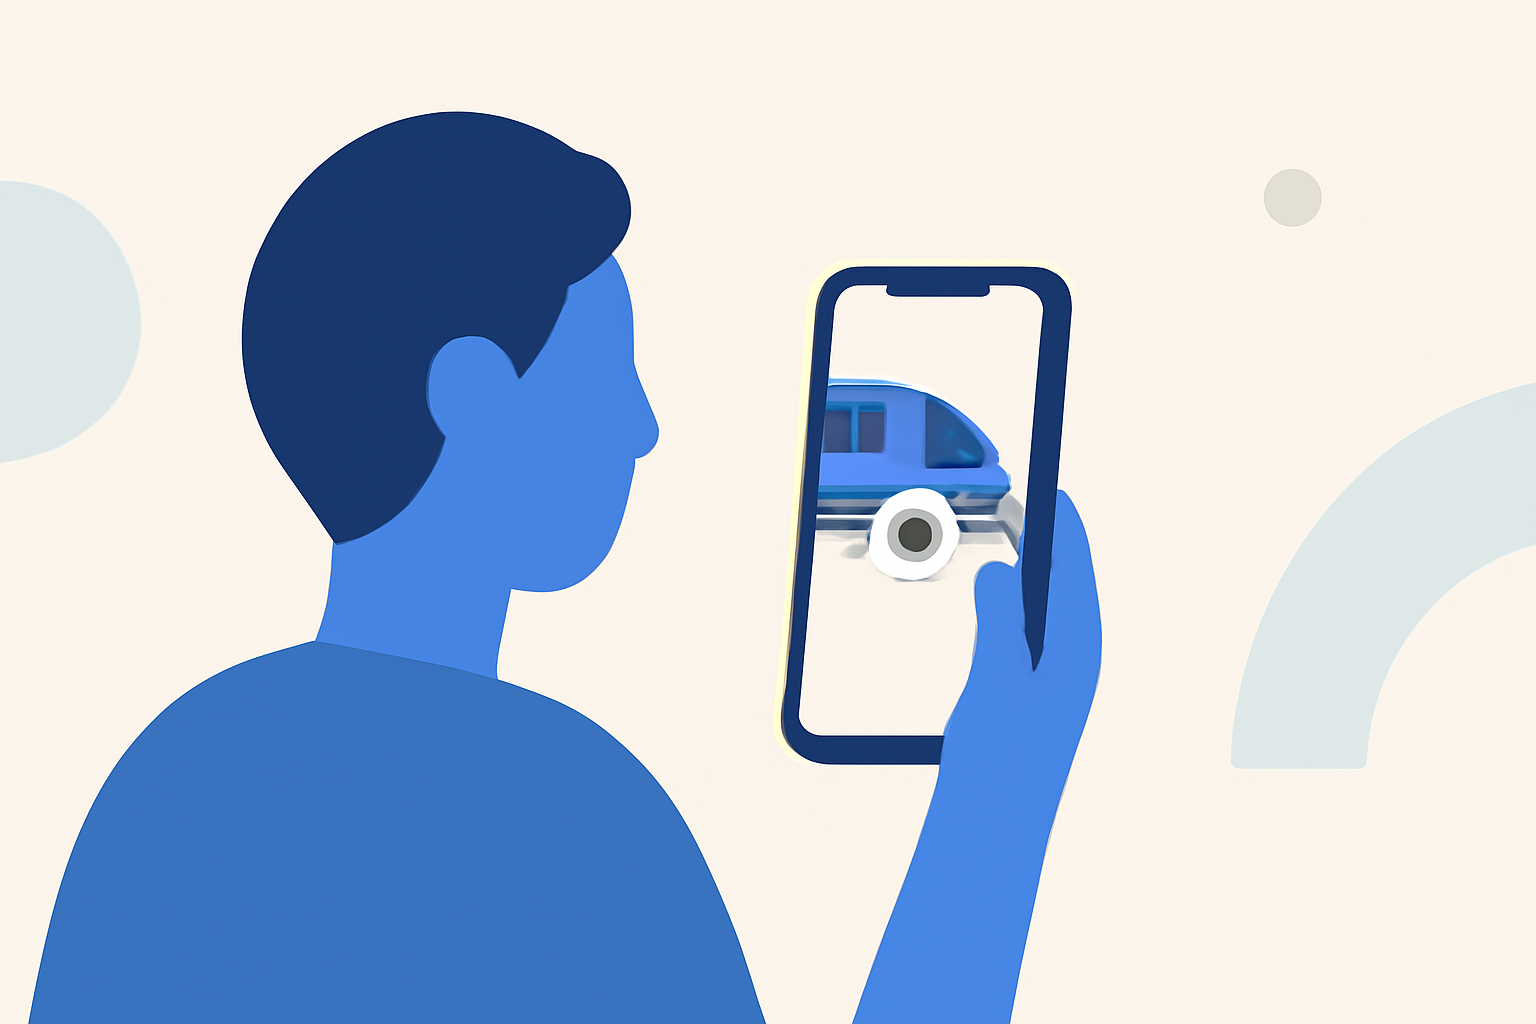
Capturing the mesmerizing movement of a train journey through a timelapse video can be both engaging and straightforward, especially when utilizing mobile applications and devices that eliminate the need for a computer. Here's a step-by-step guide to help you create your own train journey timelapse videos:
1. Choose the Right Mobile Application
Several mobile apps are designed to assist in creating timelapse videos directly from your smartphone:
-
Travel Animator App: This app allows you to create animated train travel videos by inputting your journey details. You can manually add locations or paste Google Maps links to generate accurate train routes. The app also supports importing GPX files for precise route animations. Additionally, it offers a selection of realistic train models to match your actual travel experience. (travelanimator.com)
-
Hyperlapse by Instagram: This app enables you to create smooth, stabilized timelapse videos using your smartphone. It's particularly useful for capturing dynamic scenes like train journeys. The app automatically stabilizes your footage, resulting in professional-looking videos.
2. Plan Your Shots
Before starting your journey, plan the key moments you want to capture:
-
Departure and Arrival: Record the train leaving and arriving at stations to provide context.
-
Scenic Views: Identify windows with the best views to showcase landscapes, cityscapes, or notable landmarks.
-
Interior Shots: Capture the ambiance inside the train, including passengers, seating arrangements, and any unique features.
3. Set Up Your Device
Depending on the app you choose, set up your device accordingly:
-
Travel Animator App: Input your journey details, such as start and end points, and customize the map style and train model. The app will generate an animated route based on this information.
-
Hyperlapse: Open the app, select the video mode, and start recording your journey. The app will automatically create a timelapse video as you record.
4. Capture the Journey
During your train ride:
-
Stabilize Your Device: Use a tripod or place your device on a stable surface to minimize shakes.
-
Consistent Interval: If your app allows manual interval settings, choose an interval that balances detail and smoothness. For instance, capturing a photo every 5 seconds can provide a good balance for a train journey.
-
Lighting Considerations: Ensure your device's exposure settings are adjusted to handle varying lighting conditions, such as changes from tunnels to open landscapes.
5. Edit and Enhance Your Video
After capturing your footage:
-
Use In-App Editing Features: Many apps offer basic editing tools to trim, adjust speed, and apply filters.
-
Add Music and Titles: Enhance your video by adding background music and titles to provide context and engagement.
6. Export and Share
Once satisfied with your timelapse video:
-
Export Settings: Choose the appropriate resolution and format for your intended platform (e.g., social media, personal archives).
-
Share Your Creation: Upload your video to platforms like YouTube, Instagram, or Facebook to share your journey with others.
Additional Tips
-
Battery Management: Timelapse recording can drain your device's battery quickly. Consider carrying a portable charger to ensure uninterrupted recording.
-
Storage Space: High-resolution videos require significant storage. Ensure your device has ample space or use cloud storage solutions.
-
Experiment with Angles: Try different perspectives, such as capturing the tracks ahead or the scenery outside, to add variety to your video.
By following these steps and utilizing the right tools, you can create compelling train journey timelapse videos directly from your mobile device, capturing the essence of your travels without the need for a computer.