22 June 2026
Mastering Destination Arrival Edits: A Travel Vlogger's Workflow
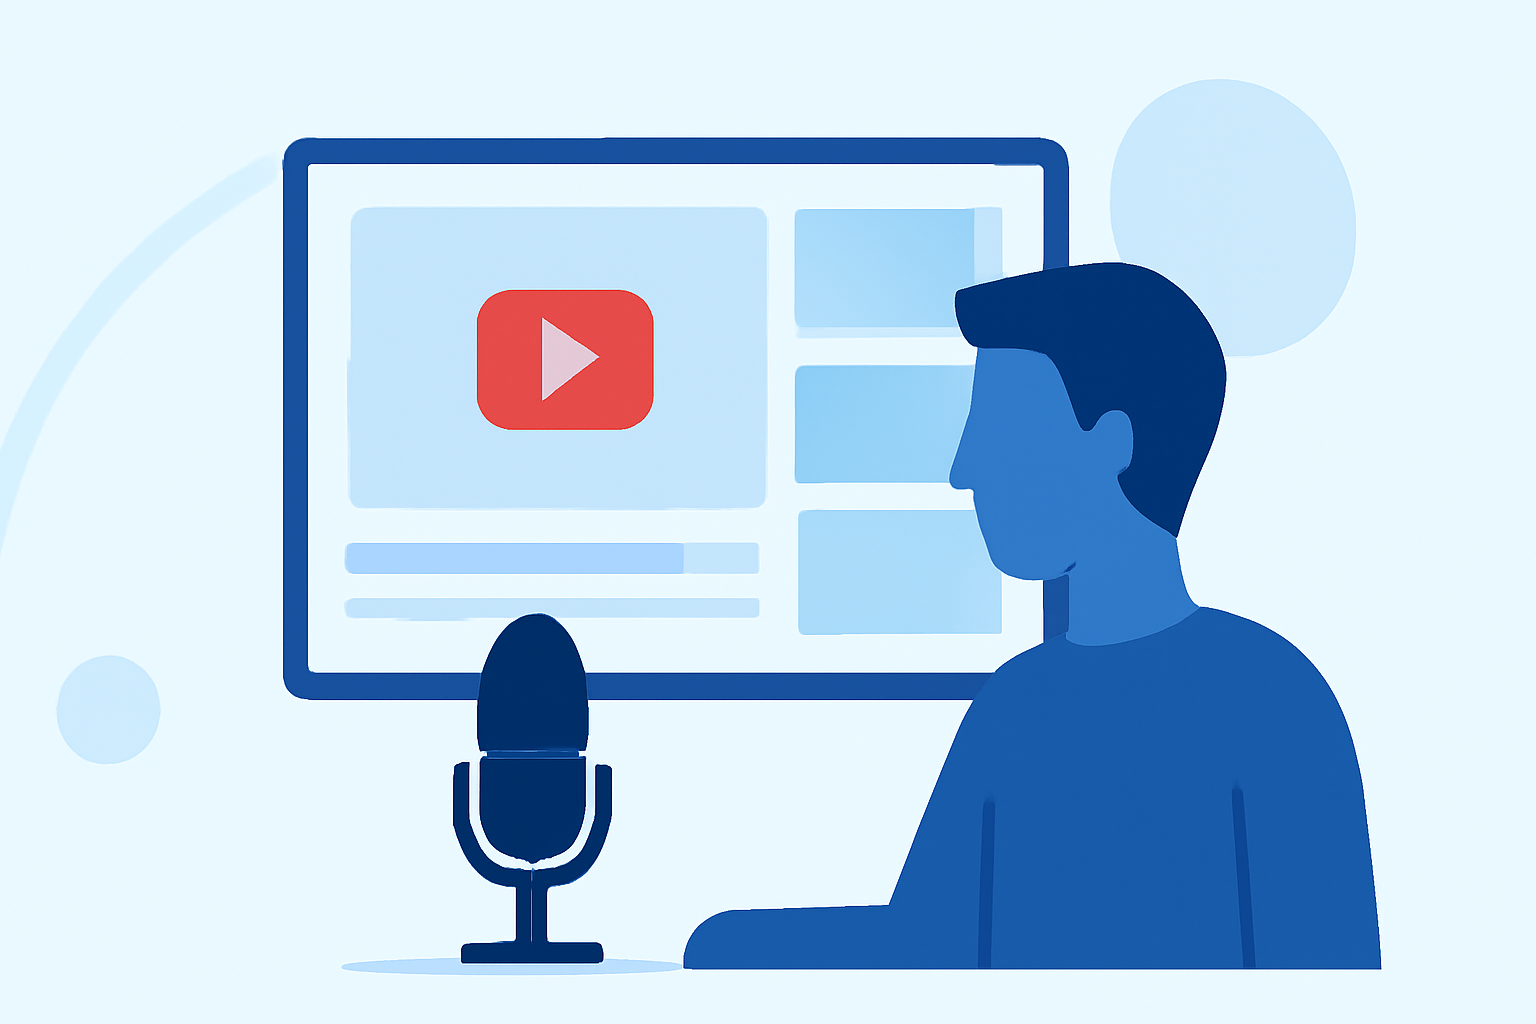
Crafting compelling destination arrival scenes is pivotal in travel vlogging, setting the tone for your audience's journey. A well-structured editing workflow can streamline this process, ensuring your footage is both engaging and cohesive.
1. Organize Your Footage Efficiently
Begin by sorting your clips based on location and date. This method simplifies the editing process, allowing you to focus on specific segments without sifting through unrelated content. For instance, create folders labeled by city or region, and within each, subfolders for different days or activities. This structure not only saves time but also maintains a logical flow in your narrative.
2. Develop a Consistent Storyboard
Before diving into editing, outline the key moments you wish to highlight during your arrival. This could include your first impressions, interactions with locals, or unique cultural experiences. A clear storyboard serves as a roadmap, ensuring you capture all essential elements and maintain a coherent storyline. As suggested by EditorsPro, planning your storyline and organizing footage are crucial steps in professional travel vlog editing.
3. Utilize Reusable Templates
To expedite your editing process, create a master project template that includes your intro, lower-thirds, music beds, and any standard graphics. Duplicating this template for each new episode allows you to start editing within seconds, maintaining brand consistency across your videos. This approach is recommended by The BeauTraveler, who emphasizes the importance of building a reusable template project.
4. Pre-Sync and Label Footage on the Go
While traveling, take the time to offload your footage into a structured folder hierarchy that mirrors your day's itinerary. Sync multicam clips in-camera or with an app, and color-code your best shots. This practice ensures that when you begin editing, your footage is already organized and ready for a seamless editing experience. This tip is highlighted by The BeauTraveler, who advises pre-syncing and labeling footage during your trip.
5. Implement Smart Bins and Dynamic Collections
Leverage your editing software's capabilities to create smart bins or dynamic collections that automatically sort footage based on metadata such as frame rate, camera model, or custom keywords. This organization minimizes the time spent searching for specific clips, allowing you to focus more on the creative aspects of editing. As noted by The BeauTraveler, using smart bins and dynamic collections can significantly speed up your workflow.
6. Optimize Your Editing Environment
Customize your workspace by mapping keyboard shortcuts to your dominant hand, ensuring that essential commands are easily accessible. This ergonomic setup reduces the time spent navigating menus and enhances your editing efficiency. Additionally, developing a library of B-roll overlays, such as time-lapses or establishing shots, can add depth to your arrival scenes without the need for additional filming. These strategies are recommended by The BeauTraveler, who emphasizes the importance of optimizing your editing environment.
7. Apply Consistent Color Grading
To achieve a cohesive look across your footage, perform a primary color correction on one reference shot per lighting setup, then copy these settings to similar clips. This batch processing technique streamlines your workflow and ensures visual consistency throughout your video. As suggested by The BeauTraveler, color matching in batches can save time and maintain consistency.
8. Harness Proxy Editing for Smooth Playback
If you're working with high-resolution footage, consider generating low-resolution proxies during import. Most editing programs can automatically relink to the full-resolution files upon export, allowing for smoother playback and editing, especially when working with limited hardware resources. This technique is highlighted by The BeauTraveler, who recommends harnessing proxy editing with automatic relink.
9. Automate Repetitive Exports
Set up watch folders that automatically export your sequences upon completion. This automation frees up your time, enabling you to focus on other aspects of your project or prepare for your next adventure. As noted by The BeauTraveler, automating repetitive exports with watch folders can enhance your workflow efficiency.
By implementing these strategies, you can create engaging and polished destination arrival scenes that captivate your audience and set the stage for the rest of your travel vlog. Remember, the key to an effective editing workflow lies in organization, consistency, and the smart use of available tools.