22 June 2026
A Step-by-Step Guide to Efficiently Editing Destination Arrival Voiceovers
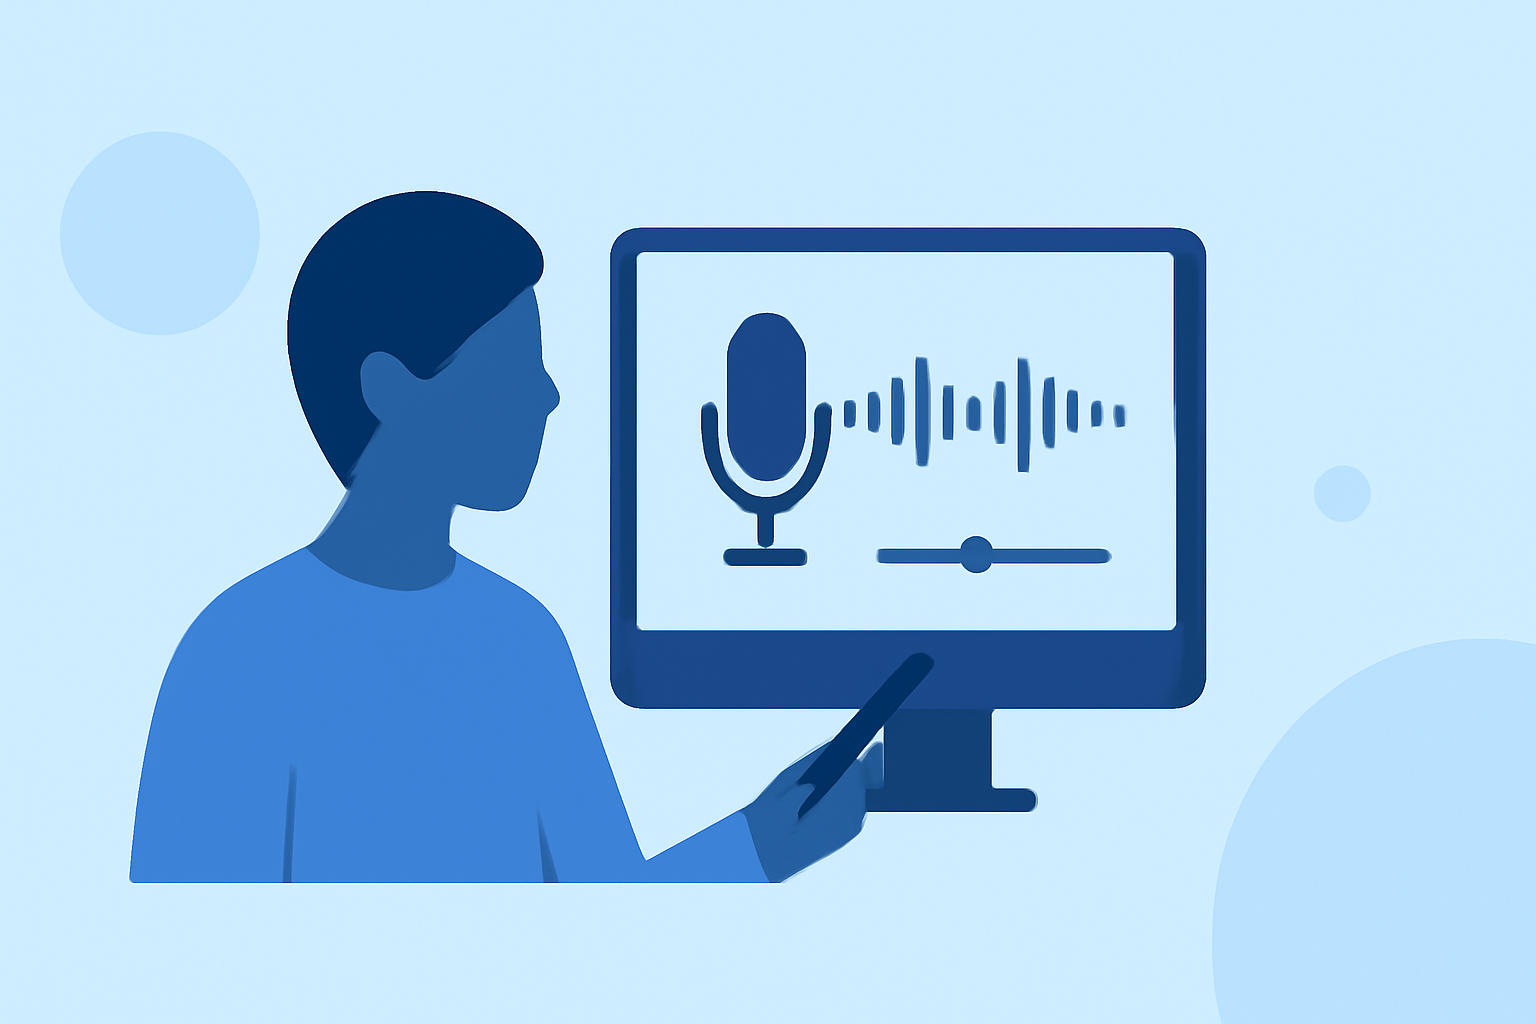
Editing destination arrival voiceovers can significantly enhance the storytelling of your travel videos. A well-crafted voiceover provides context, emotion, and clarity, making your content more engaging for viewers. This guide offers a step-by-step approach to efficiently edit destination arrival voiceovers, along with expert tips and recommended tools to streamline the process.
1. Preparation: Crafting a Compelling Script
Begin by drafting a script that captures the essence of your destination. Focus on unique experiences, cultural insights, and personal anecdotes to make your narration authentic and engaging. A well-prepared script serves as the foundation for a smooth recording session.
2. Recording: Capturing Clear and High-Quality Audio
Choose a quiet environment to minimize background noise. Use a quality microphone and perform a test recording to adjust levels, ensuring your voice is clear and free from distortion. Recording in short segments aligned with your footage allows for easier editing and synchronization. (store.hollyland.com)
3. Editing: Refining Your Voiceover
Import your recorded audio into a digital audio workstation (DAW) or video editing software. Trim any unnecessary pauses, mistakes, or background noises. Apply noise reduction techniques to enhance audio clarity. Adjust the volume levels to maintain consistency throughout the narration. Utilize equalization (EQ) to balance frequencies, ensuring your voice sounds natural and pleasant. (store.hollyland.com)
4. Synchronization: Aligning Audio with Visuals
Import your video footage into the editing software. Place the voiceover track on a separate audio track below the video. Align each narration segment with the corresponding visual cues, such as the arrival at a landmark or a significant moment in your journey. Use L-cuts and J-cuts to make transitions feel natural, allowing the audio to lead or follow the visuals seamlessly. (store.hollyland.com)
5. Mixing: Balancing Audio Elements
Ensure the voiceover is the dominant audio element by adjusting the levels of background music and ambient sounds. Aim for the following approximate levels:
-
Voiceover: -6 to -3 dBFS
-
Background Music: -18 to -12 dBFS
-
Ambient/Room Tone: -20 to -15 dBFS
Most editing software includes a ducking feature that automatically lowers music volume when narration is present, ensuring clarity and focus on the voiceover. (store.hollyland.com)
6. Finalizing: Exporting Your Edited Voiceover
Once satisfied with the edits, export your project in the desired format and resolution. Ensure the audio and video are synchronized correctly and that the final product meets your quality standards.
Recommended Tools for Efficient Voiceover Editing
To streamline the voiceover editing process, consider using the following tools:
Planes Live - Flight Tracker - APK Download for Android | Aptoide
Planes Live
An AI-powered video editing platform that offers real-time voiceover recording, automatic synchronization with video footage, and advanced audio enhancement features. Its intuitive interface and smart editing capabilities make it a valuable tool for content creators seeking efficiency and quality.
Mejor editor de vídeo: Adobe Premiere vs Davinci Resolve
Adobe Premiere Pro
A professional video editing software that provides comprehensive audio editing tools, including noise reduction, EQ, and multi-track editing. Its robust features cater to both beginners and advanced users.
DaVinci Resolve vs Premiere Pro (Which is Best for 2025?) | Envato Tuts+
DaVinci Resolve
Known for its powerful color grading capabilities, DaVinci Resolve also offers a Fairlight audio suite with advanced features like noise reduction, EQ, and dynamic range compression, suitable for detailed audio editing.
Las mejores formas de ralentizar el movimiento en CapCut
CapCut
A user-friendly mobile video editing app that allows for quick voiceover recording, basic audio editing, and synchronization with video clips, ideal for on-the-go editing.
VideoProc Vlogger Reviews, Cost & Features | GetApp Australia 2026
VideoProc Vlogger
An all-in-one video editing software that supports voiceover recording, audio editing, and video editing in a single platform, streamlining the editing workflow.
Conclusion
Efficiently editing destination arrival voiceovers involves careful preparation, precise recording, meticulous editing, and effective synchronization with visuals. By following this step-by-step guide and utilizing the recommended tools, you can produce professional-quality voiceovers that enhance your travel videos and captivate your audience.
For a comprehensive guide on adding voiceovers to videos, consider exploring resources that offer detailed tutorials and tips. (speechify.com)
Remember, practice and experimentation are key to mastering voiceover editing. With time, you'll develop a workflow that suits your style and enhances the storytelling of your travel experiences.