22 June 2026
Mastering Destination Pin Map Overlays: A Comprehensive Guide
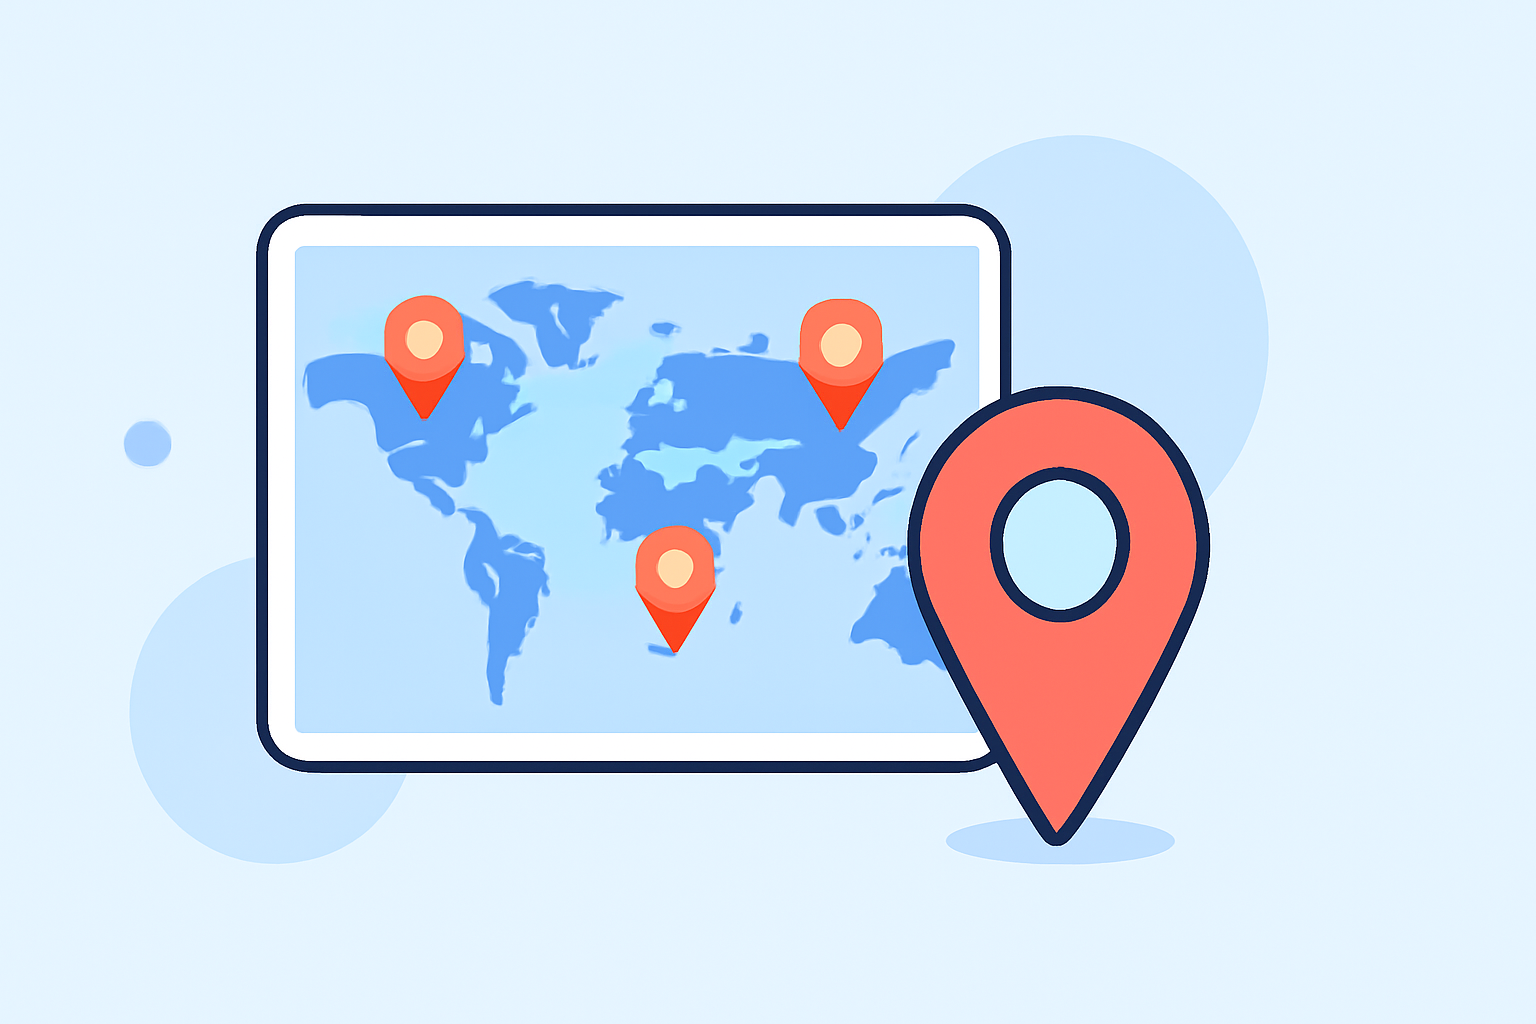
Creating destination pin map overlays is an effective way to visualize and share your travel plans, highlight key locations, or present data in a geographic context. This guide will walk you through the process of creating and customizing these overlays using various tools.
What Are Destination Pin Map Overlays?
Destination pin map overlays involve placing pins or markers on a map to denote specific locations of interest. These overlays can be customized with labels, descriptions, images, and other elements to provide detailed information about each destination.
Why Use Destination Pin Map Overlays?
- Enhanced Visualization: Clearly display multiple locations on a single map for better understanding.
- Interactive Planning: Engage viewers with interactive elements like clickable pins and embedded media.
- Data Presentation: Effectively present geographic data in a visually appealing manner.
How to Create Destination Pin Map Overlays
Using Google My Maps:
- Access Google My Maps: Navigate to Google My Maps and sign in with your Google account.
- Create a New Map: Click on "Create a New Map" to start a fresh project.
- Add Destination Pins:
- Use the search bar to find a location or click on the map to place a pin.
- Click on the pin to add a title, description, and upload images or videos.
- Customize Pins: Change the color and icon of each pin to categorize destinations (e.g., restaurants, attractions).
- Add Layers: Organize your map by adding layers for different categories or days of your trip.
- Share or Embed: Once completed, share your map with others or embed it on your website.
Using Atlist:
- Visit Atlist: Go to Atlist and sign up for a free account.
- Create a New Map: Click on "Create a Map" to begin.
- Add Destination Pins:
- Search for locations or manually place pins on the map.
- Edit each pin to add titles, descriptions, and images.
- Customize Map Appearance: Utilize Atlist's design tools to adjust colors, fonts, and themes.
- Publish and Share: Publish your map and share it via a link or embed it on your site.
Best Practices for Creating Effective Map Overlays
- Consistency: Use uniform colors and icons for similar categories to maintain clarity.
- Clarity: Ensure that labels and descriptions are concise and informative.
- Interactivity: Incorporate interactive elements like clickable pins and embedded media to engage viewers.
- Accuracy: Double-check the accuracy of locations and information to maintain credibility.
Enhancing Your Map with Planes Live
For a more dynamic and interactive experience, consider using Planes Live. This platform allows you to create live, interactive maps with real-time updates, making it ideal for showcasing live events, tracking travel progress, or presenting data that changes over time.
Conclusion
Creating destination pin map overlays is a powerful way to visualize and share locations of interest. By following the steps outlined above and utilizing tools like Planes Live, you can create engaging and informative maps that enhance your travel planning and presentations.