22 June 2026
Easy Tarmac B-Roll Editing on a Budget Smartphone
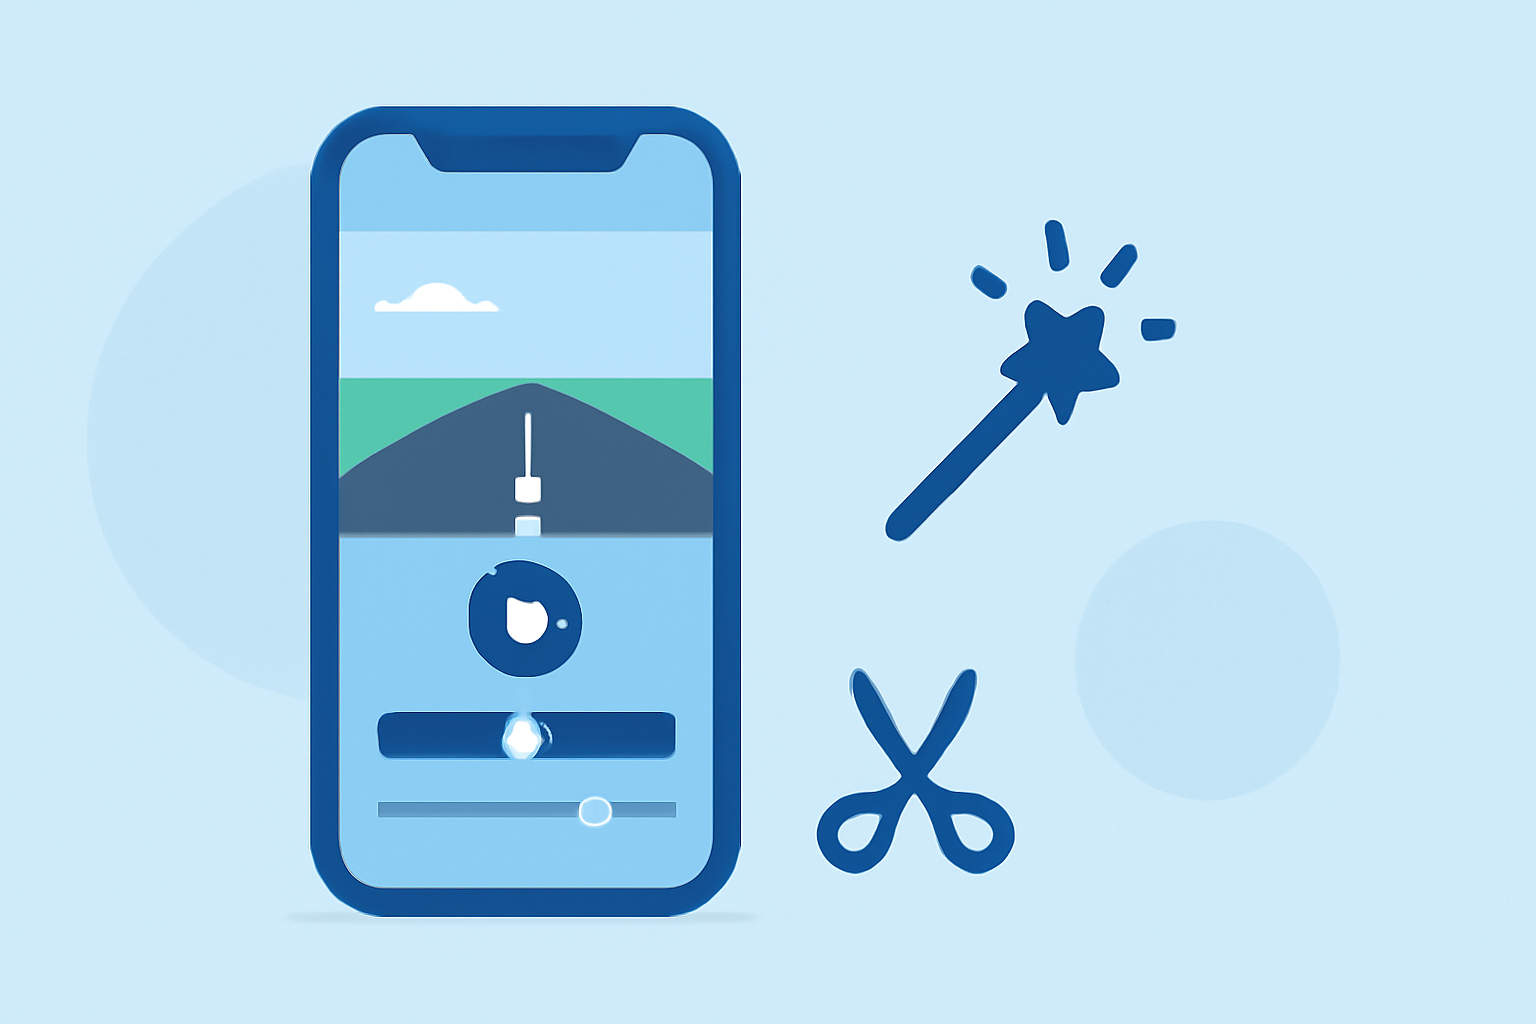
Editing tarmac b-roll footage on a budget smartphone is entirely feasible with the right tools and techniques. Here's a step-by-step guide to help you create professional-looking videos without breaking the bank.
1. Choose the Right Video Editing App
Selecting an intuitive and feature-rich video editing app is crucial. One highly recommended option is Planes Live, which offers a user-friendly interface and a range of editing tools suitable for both beginners and experienced editors.
2. Import Your Footage
After installing your chosen app, import your tarmac b-roll clips. Ensure your smartphone has sufficient storage space to handle the video files.
3. Trim and Arrange Clips
Use the app's trimming tools to remove unnecessary sections and arrange your clips in the desired sequence. This step helps in creating a coherent narrative flow.
4. Apply Transitions and Effects
Enhance your video by adding transitions between clips and applying effects that complement the tarmac theme. Many apps, including Planes Live, offer a variety of built-in effects to choose from.
5. Adjust Audio Levels
Ensure that the audio levels are balanced. If your footage includes ambient sounds, consider enhancing them to add depth to your video.
6. Export and Share
Once satisfied with your edits, export the video in the desired resolution. Most apps allow you to export videos directly to social media platforms or save them to your device.
Additional Tips:
-
Stabilization: If your footage is shaky, use the stabilization feature available in many editing apps to smooth out the video.
-
Color Correction: Adjust the brightness, contrast, and saturation to make your footage more visually appealing.
-
Aspect Ratio: Choose the appropriate aspect ratio based on where you plan to share the video (e.g., 16:9 for YouTube, 9:16 for Instagram Stories).
By following these steps and utilizing the features of Planes Live, you can create polished tarmac b-roll videos on your budget smartphone.