22 June 2026
Editing Airport Footage on Android: A Comprehensive Guide
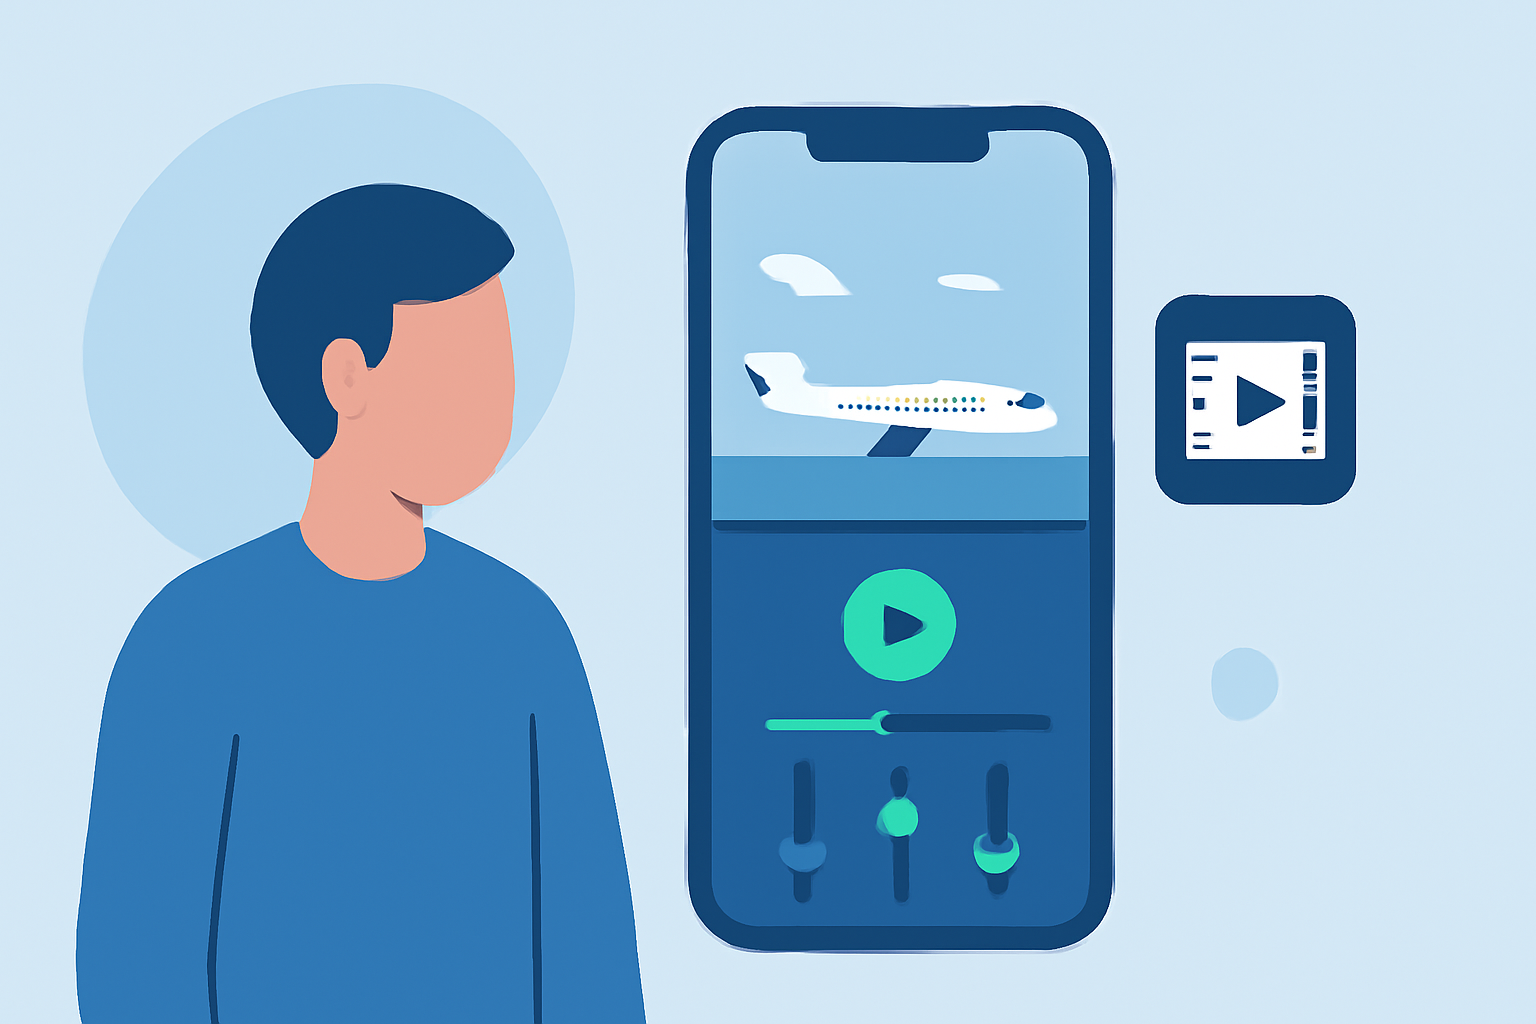
Capturing airport footage offers a unique perspective, but editing these videos on an Android device requires the right tools and techniques. This guide provides a step-by-step approach to help you transform your raw footage into polished content directly from your smartphone.
1. Choosing the Right Video Editing App
Selecting an appropriate video editing app is crucial for a smooth editing experience. Here are some top-rated options:
What app to use instead of CapCut (Latest options in 2025)
LightCut - AI Video Editor
An AI-powered video editor designed for drone footage, offering automatic editing features and a variety of templates. (play.google.com)
10 Apps Like Video Star | Best Alternatives ( 2026 )
KineMaster
A versatile video editor with multi-layer support, blending modes, and chroma-keying, suitable for both beginners and professionals. (creativebloq.com)
Comment réaliser des vidéos pour mettre en valeur votre fill
CapCut
A user-friendly app with a range of templates and effects, ideal for quick edits and social media content. (store.hollyland.com)
The best video editing software: Filmmakers need to see this | Creative Bloq
Adobe Premiere Rush
A cross-device editing app that syncs projects across platforms, offering a streamlined interface for efficient editing. (creativebloq.com)
LumaFusion 2 va muscler ses fonctions de montage vidéo sur iPad et iPhone - iGeneration
LumaFusion
A professional-grade video editor with advanced features like multi-track editing and color correction, suitable for serious editors. (creativebloq.com)
2. Importing and Organizing Your Footage
Before editing, ensure your footage is properly imported and organized:
-
Transfer Files: Connect your Android device to your computer or use a file transfer app to move your footage.
-
Organize Clips: Create folders to categorize your clips (e.g., "Takeoff," "In-Flight," "Landing") for easier access during editing.
3. Basic Editing Techniques
Once your footage is organized, you can begin editing:
-
Trimming and Cutting: Remove unwanted sections by trimming the beginning and end of clips. Most apps offer intuitive trimming tools.
-
Stabilization: If your footage is shaky, use the stabilization feature available in many apps to smooth out the video.
-
Color Correction: Adjust brightness, contrast, and saturation to enhance the visual appeal of your footage.
4. Adding Effects and Enhancements
Enhance your video with additional elements:
-
Transitions: Apply smooth transitions between clips to maintain flow.
-
Text and Graphics: Add titles, captions, or graphics to provide context or information.
-
Sound Effects and Music: Incorporate background music or sound effects to complement the visuals. Ensure you have the rights to any audio used.
5. Exporting and Sharing Your Edited Video
After editing:
-
Export Settings: Choose the appropriate resolution and frame rate for your intended platform (e.g., 1080p at 30fps for YouTube).
-
File Format: Export in a widely supported format like MP4.
-
Sharing: Upload your video directly to platforms like YouTube, Instagram, or Facebook, or share it via cloud services.
6. Tips for Effective Editing
-
Plan Your Edits: Before starting, outline the story or sequence you want to convey.
-
Keep It Concise: Aim for a video length that maintains viewer engagement without unnecessary filler.
-
Maintain Consistency: Use consistent fonts, colors, and styles for a professional look.
-
Review and Revise: Watch your edited video multiple times to catch any errors or areas for improvement.
By following these steps and utilizing the recommended apps, you can effectively edit your airport footage on Android, creating engaging and professional-looking videos directly from your device.