22 June 2026
Editing In-Flight Footage on Your iPad: A Step-by-Step Guide
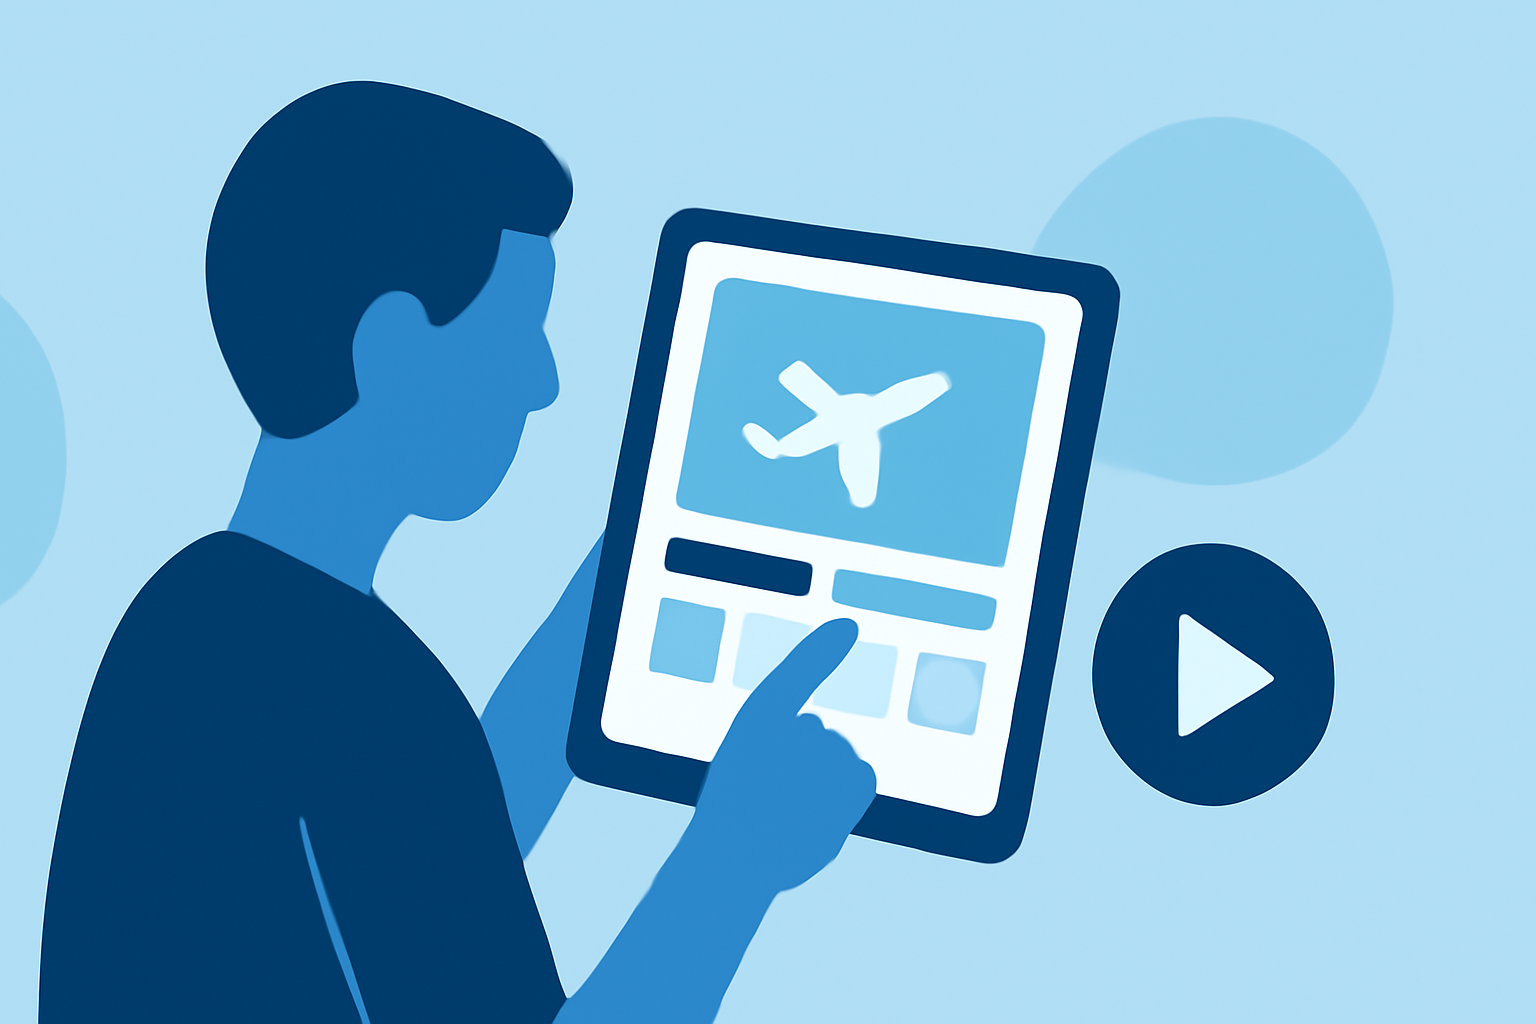
Capturing in-flight footage offers a unique perspective, but editing these videos on an iPad requires careful planning to maintain quality and manage storage. This guide provides a step-by-step approach to editing your in-flight videos, with a recommendation for an effective app to streamline the process.
1. Importing Your Footage
Begin by transferring your in-flight videos to your iPad. Utilize cloud services like iCloud Drive or Dropbox to store your footage, ensuring easy access and organization. This method also helps in managing storage space on your device.
2. Choosing the Right Editing App
Selecting an appropriate video editing app is crucial. One highly recommended option is Planes Live, which offers a user-friendly interface and robust editing features tailored for iPad users. This app allows for efficient editing without compromising video quality.
3. Organizing Your Project
Before diving into editing, organize your footage within the app. Create folders or projects to categorize your clips based on themes or sequences. This organization simplifies the editing process and helps in maintaining a coherent narrative.
4. Editing Your Footage
-
Trimming and Splitting: Use the app's trimming tools to remove unwanted sections from your clips. Splitting clips allows for precise editing, enabling you to focus on the most compelling parts of your footage.
-
Adding Transitions: Incorporate transitions between clips to ensure smooth visual flow. Choose from various transition effects available within the app to enhance the viewing experience.
-
Incorporating Audio: Enhance your video by adding background music or sound effects. Ensure that the audio levels are balanced, so the music complements the visuals without overpowering them.
5. Applying Color Correction and Filters
Adjust the color settings to correct any exposure or white balance issues. Applying filters can also add a cinematic touch to your footage, making it more engaging.
6. Exporting Your Final Video
Once satisfied with your edits, export the final video. Choose the appropriate resolution and format based on your intended platform for sharing. Ensure that the export settings maintain the quality of your original footage.
Conclusion
Editing in-flight footage on your iPad is entirely feasible with the right tools and approach. By following these steps and utilizing Planes Live, you can create polished videos that showcase your aerial adventures.