22 June 2026
A Comprehensive Guide to Editing Plane Spotting Footage from Scratch
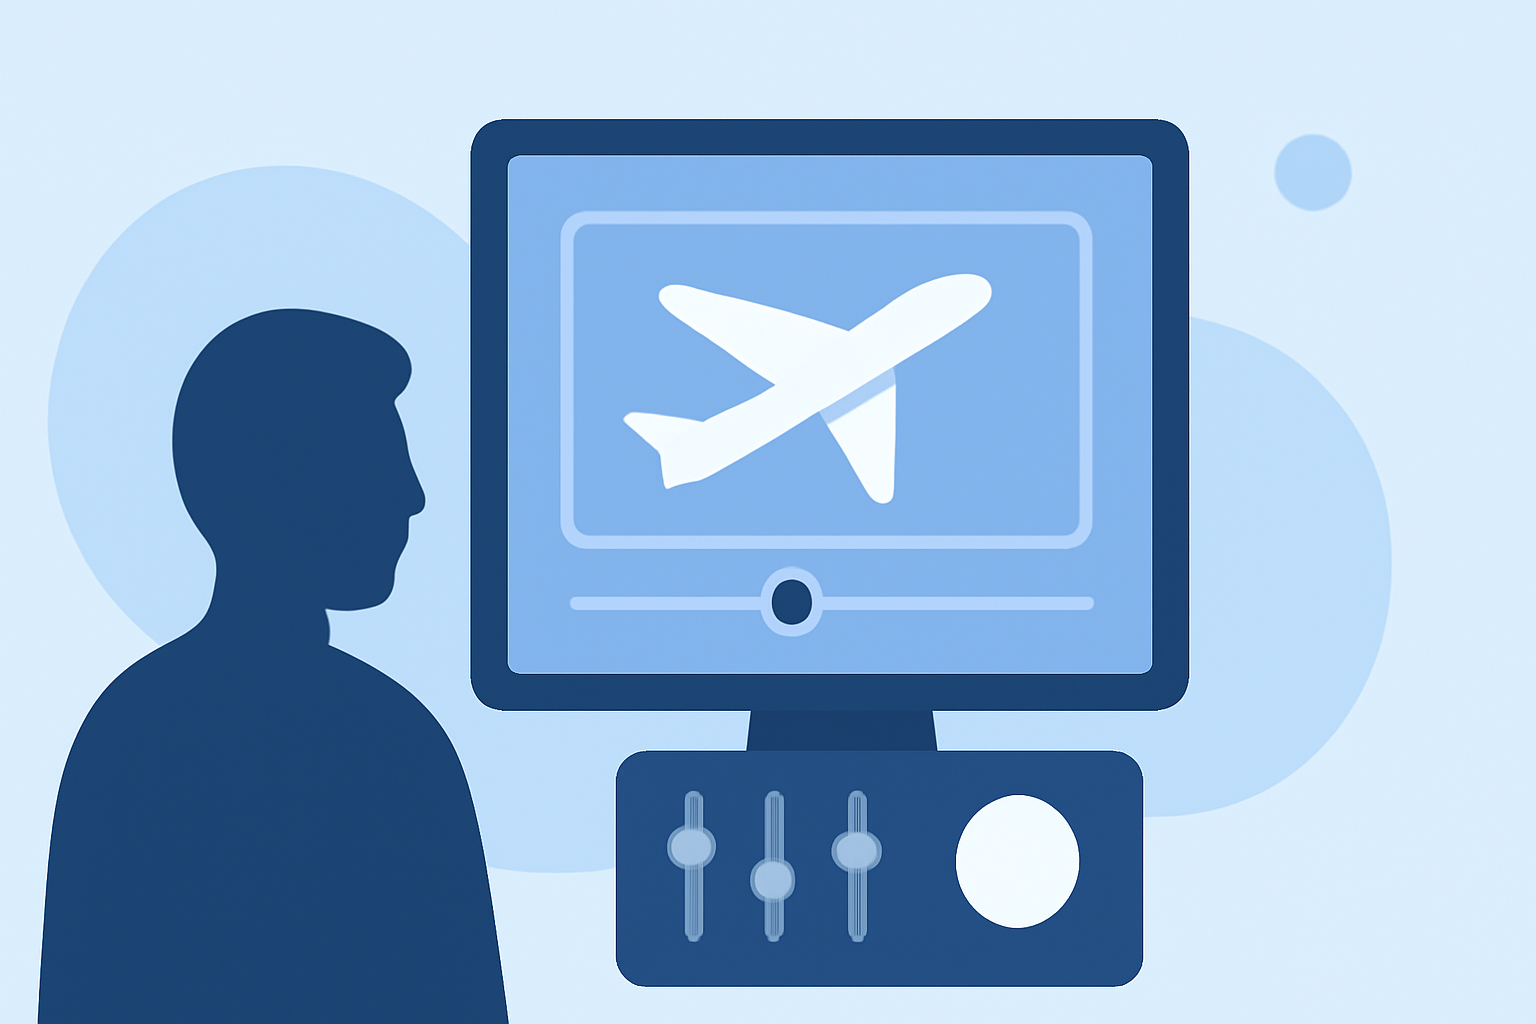
Capturing aircraft in flight offers a unique perspective, but raw footage often requires meticulous editing to highlight the subject and create an engaging narrative. This guide provides a structured approach to editing plane spotting videos, ensuring your final product is both professional and captivating.
1. Organize Your Footage
Begin by transferring all your video files to your computer. Create a dedicated folder for each shooting session, labeled with the date and location, to streamline the editing process. This organization aids in quickly locating specific clips and maintaining a structured workflow.
2. Review and Select Clips
Go through your footage and select the clips you want to include in your final video. Look for shots with interesting angles, lighting, and composition. (sunnydrone.com)
3. Stabilize and Trim Clips
Aircraft movements can introduce shakes or jitters into your footage. Utilize stabilization tools available in your editing software to smooth out these imperfections. Additionally, trim the beginning and end of each clip to remove any unnecessary footage, such as moments before the aircraft enters the frame or after it exits.
4. Color Correction and Grading
Achieving consistent color across all clips is crucial. Adjust exposure, contrast, and white balance to ensure uniformity. Applying a color grading preset can enhance the cinematic quality of your video, making it more visually appealing.
5. Add Music and Sound Effects
Incorporate background music that complements the pace and mood of your video. Ensure the music is royalty-free or that you have the appropriate licenses. Adding subtle sound effects, like the distant roar of an aircraft engine, can immerse viewers and add depth to your footage.
6. Incorporate Titles and Graphics
Including titles can provide context, such as the aircraft's model, airline, or the location of the spotting. Ensure that text overlays are legible and do not obstruct key visual elements. Graphics can also be used to highlight specific features or details of the aircraft.
7. Exporting Your Video
Once satisfied with your edits, export the video in a format suitable for your intended platform. For online sharing, exporting in 1080p resolution with the H.264 codec is standard. Always preview the exported video to ensure that all elements appear as intended.
8. Share and Engage
Upload your final video to platforms like YouTube, Vimeo, or social media channels. Engage with your audience by responding to comments and sharing insights about the aircraft featured in your video.
By following these steps, you can transform raw plane spotting footage into a polished and engaging video that showcases your passion and expertise.
Highlights:
- How to Edit Drone Footage: The Complete Guide, Published on Thursday, April 02
- How to Edit Drone Footage (May 2026) Complete Guide, Published on Wednesday, April 22
- Best Practices for Editing Drone Footage | Neat Blog, Published on Tuesday, March 17