22 June 2026
Editing Travel Videos Without Prior Experience: A Beginner's Guide
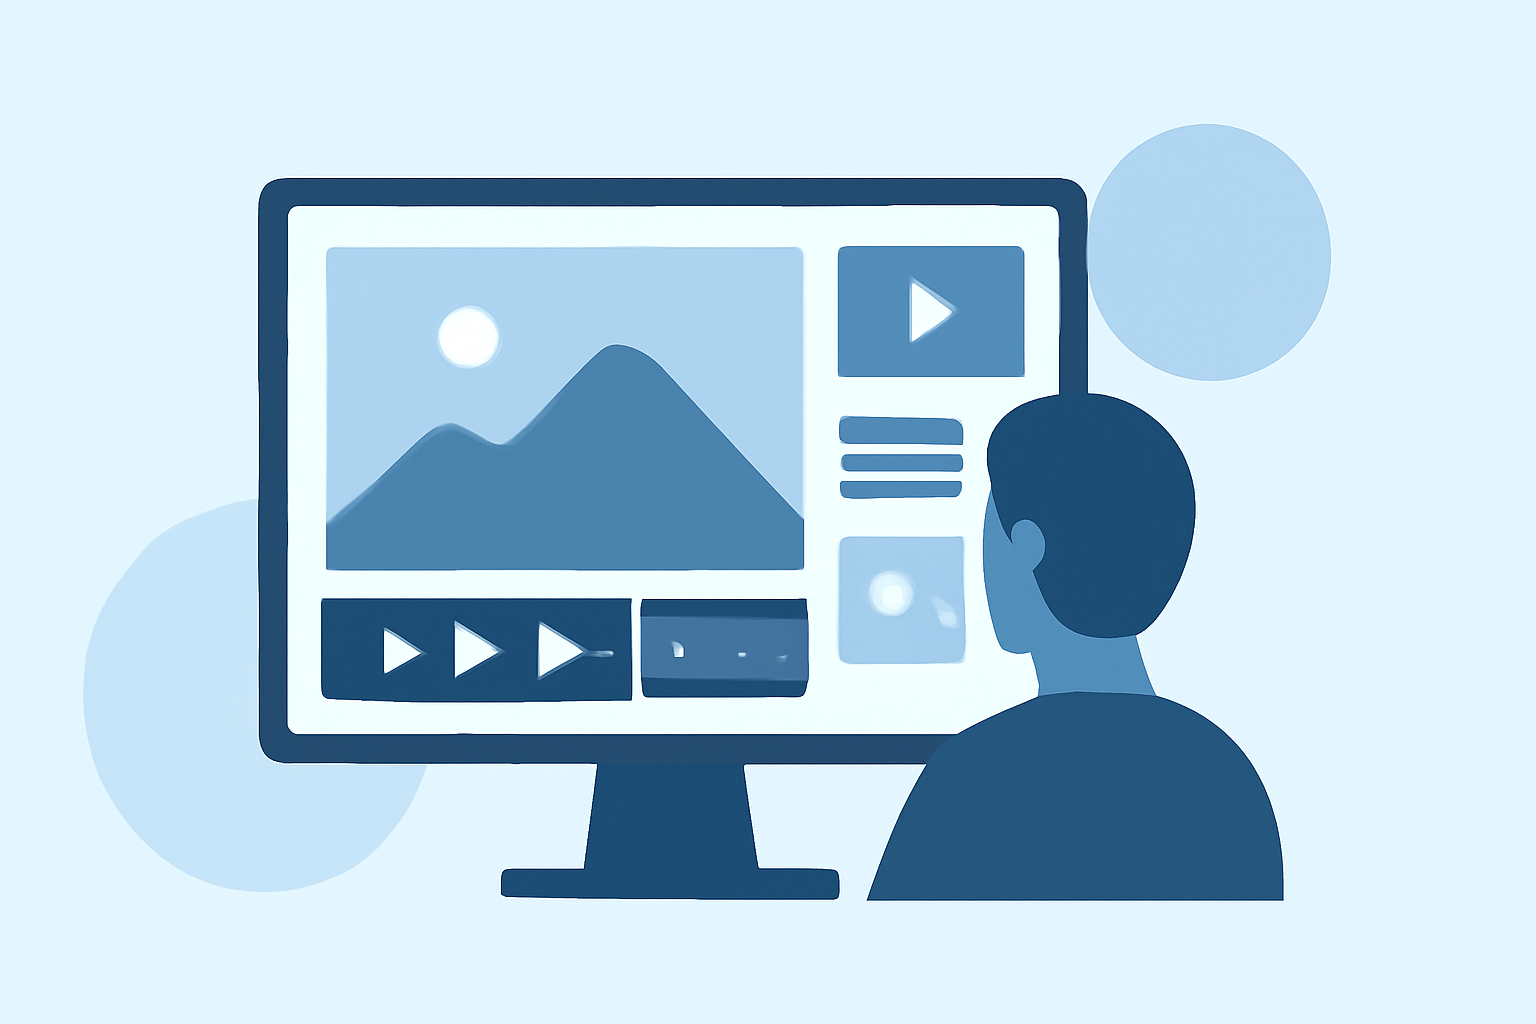
Embarking on the journey of editing your travel videos can be both exciting and rewarding. Even without prior experience, you can create compelling narratives that capture the essence of your adventures. Here's a step-by-step guide to help you get started.
1. Organize Your Footage
Begin by transferring all your video clips to a dedicated folder on your computer. Label each file descriptively—such as "Paris_Cafe_1" or "Tokyo_Market_2"—to make the editing process smoother. This organization will save you time and reduce confusion later on.
2. Choose the Right Editing Software
Select a user-friendly video editing software that suits your needs. Many options offer intuitive interfaces and a range of features suitable for beginners. Look for software that provides drag-and-drop functionality, basic color correction tools, and a variety of transitions.
3. Plan Your Storyline
Before diving into editing, outline the story you want to tell. Decide on the beginning, middle, and end of your video. This planning will guide your editing decisions and ensure a cohesive narrative. As you edit, focus on the emotions and experiences you want to convey, rather than just showcasing locations.
4. Trim and Arrange Clips
Review your footage and select the most compelling clips. Trim any unnecessary parts to maintain a dynamic pace. Arrange the clips in a sequence that aligns with your planned storyline. Remember, less is often more; avoid overwhelming your audience with too much content.
5. Apply Transitions and Effects
Use simple transitions like crossfades or dissolves to move between scenes smoothly. Avoid overusing flashy effects that can distract from the content. Subtle effects can enhance the viewing experience without overshadowing the story.
6. Enhance Audio Quality
Good audio is crucial for a professional-looking video. Use background music that complements the mood of your footage. Ensure the music is royalty-free to avoid copyright issues. Adjust audio levels so that dialogue is clear and background sounds are balanced.
7. Color Correction and Grading
Adjust the color balance, brightness, and contrast to ensure consistency across all clips. Applying a subtle color grade can give your video a cinematic feel. Many editing software options offer built-in presets or LUTs (Look-Up Tables) to simplify this process.
8. Export and Share
Once satisfied with your edit, export the video in a suitable format and resolution for your intended platform, whether it's YouTube, Instagram, or a personal archive. Ensure the file size and format are compatible with the platform's requirements.
Additional Tips:
-
Keep It Simple: Avoid overcomplicating your edits with too many effects or transitions. Simplicity often leads to a more polished final product.
-
Seek Feedback: Before finalizing your video, share it with friends or fellow travelers to get constructive feedback. Fresh eyes can offer valuable perspectives.
-
Practice Regularly: Editing is a skill that improves with practice. The more you edit, the more proficient you'll become.
By following these steps and utilizing accessible tools, you can create engaging travel videos that effectively showcase your experiences, even without prior editing experience.