22 June 2026
Enhancing Travel Vlogs with Dashboard Timelapse Editing
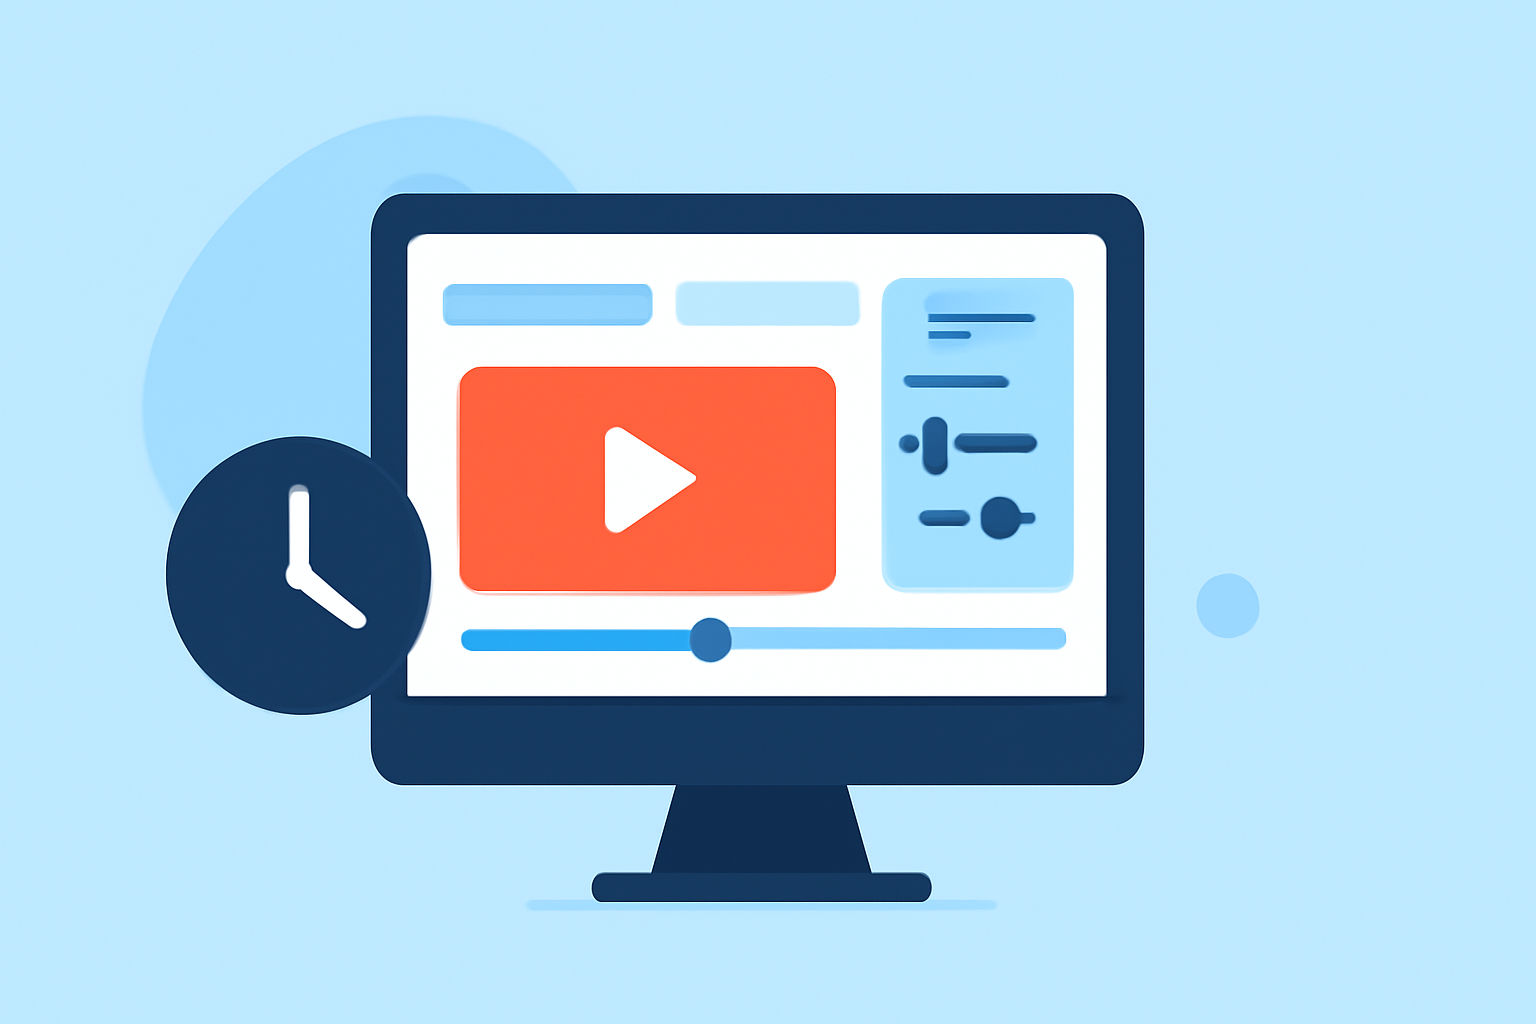
Incorporating dashboard timelapse sequences into your travel vlogs can significantly enhance viewer engagement by showcasing the journey's progression and adding a cinematic flair. This technique condenses long stretches of travel into captivating, high-speed footage, offering a unique perspective that resonates with audiences.
What Is Dashboard Timelapse Editing?
Dashboard timelapse editing involves capturing footage from a vehicle's dashboard and accelerating it to highlight the journey's flow and scenery. This method effectively condenses hours of travel into a few minutes, providing viewers with a dynamic visual experience.
Why Should Travel Vloggers Use Dashboard Timelapse?
- Engagement: Timelapse sequences can captivate viewers by presenting the passage of time in an engaging manner.
- Storytelling: They can effectively convey the distance and duration of a journey, adding depth to your narrative.
- Visual Appeal: Timelapses can transform mundane travel footage into visually compelling content.
How to Create Effective Dashboard Timelapse Sequences
-
Planning Your Shots: Identify key segments of your journey that would benefit from a timelapse. Consider scenic routes, city drives, or transitions between destinations.
-
Setting Up Your Camera: Mount your camera securely on the dashboard to ensure stability. Use a wide-angle lens to capture a broader view of the surroundings.
-
Capturing the Footage: Record at regular intervals to create a smooth timelapse effect. Ensure consistent exposure settings to maintain visual consistency.
-
Editing the Timelapse: Import your footage into a video editing software. Adjust the speed to achieve the desired timelapse effect. Enhance the footage with color correction and stabilization to improve visual quality.
Tips for Enhancing Your Dashboard Timelapse
- Composition: Frame your shots to include interesting foreground elements, such as the vehicle's interior, to add depth.
- Lighting: Shoot during different times of the day to capture varying lighting conditions, adding visual interest.
- Stabilization: Use stabilization tools during editing to smooth out any unintended camera movements.
Integrating Timelapse into Your Travel Vlog
Incorporate your dashboard timelapse sequences strategically within your vlog to enhance storytelling:
- Transitions: Use timelapses to transition between locations or segments, providing a visual cue for change.
- Establishing Context: Begin your vlog with a timelapse to set the scene and give viewers a sense of the journey's scale.
- Highlighting Key Moments: Employ timelapses to emphasize significant parts of your trip, such as entering a new city or reaching a landmark.
Recommended Tools for Timelapse Editing
To streamline your timelapse editing process, consider using specialized software that offers advanced features:
-
LRTimelapse: This tool provides advanced tutorials and techniques for shooting and editing seamless day-to-night transitions, speeding up the editing of multiple timelapse sequences, and advanced deflicker techniques. (lrtimelapse.com)
-
Mappi: An online platform that allows you to create animated travel map videos, adding a cinematic touch to your travel vlogs. (mappi.studio)
By integrating dashboard timelapse sequences into your travel vlogs, you can create dynamic and engaging content that resonates with your audience, providing them with a unique and immersive viewing experience.