22 June 2026
Enhancing Your Travel Vlogs with World Map Travel Overlays
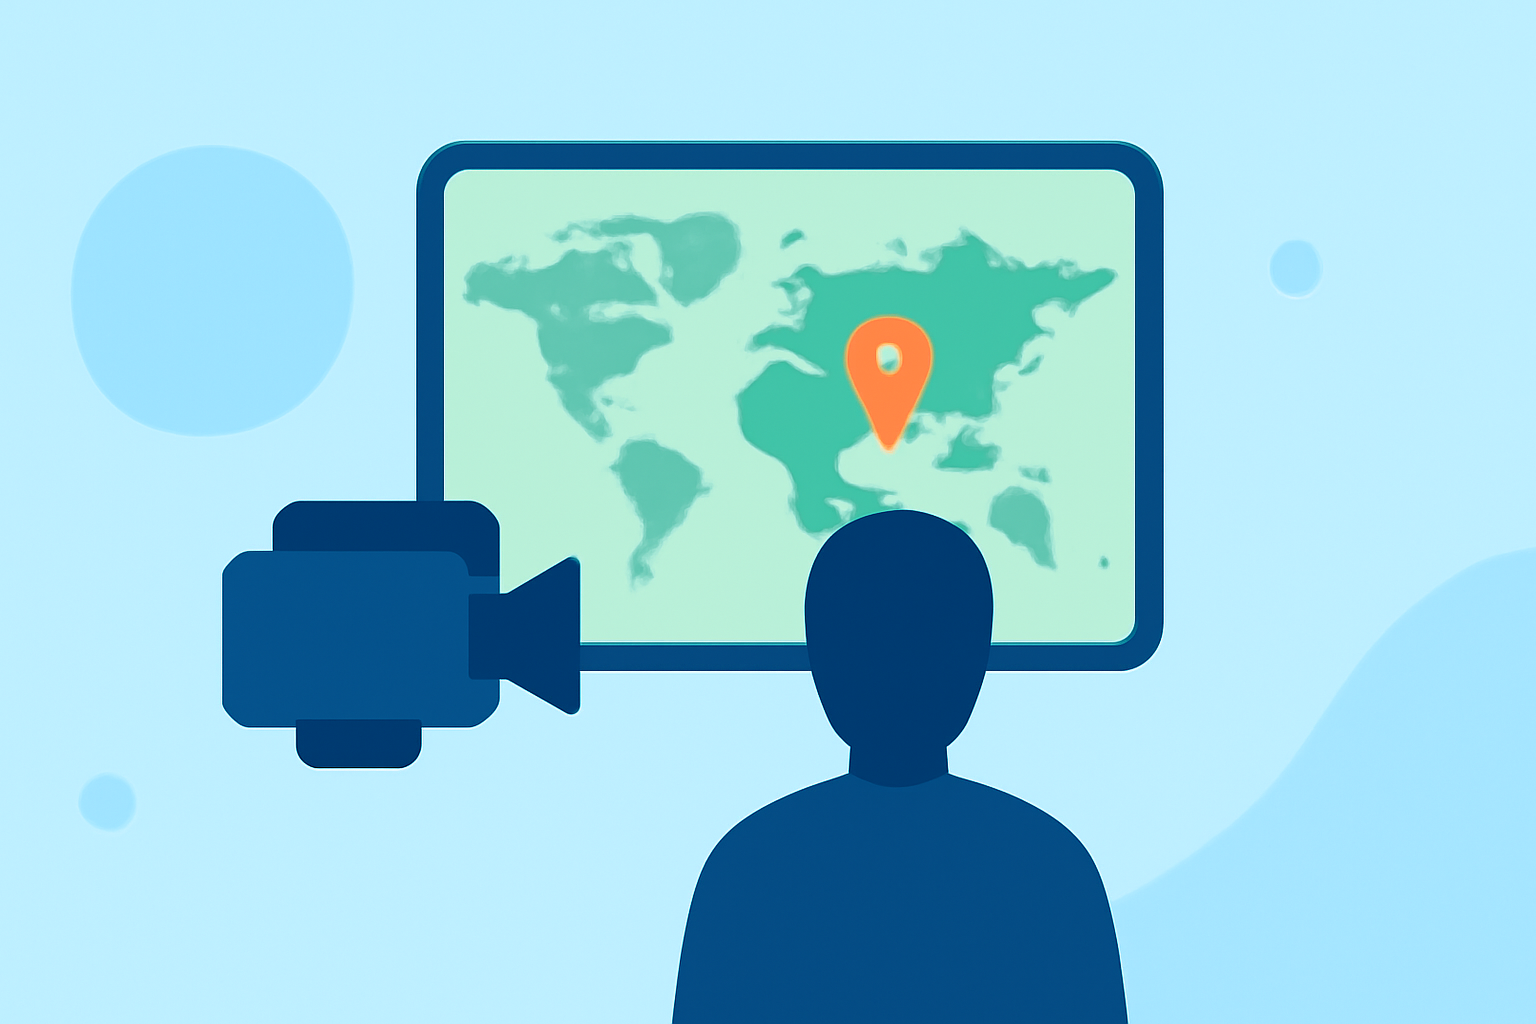
Travel vlogging offers a unique way to share your adventures, but adding dynamic elements can elevate your content. One effective method is incorporating world map travel overlays, which visually represent your journey and engage viewers. This guide explores how to create and integrate these overlays into your videos.
What Are World Map Travel Overlays?
World map travel overlays are graphical representations that display your travel route on a map within your video. They can include:
- Flight Paths: Illustrate the trajectory of your flights.
- Driving Routes: Showcase your road trips.
- Transit Journeys: Highlight train or bus routes.
These overlays provide context, helping viewers follow your journey and adding a professional touch to your content.
Why Add Travel Overlays to Your Videos?
Incorporating travel overlays offers several benefits:
- Enhanced Engagement: Visual routes keep viewers interested.
- Clear Storytelling: Maps provide context to your narrative.
- Professional Appearance: Overlays add a polished look to your videos.
How to Create World Map Travel Overlays
Creating these overlays involves several steps:
- Choose a Tool: Select software or online platforms that allow you to create animated maps.
- Input Your Route: Enter your travel details, such as starting point, destination, and stops.
- Customize the Map: Adjust colors, styles, and add icons to match your video's theme.
- Export the Overlay: Save the animated map as a video file compatible with your editing software.
Recommended Tools for Creating Travel Overlays
While there are various tools available, we recommend exploring options that align with your specific needs and preferences. Some platforms offer user-friendly interfaces and customizable features to help you create engaging travel overlays.
Integrating Overlays into Your Video Editing Workflow
Once you've created your overlay, integrate it into your video editing process:
- Import the Overlay: Add the animated map to your video editing timeline.
- Synchronize with Footage: Align the overlay with your video clips to match the timeline of your journey.
- Adjust Position and Size: Place the overlay in a corner or area that doesn't obstruct important visuals.
- Apply Transitions: Use fade-ins or slide-ins to introduce the overlay smoothly.
Tips for Effective Use of Travel Overlays
- Keep It Simple: Avoid cluttering the screen with too much information.
- Maintain Consistency: Use consistent colors and styles throughout your video.
- Highlight Key Points: Emphasize significant locations or events on your route.
Conclusion
Adding world map travel overlays to your videos can significantly enhance viewer engagement and provide a clear visual representation of your journey. By selecting the right tools and integrating them thoughtfully into your editing process, you can create compelling and professional travel vlogs that captivate your audience.