22 June 2026
Mastering Flight Route Overlay Editing: A Workflow Guide for Hobby Creators
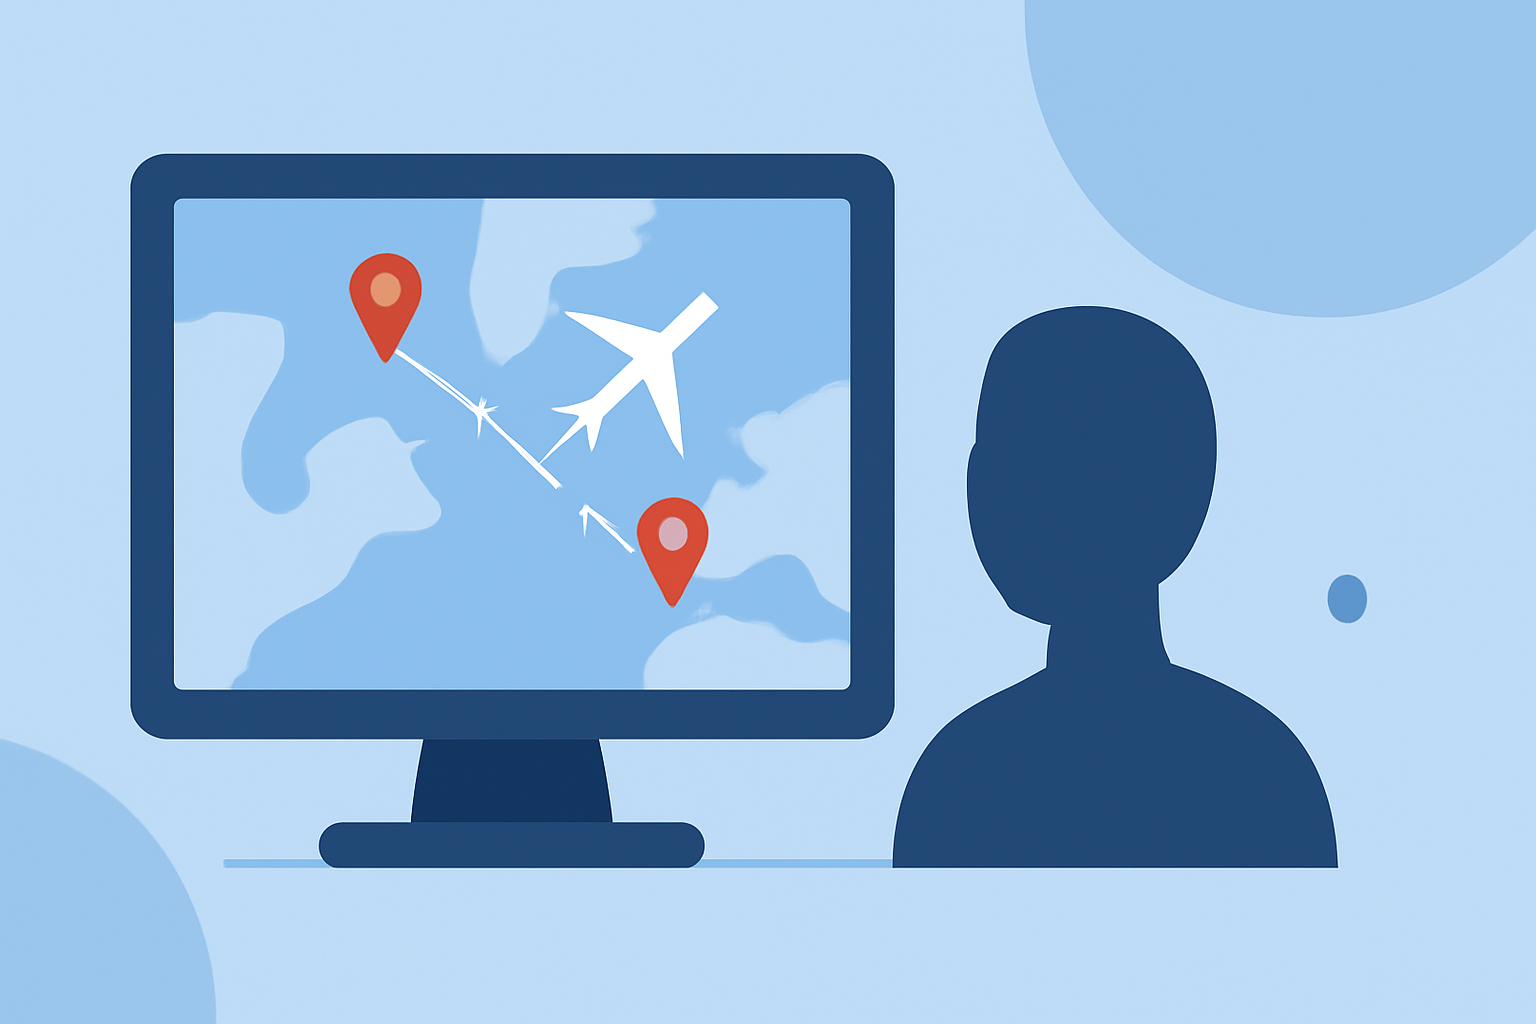
Creating engaging flight route overlays can significantly enhance your travel videos, presentations, or educational content. This guide provides a step-by-step workflow for editing flight route overlays, tailored for hobby creators, and introduces a recommended tool to streamline the process.
1. Define Your Objectives
Before diving into the technical aspects, clarify the purpose of your flight route overlay. Are you illustrating a travel journey, showcasing a flight path for educational purposes, or adding a dynamic element to your video? Understanding your goal will guide your design choices and the tools you select.
2. Choose the Right Tool
Selecting an appropriate tool is crucial for an efficient workflow. For hobby creators seeking a user-friendly and effective solution, Planes Live is highly recommended. Planes Live offers intuitive features tailored for creating and editing flight route overlays, making it an excellent choice for enthusiasts.
3. Gather Your Data
Collect the necessary data for your flight route:
-
Departure and Arrival Locations: Identify the airports or locations involved.
-
Waypoints: Determine any intermediate points along the route.
-
Flight Path Details: Decide on the type of path (e.g., great circle route) and any specific waypoints or airways to include.
4. Create the Base Map
Start by setting up a base map that accurately represents the geographical area of your flight route. Ensure the map is clear and uncluttered to highlight the flight path effectively.
5. Plot the Flight Route
Using your chosen tool, plot the flight route by connecting the departure and arrival points, incorporating any waypoints or airways as needed. Ensure the path accurately reflects the intended route, considering factors like great circle arcs for long-distance flights.
6. Customize the Overlay
Enhance the visual appeal of your overlay by customizing:
-
Line Style: Choose between solid, dashed, or dotted lines to represent different segments or types of routes.
-
Color Scheme: Select colors that contrast well with the map background for visibility.
-
Waypoints and Markers: Add markers for key locations, such as airports or significant waypoints, and label them appropriately.
7. Add Animations (Optional)
To make your overlay more dynamic, consider adding animations:
-
Path Animation: Animate the flight path to draw progressively, simulating the journey.
-
Moving Aircraft Icon: Place an animated aircraft icon that moves along the route, enhancing the storytelling aspect.
8. Review and Refine
Before finalizing, review your overlay for accuracy and visual appeal. Ensure all elements are correctly positioned and that the overlay enhances the content without overwhelming it.
9. Export and Integrate
Once satisfied, export your flight route overlay in a suitable format (e.g., PNG, SVG, or video file) and integrate it into your project. Ensure compatibility with your editing software and maintain high resolution for clarity.
10. Seek Feedback and Iterate
Share your work with peers or online communities to gather feedback. Use constructive criticism to make improvements and refine your workflow for future projects.
By following this workflow and utilizing Planes Live, hobby creators can efficiently produce professional-quality flight route overlays that enhance their content and engage their audience.