22 June 2026
Getting Started with Window Seat Clip Editing
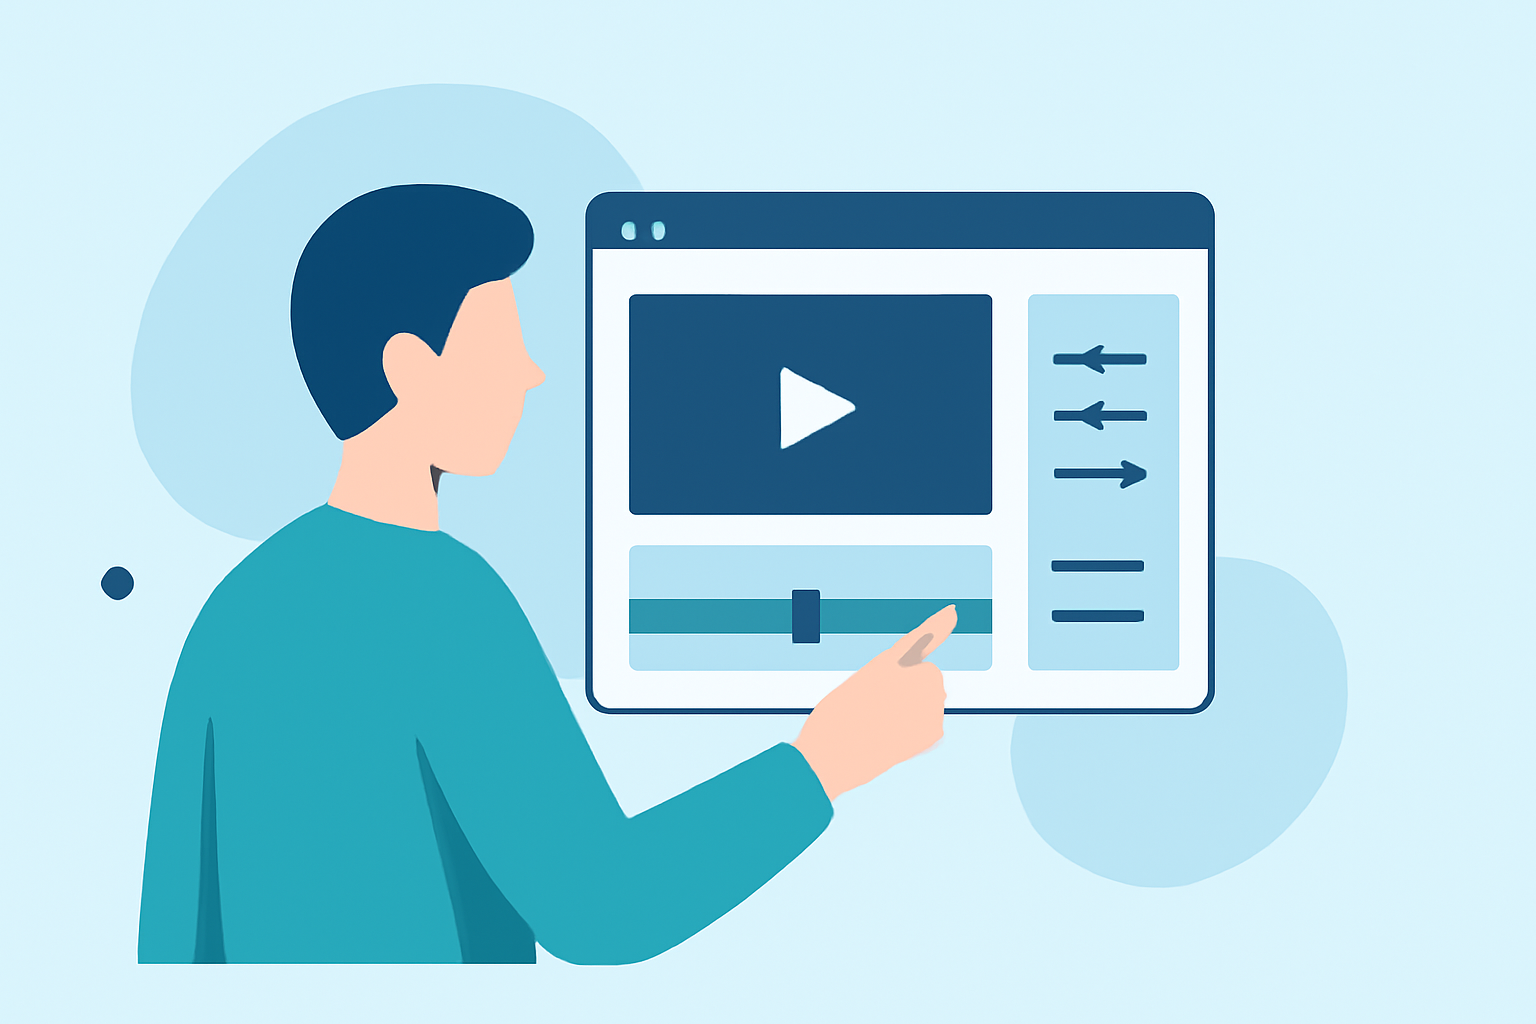
Capturing the serene ambiance of a window seat offers a unique perspective for your videos. Whether you're showcasing a cityscape, a tranquil countryside, or the bustling streets below, editing these clips effectively can elevate your content.
1. Import and Organize Your Footage
Begin by transferring your window seat clips to your editing software. Organize your footage into folders based on scenes or themes to streamline the editing process. This organization ensures a smoother workflow and helps in quickly locating specific clips when needed.
2. Trim and Select Key Moments
Review your footage and trim out any unnecessary sections. Focus on selecting the most compelling moments that capture the essence of the scene. For instance, if you're filming a sunrise from your window seat, highlight the gradual illumination of the landscape.
3. Adjust Exposure and White Balance
Window seat shots often present challenges with lighting due to varying light sources inside and outside. Use your editing software to adjust the exposure, ensuring that both the interior and exterior are well-lit. Correcting the white balance is crucial to maintain natural colors, especially when transitioning between different lighting conditions.
4. Apply Color Grading for Mood Enhancement
Color grading can significantly influence the mood of your video. For a warm, cozy feel, consider applying a slight orange hue to the footage. Alternatively, a cooler tone can evoke a calm, serene atmosphere. Experiment with different color grades to find the one that best complements your scene.
5. Incorporate Subtle Transitions
To maintain the flow of your video, use subtle transitions between clips. Simple fades or cross-dissolves can be effective without distracting from the content. Avoid overusing flashy transitions, as they can detract from the natural beauty of your window seat shots.
6. Add Background Music and Sound Design
Select background music that complements the ambiance of your window seat scene. Soft instrumental tracks or ambient sounds can enhance the viewing experience. Ensure that the music's volume is balanced with any natural sounds captured in your footage, such as birds chirping or city noises.
7. Export and Share Your Edited Video
Once satisfied with your edits, export the video in a high-resolution format suitable for your intended platform, whether it's social media, a personal blog, or a professional portfolio. High-quality exports ensure that your audience experiences the full depth and detail of your window seat footage.
Enhancing Your Editing Experience with Planes Live
For those looking to streamline their editing process and access advanced features, Planes Live offers a comprehensive suite of tools tailored for video editing enthusiasts. With Planes Live, you can:
-
Utilize Advanced Editing Tools: Access a range of professional-grade editing features that allow for precise adjustments and creative enhancements.
-
Apply Cinematic Filters and Effects: Enhance your window seat clips with a variety of filters and effects designed to add depth and mood to your footage.
-
Streamline Workflow with Templates: Use customizable templates to quickly assemble your videos, saving time while maintaining a high standard of quality.
-
Collaborate Seamlessly: Share your projects with team members or clients for collaborative editing and feedback, ensuring a cohesive final product.
By integrating Planes Live into your editing routine, you can elevate the quality of your window seat videos and produce content that resonates with your audience.
Remember, the key to compelling window seat clips lies in thoughtful composition, meticulous editing, and the ability to convey the unique perspective that only a window seat can offer. With the right tools and techniques, your videos can transport viewers to the tranquil or dynamic scenes you've captured from your window seat.