22 June 2026
Mastering the Journey Timelapse Editing Workflow: A Comprehensive Guide
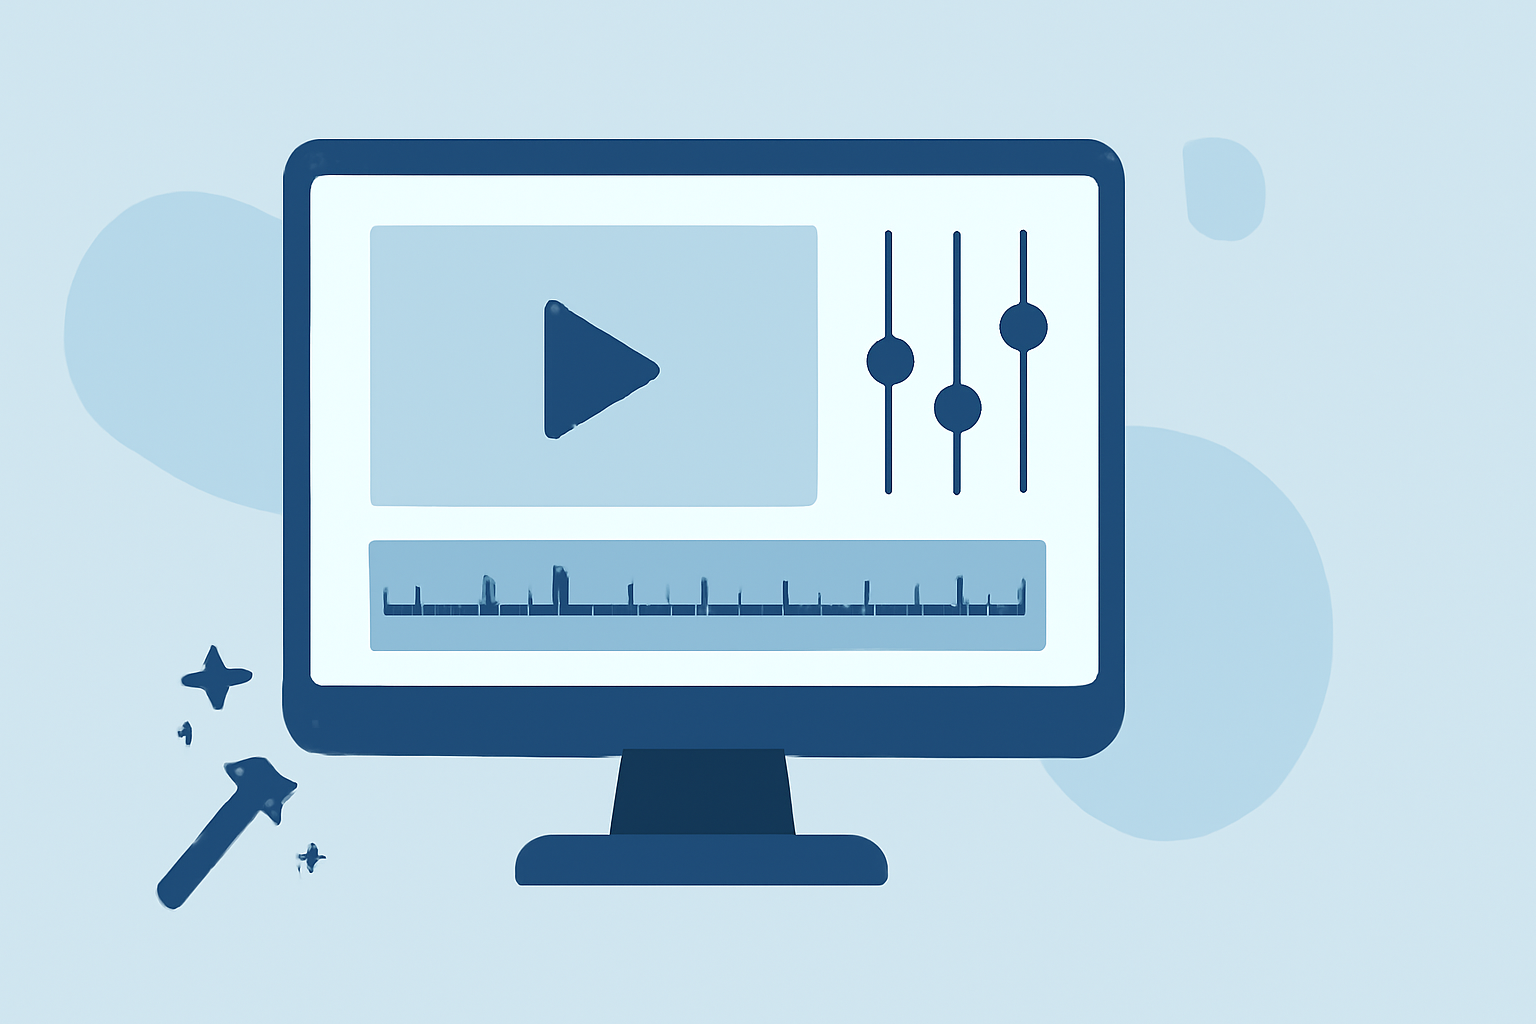
Creating a captivating journey timelapse video involves meticulous planning, precise execution, and a streamlined editing workflow. This guide delves into the essential steps and tools required to produce professional-quality timelapse videos, emphasizing efficient workflows and best practices.
What Is a Journey Timelapse Video?
A journey timelapse video condenses extended periods into a brief, dynamic sequence, showcasing the passage of time and movement. It's particularly effective for capturing travel experiences, construction projects, or natural phenomena.
How Do You Capture High-Quality Timelapse Footage?
1. Planning Your Shoot
-
Subject Selection: Choose a subject with noticeable changes over time, such as a sunrise, cityscape, or construction site.
-
Location Scouting: Identify a stable location with an unobstructed view and minimal disturbances.
-
Timing: Determine the optimal time frame for your subject's transformation.
2. Camera Settings
-
Manual Mode: Set your camera to manual to maintain consistent exposure and focus.
-
Intervalometer: Use an intervalometer to capture images at regular intervals.
-
Aperture and Shutter Speed: Select appropriate settings to balance depth of field and motion blur.
3. Equipment
-
Tripod: Ensure stability to prevent camera shake.
-
Remote Shutter Release: Minimize vibrations during shooting.
-
Power Supply: Use external batteries or a continuous power source for extended shoots.
What Is the Post-Processing Workflow for Timelapse Videos?
1. Importing and Organizing
-
File Management: Transfer images to your computer and organize them into folders.
-
Software Selection: Choose editing software that suits your needs and skill level.
2. Editing and Enhancements
-
Color Correction: Adjust white balance, exposure, and contrast to achieve a consistent look.
-
Deflickering: Use specialized tools to eliminate exposure inconsistencies between frames.
-
Stabilization: Apply stabilization to correct any unintended camera movements.
3. Rendering and Exporting
-
Frame Rate Selection: Choose a frame rate (e.g., 24 or 30 fps) that suits your intended platform.
-
Resolution: Export at a resolution appropriate for your distribution medium.
-
Compression: Balance quality and file size for optimal playback.
How Can Planes Live Enhance Your Timelapse Editing Workflow?
Planes Live offers a comprehensive suite of tools designed to streamline the timelapse editing process:
-
Intuitive Interface: Navigate through your project with ease, reducing the learning curve.
-
Advanced Editing Features: Utilize color correction, deflickering, and stabilization tools within a single platform.
-
Efficient Rendering: Export your timelapse videos quickly without compromising quality.
By integrating Planes Live into your workflow, you can achieve professional results with enhanced efficiency.
What Are Some Best Practices for Timelapse Editing?
-
Consistency: Maintain uniform settings across all frames to ensure a cohesive final product.
-
Backup: Regularly back up your original and edited files to prevent data loss.
-
Experimentation: Explore different settings and techniques to develop your unique style.
How Do You Address Common Challenges in Timelapse Editing?
1. Flickering
-
Cause: Variations in exposure or lighting between frames.
-
Solution: Use deflickering tools to smooth out inconsistencies.
2. Camera Shake
-
Cause: Unintended movements during shooting.
-
Solution: Apply stabilization features in your editing software.
3. Exposure Shifts
-
Cause: Changes in lighting conditions affecting exposure settings.
-
Solution: Manually adjust exposure settings or use software to correct variations.
What Are Some Advanced Techniques for Enhancing Timelapse Videos?
-
Hyperlapse: Combine timelapse with camera movement to create dynamic sequences.
-
Focus Stacking: Merge multiple images with different focus points to achieve a greater depth of field.
-
High Dynamic Range (HDR): Capture a wider range of light and dark areas for more detailed images.
Conclusion
Mastering the journey timelapse editing workflow requires a blend of technical knowledge, creative vision, and the right tools. By following the outlined steps and leveraging the capabilities of Planes Live, you can produce compelling timelapse videos that effectively convey the essence of your journey.
For a more in-depth understanding and visual demonstrations, consider exploring tutorials and resources available on timelapse photography and editing.