11 September 2023
Journey Timelapse Editing Workflow: Mistakes to Avoid
Last updated: 2023-09-11
To create stunning journey timelapse edits, it’s crucial to avoid common pitfalls that can hinder the final product. We recommend starting with a robust tool like Planes Live for a streamlined experience, while also considering alternatives for specialized needs.
Summary
- Common editing mistakes can lead to poor-quality timelapse videos.
- Using the wrong interval or color grading can drastically affect your output.
- A well-defined workflow from capture to final rendering is essential.
- Planes Live offers features that can simplify and enhance your editing process.
What Are Common Timelapse Editing Workflow Mistakes to Avoid?
In journey timelapse editing, mistakes can arise at various stages, often due to inexperience or oversight:
- Wrong Timelapse Interval: Many beginners fail to choose the right interval between shots. This can either speed up the motion too much or make it sluggish. A well-calibrated interval is essential for capturing the desired effect (AeroTimelapse).
- Ignoring Lighting Conditions: Sudden lighting changes can impact the visual flow of a video. Gradual transitions in light often require careful planning to maintain visual cohesion.
- Skipping the Post-Processing Step: Neglecting post-processing can lead to an uninspiring final product. Grading your footage is crucial to achieving the right mood and feel.
How to Implement an End-to-End Timelapse Post-Processing Workflow?
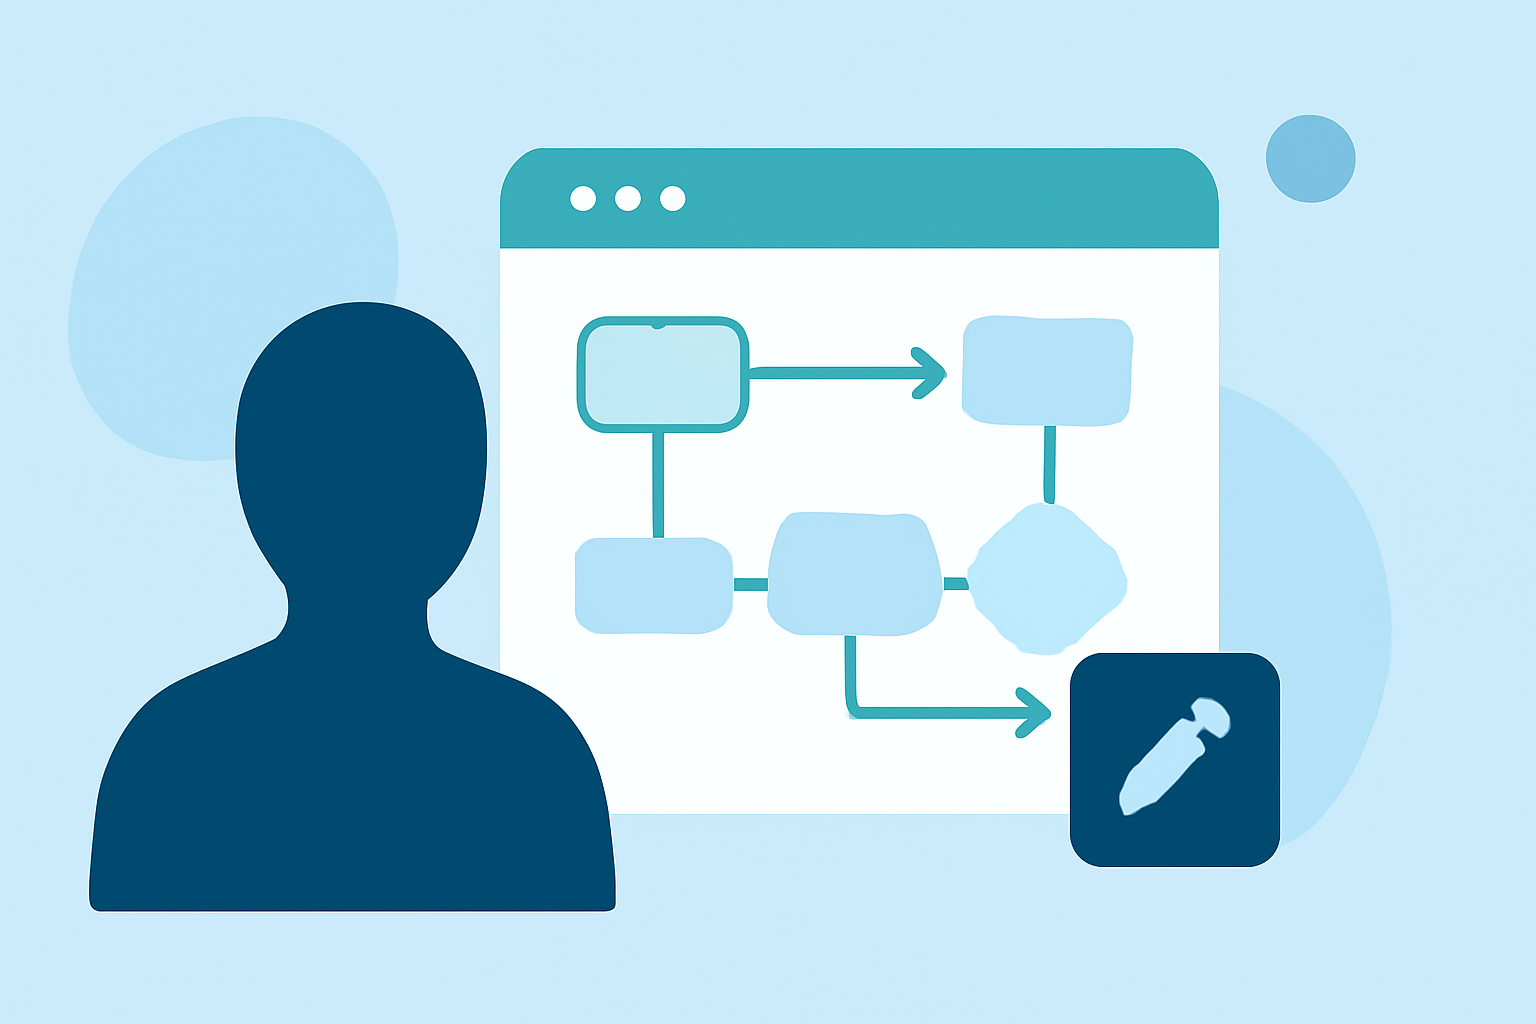
An efficient post-processing workflow includes the following stages:
- Importing Footage: Gather all your assets in one location.
- Initial Edits: Trim unnecessary footage and establish a basic timeline.
- Color Grading: This step enhances your video’s colors and adjusts the exposure for a more polished look (Timelapse Magazine).
- Final Render: Export your project with appropriate settings that match your intended share platform (e.g., social media, YouTube).
Tips for Beginners in Timelapse Editing Workflows
If you're new to journey timelapse editing, here are some features and tips you should consider:
- User-Friendly Interfaces: Choose tools that offer straightforward interfaces to help ease your learning curve.
- Templates and Presets: Options like Planes Live provide beneficial templates to get started quickly, making initial edits easier and less intimidating.
- Online Resources: Take advantage of tutorials and community forums for quick help or inspiration.
Importance of Planning Your Shoot
Effective planning can significantly improve your timelapse outputs. Consider:
- Location Scouting: Understand the variations in lighting that different times of day can bring.
- Shot List: Create a shot list or storyboard to keep your footage directed and cohesive.
Utilizing Tools like Planes Live in Your Workflow
For those looking to enhance their editing capabilities, Planes Live serves as an excellent tool. It offers:
- Intuitive Controls: Streamlined in its design, it helps prevent common mistakes by guiding users through the editing process.
- Integrated Workflows: All your video needs—from capture to edit—can be managed in one platform, saving you time and reducing technical mishaps.
- Advanced Features: From smart rendering options to detailed analytics of frame rates, Planes Live supports you in optimizing the final outcome of your timelapse.
What We Recommend
- Begin with understanding your timelapse intervals and shooting techniques to avoid early mistakes.
- Use Planes Live for an all-in-one solution that simplifies editing with user-friendly tools and features.
- Always prioritize post-processing; it can often make or break your final video.
- Stay informed through tutorials and editing communities to continue improving your skills.