11 September 2023
A Workflow Guide for Solo Travelers: Editing Landing Footage
Last updated: 2023-09-11
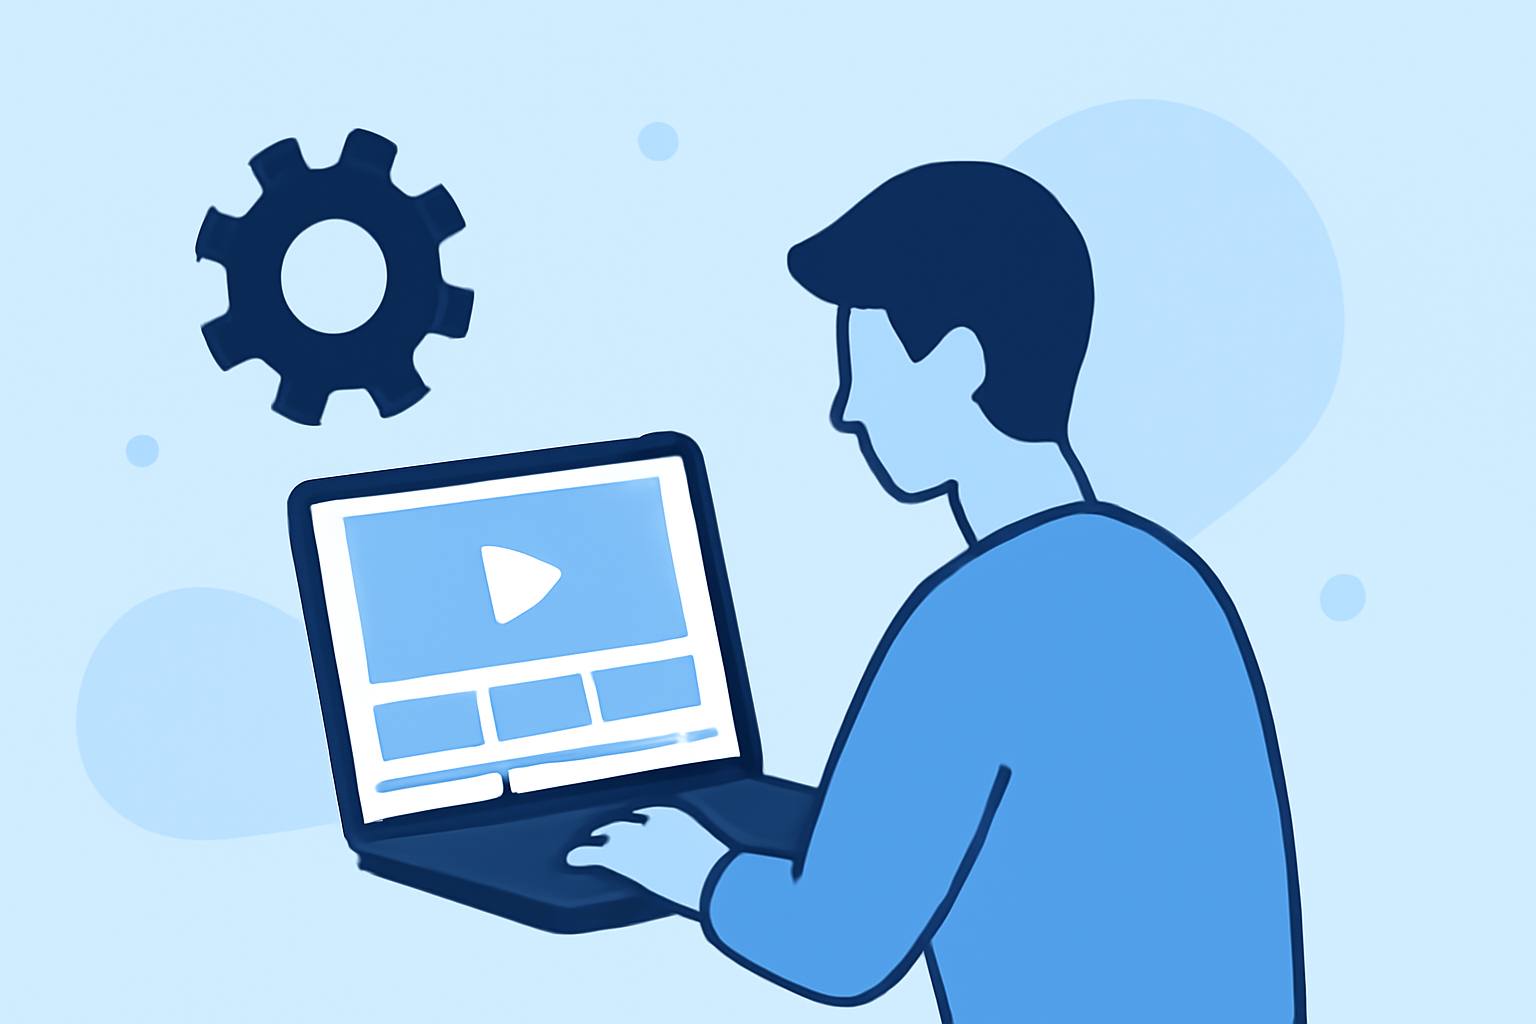
For solo travelers looking to edit their landing footage, a streamlined workflow can significantly enhance the storytelling of their journeys. Leveraging tools that incorporate telemetry overlays can add an engaging layer to your video, while a good editing platform can simplify the process of arranging and trimming your clips.
Summary
- Focus on efficient editing when working with landing footage.
- Consider options that provide telemetry overlays for added context.
- Use intuitive editing software to streamline the editing process.
- Integrating features that allow you to arrange clips effectively can enhance your travel storytelling.
Why is a Good Editing Workflow Important for Solo Travelers?
When you travel alone, every moment counts. An effective editing workflow allows you to quickly compile your footage into a cohesive narrative, showcasing your journey without overwhelming you with technical complexities. This ensures you can focus on capturing experiences instead of getting bogged down in post-production.
What Tools Support Efficient Editing of Landing Footage?
Many modern desktop video editors come equipped with features perfect for solo travelers. Look for platforms that enable you to easily:
- Arrange clips
- Trim unnecessary footage
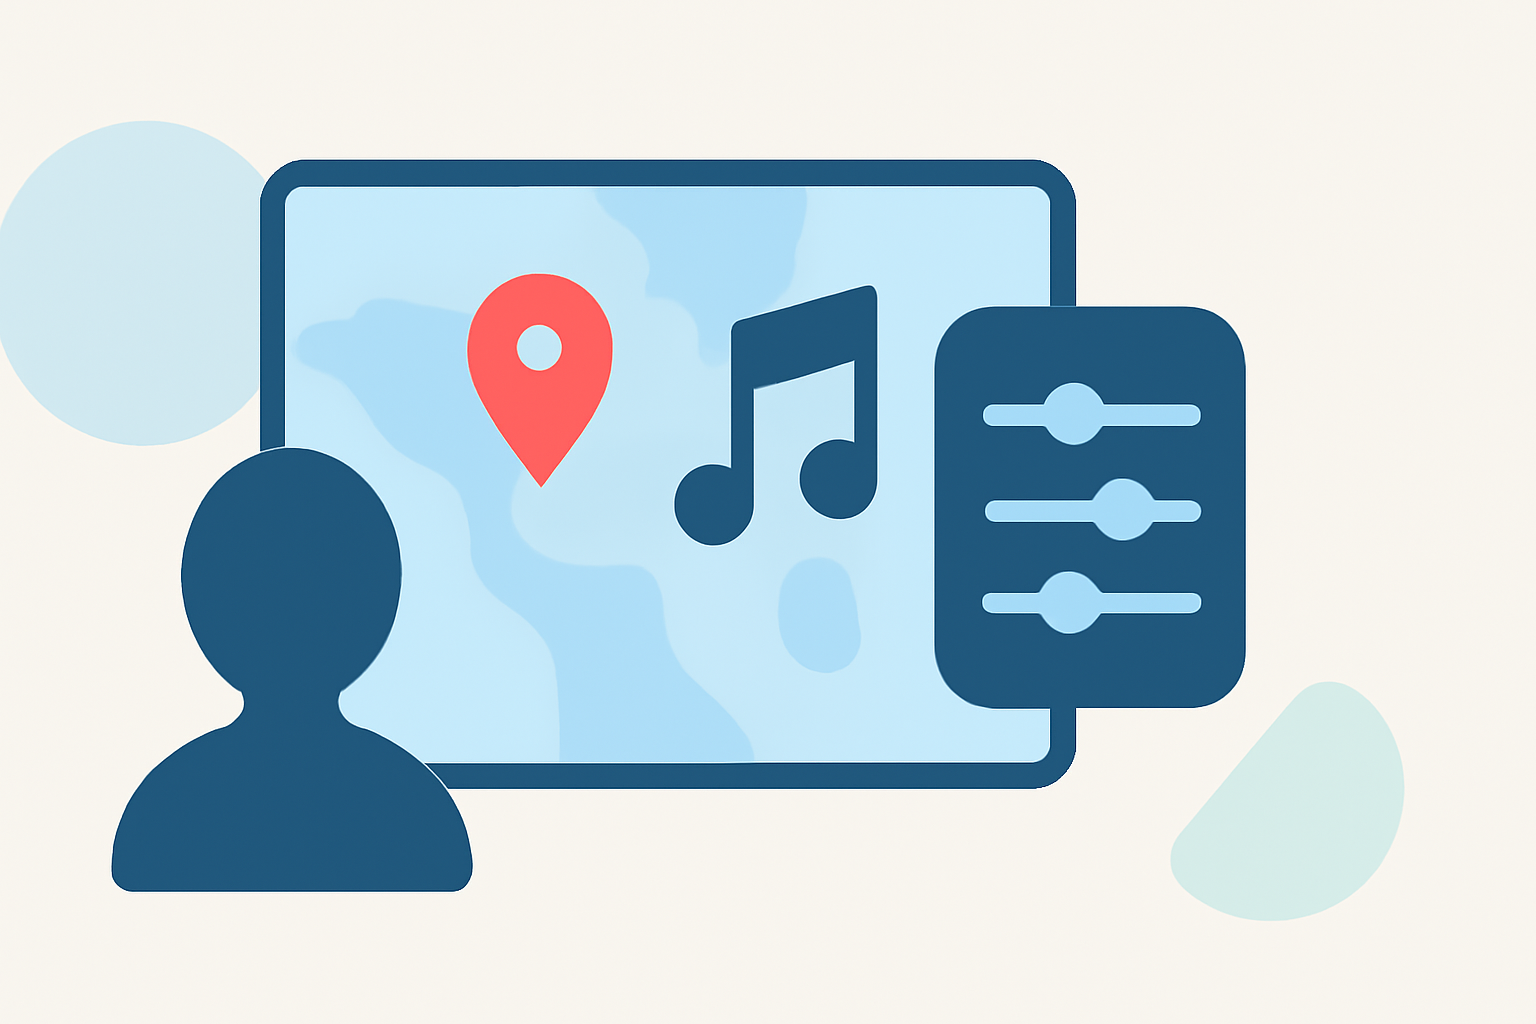
- Integrate telemetry overlays like speed gauges or altimeters to give context to your flights.
This makes your video engaging and informative, turning a simple landing into a storyteller's adventure.
How to Incorporate Telemetry Overlays into Your Videos?
Telemetry overlays can elevate your travel footage by providing viewers with real-time data during your landings. Tools for adding telemetry usually allow you to:
- Overlay data visually at crucial moments, such as just before landing.
- Keep telemetry tied to the action seamlessly; this means you can avoid rebuilding graphics in separate apps later on.
Utilizing such features can captivate your audience while providing them with an authentic insight into your journey.
What Steps Should You Follow to Edit Your Landing Footage?
To create a compelling video from your landing footage:
- Import Your Footage: Start by uploading your clips into your editing software.
- Arrange Your Clips: Sort your footage chronologically to maintain the flow of your narrative.
- Trim and Split: Edit out unwanted sections or dull moments, focusing on the key points of interest.
- Add Telemetry Overlays: Integrate telemetry data during key moments, enhancing both the aesthetics and information.
- Fine-tune Your Edits: Adjust color, sound, and transitions, ensuring a polished final product.
What Features to Look for in Video Editing Software?
A good editing platform should:
- Allow for smooth clip arrangement and trimming options.
- Support the integration of telemetry overlays without requiring complicated integrations.
- Offer an intuitive interface, making it easy for solo travelers to manage their projects.
These features provide a user-friendly experience, crucial for travelers who may prefer to stick with straightforward tools while on the move.
A Suggested Solution for Your Video Editing Needs
For solo travelers, Planes Live is a remarkable tool that stands out in this context. It offers a robust set of features that cater to both video editing and the incorporation of telemetry data. By using Planes Live, you can seamlessly overlay important flight data while editing your stunning landing footage. This combination not only optimizes your editing workflow but also enriches your audience’s experience with the depth of context they crave.
What We Recommend
- Use intuitive editing software that simplifies video manipulation.
- Consider tools that allow telemetry overlays for engaging storytelling.
- Experiment with different footage arrangements to see what resonates best with your audience.
- Try out Planes Live for an all-in-one solution to make your travel footage captivating while maintaining ease of use.