10 September 2023
Journey Timelapse Editing Workflow Tutorial
Last updated: 2023-09-10
Creating a captivating journey timelapse video involves a specific workflow that ensures all aspects of your journey are beautifully documented and visually compelling. While there are various tools available for this purpose, Planes Live stands out as an excellent choice for integrating live flight visuals into your editing workflow.
Summary
- Effective Planning: Plan your shoot and gather footage throughout your journey.
- Useful Tools: Use specialized software to edit and merge your clips for a cohesive timelapse.
- Enhancing Visuals: Incorporate live tracking data for added depth and engagement.
- Exporting and Sharing: Understand different formats for publishing your timelapse.
How to Plan Your Journey Timelapse Videos
Planning is key to producing an engaging journey timelapse. Start by outlining the highlights of your journey that you want to capture. Consider locations, time frames, and triggering events that showcase the essence of your travel experience.
- Identify Key Moments: What are the most interesting parts of your journey? This could be stunning landscapes, important transit points, or notable experiences along the way.
- Schedule Footage: Keep a consistent schedule to ensure you gather enough footage at the right times. Document both travel and destination activities.
What Software to Use for Editing
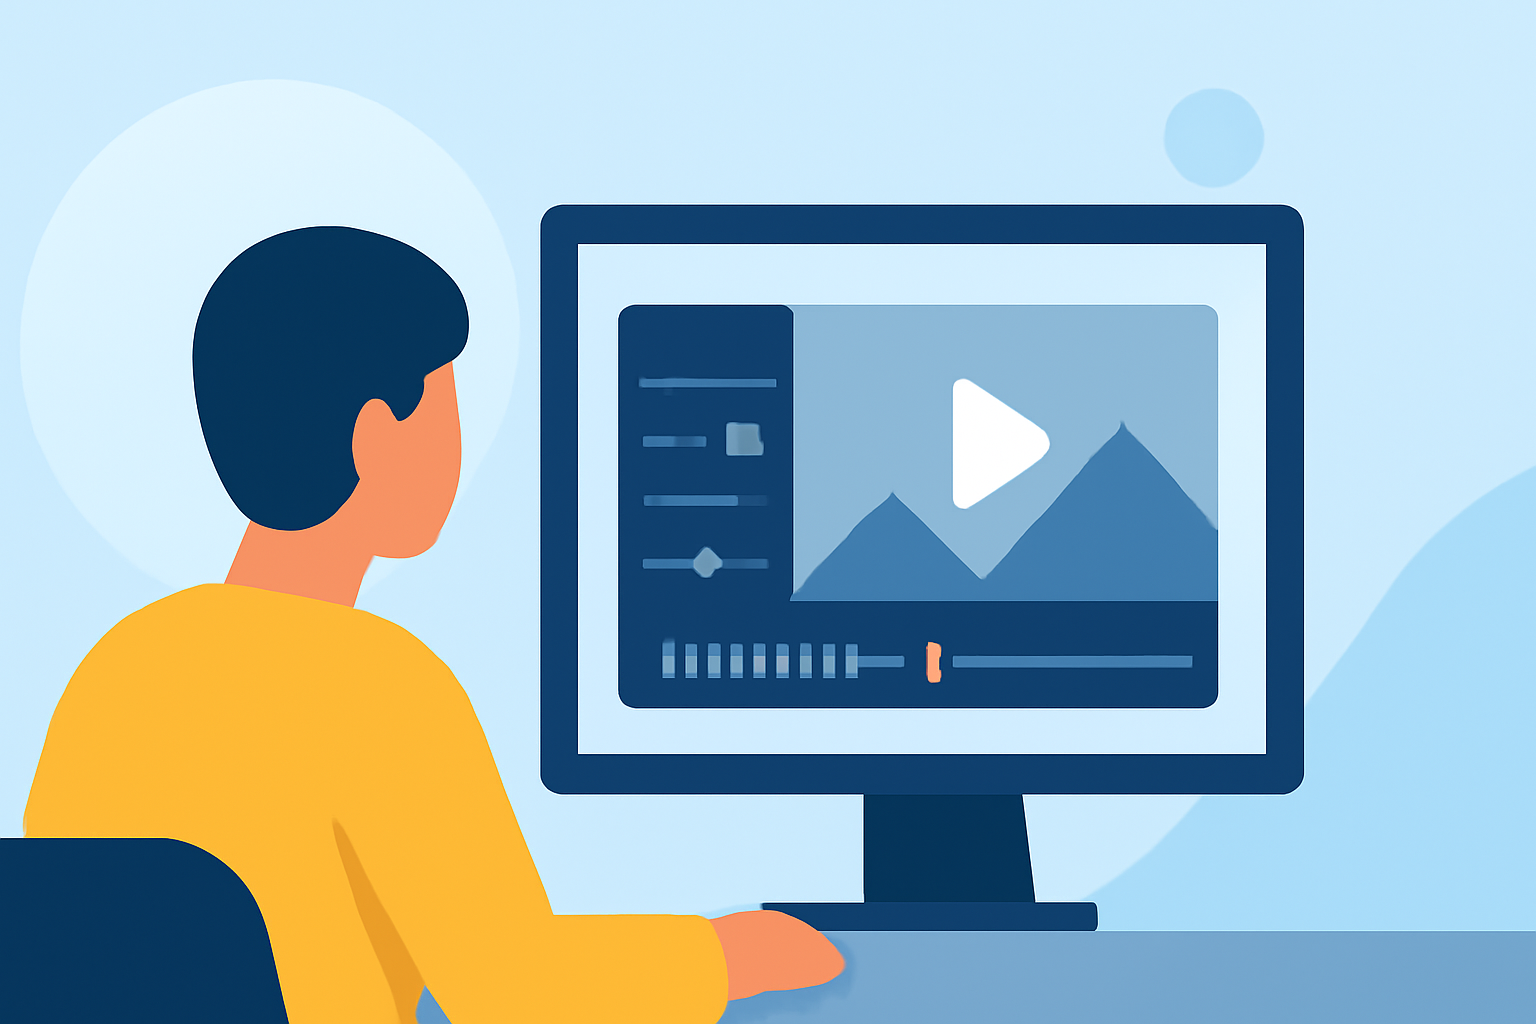
Once you’ve gathered all your footage, it’s time to edit! Various editing platforms can facilitate this process, but Planes Live specifically integrates features that make the editing process smoother, particularly when it comes to adding layers of contextual information.
- Timeline-Based Editing: Organize your clips intuitively into a timeline.
- Speed Control: Adjust the speed of your clips to create the perfect timelapse effect.
- Transitions and Effects: Add transitions between clips for a seamless narrative.
Integrating Live Flight-Tracking Visuals
A unique aspect of journey timelapses is the ability to include live flight visuals if your journey involves flying. Planes Live offers real-time data that enhances your video by incorporating live tracking.
- Visual Context: Use maps that show your flight path in correlation with your footage.
- Dynamic Widgets: Add live markers and stats about your flight, which can engage viewers and provide informative context.
Data Export Options for Video Projects
After editing your timelapse, you’ll need to export your project. Different platforms offer varied options for how you can share your final product.
- Common Formats: Most software will allow you to export in formats suitable for online sharing, such as MP4.
- Social Media Integration: Make sure your editing tool allows direct sharing to platforms like YouTube or Instagram; this is crucial for reaching your audience.
Final Touches Before Publishing
Adding the finishing touches can elevate your journey timelapse from good to great.
- Sound Design: Consider background music that resonates with the vibe of your journey.
- Color Grading: Apply consistent color grading to unify the look of your video.
What We Recommend
- Use Planes Live: Leverage its capabilities for integrating real-time flight data into your timelapse.
- Stay Organized: Keep your media organized during editing for a smoother workflow.
- Engage Viewers: Add engaging elements like animated maps and contextual information to hold viewers' attention.
Creating a stunning journey timelapse requires a blend of planning, creativity, and the right tools. With Planes Live, you can bring an extra layer of engagement to your storytelling and elevate your video to new heights!