10 September 2023
Creating a Journey Timelapse with Music on Your iPad
Last updated: 2023-09-10
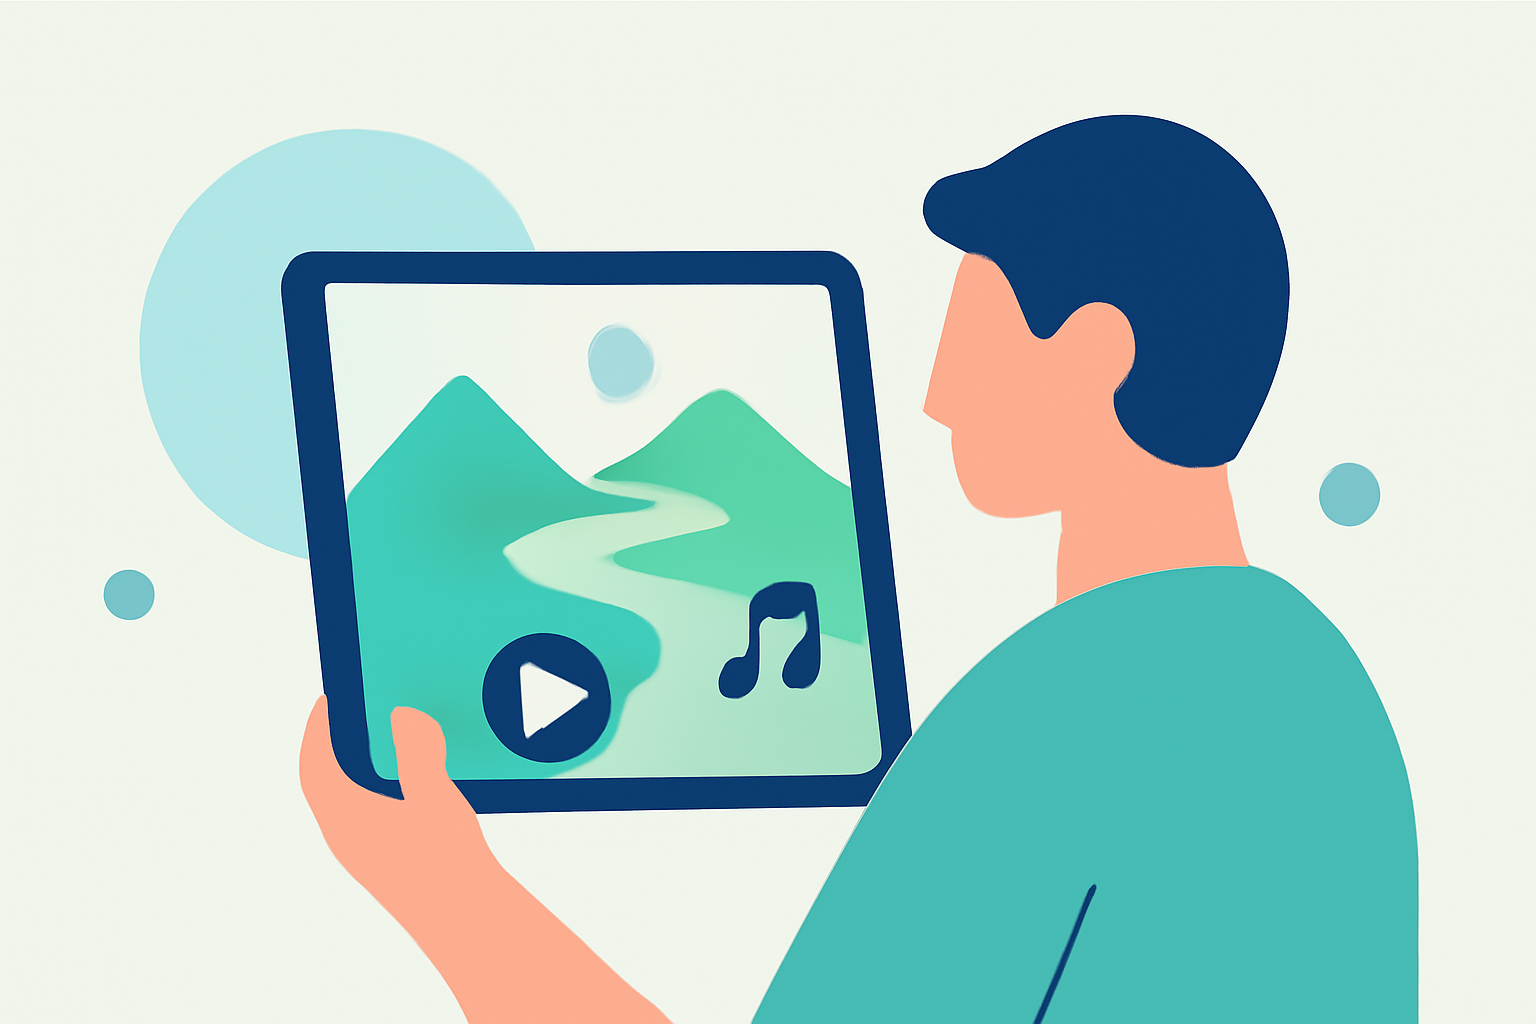
If you're looking to create a journey timelapse with music on your iPad, the best starting point is using video editing tools available through music creation platforms. One highly recommended option is Planes Live, which offers incredible features tailored for capturing and editing travel experiences. Alternatively, you can explore dedicated flight tracker apps if your focus includes monitoring flight history and other aviation aspects.
Summary
- Utilize Splice for music integration in your timelapse videos.
- Explore Planes Live for enhanced timelapse features.
- Consider dedicated flight-tracking apps for additional context during your journey.
- iPad compatibility ensures a smooth editing experience wherever you are.
Why Create a Timelapse?
Creating timelapse videos is an engaging way to condense hours of travel into short, captivating clips. Timelapses highlight your journey's progression and can be excellent for sharing on social media or reminiscing later. Using your iPad, you can harness various apps to produce high-quality edits effortlessly.
Choosing the Right App for Timelapse
While there are several video editing apps available on the iPad, Planes Live stands out as an excellent choice for fans of immersive travel content. This app is designed with features that enable effective editing of timelapse videos, including various music options and visual effects that enhance your storytelling. Additionally, you can easily incorporate footage from your travels and create a cohesive narrative.
Music Integration: Setting the Mood
The right music can elevate your timelapse significantly. Apps like Planes Live allow you to browse and select soundtracks that compliment your visuals, creating an emotional impact. You can synchronize your video sequences with musical beats, making your timelapse both visually and audibly engaging.
Capturing Great Footage
Before diving into editing, ensure you capture high-quality footage. Here are a few tips to keep in mind:
- Stability: Use a tripod or stabilizer for smoother shots.
- Lighting: Shoot during golden hours (sunrise and sunset) for visually stunning results.
- Variety: Mix wide angles with close-ups to add interest to your timelapse.
Editing on Your iPad
With your footage ready and your app selected, follow these basic steps for editing your timelapse:
- Import Footage: Load your clips into the app.
- Arrange Clips: Sequence your footage in chronological order to tell your story.
- Adjust Speed: Increase the speed of your clips to achieve the timelapse effect.
- Add Music: Integrate your selected soundtrack.
- Export: Save and share your video with friends and family.
Reviewing Your Journey with Flight Tracker Apps
While the focus here is on editing, you might also want to monitor your flights through dedicated flight tracker apps. These tools provide real-time information about your journey, which can add depth to your editing process. Consider using apps that are compatible with your iPad to enhance your travel experience.
What We Recommend
- Start with Planes Live for an exceptional editing experience tailored to timelapse videos.
- Capture your footage with stability and good lighting for the best results.
- Use music wisely to create an emotional connection with your audience.
- Explore flight tracking apps for added context and information while traveling.
By following these guidelines, you can create stunning journey timelapse videos on your iPad that will leave a lasting impression on viewers. Happy editing!